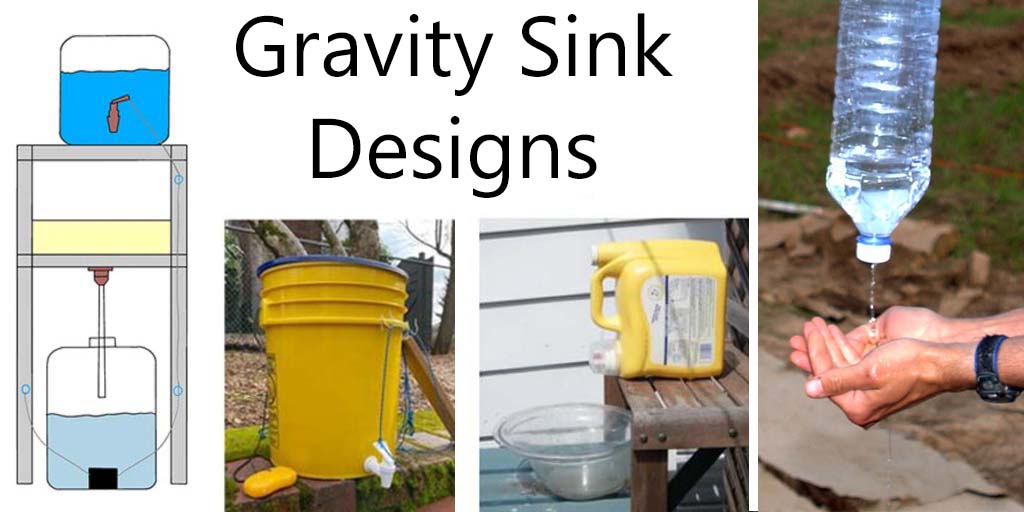
A gravity sink is the simplest way to make a sink with running water. There’s no need for pumps or hoses. You just need a container for holding water. Depending on how you make the gravity sink, you may also need a platform, graywater container and tubing.
Here I’ll go over 5 ways to make a gravity sink and troubleshooting common problems with gravity sinks.
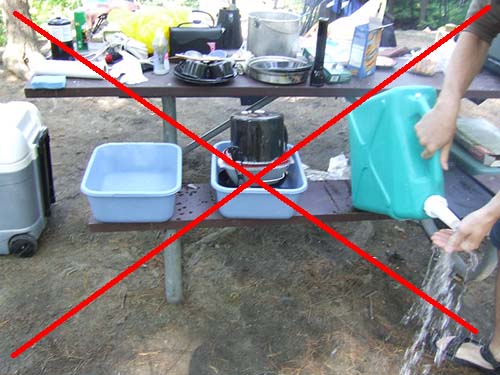
This is NOT a good way to wash your hands while camping! It’s unhygienic, wastes water and creates mud.
New to camping? Then you need my PRINTABLE Cheat Sheets.
From tying tarp guylines to campfire cooking, they
contain all the info you need to be a camping pro.
Gravity Sink Designs
1. Water Container with Spigot
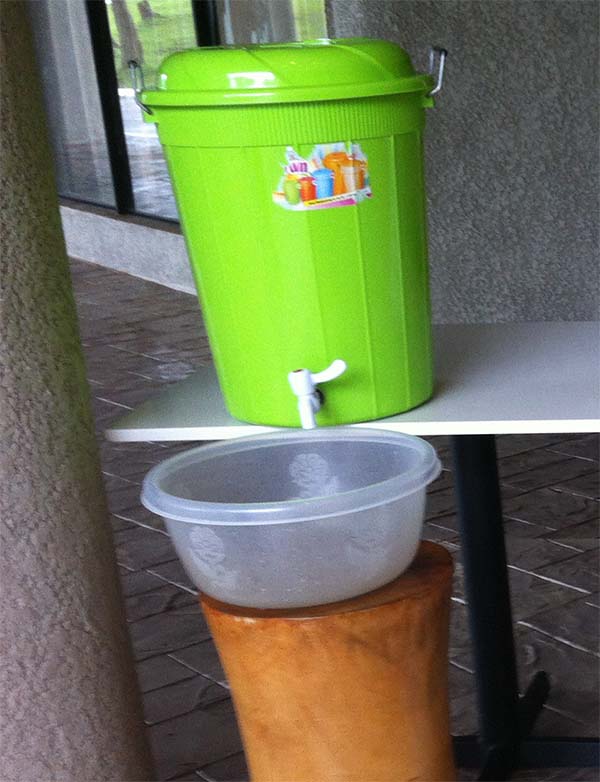
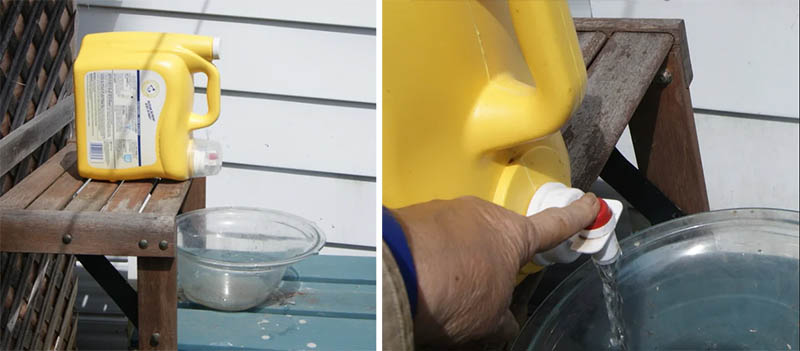
The easiest gravity sink design uses a water jug with a spigot. You elevate the jug so there’s room underneath the spigot.
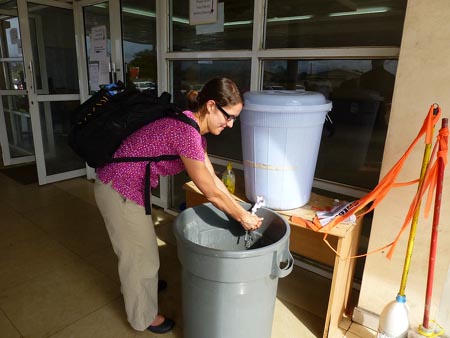
Here’s another gravity sink with graywater catchment. It’s made from two trash cans. Drill a hole in the trash can to attach a spigot.
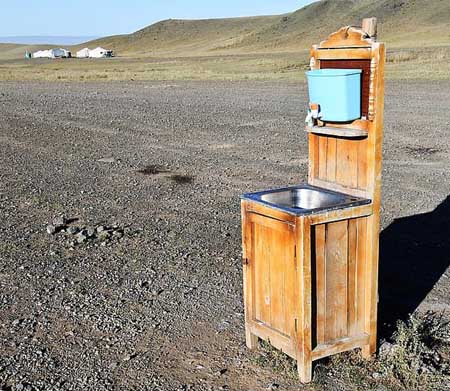
This gravity sink is good for long-term camps and off-grid cabins. The lower sink prevents splashing and channels water to a graywater bucket. The water can be reused for watering plants.
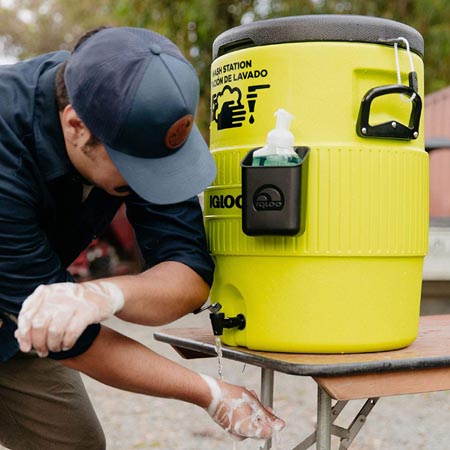
Igloo makes this dispenser for washing hands. It’s easier if the water container has an on/off spigot though, like these cheap water containers.
2. Tippy Tap
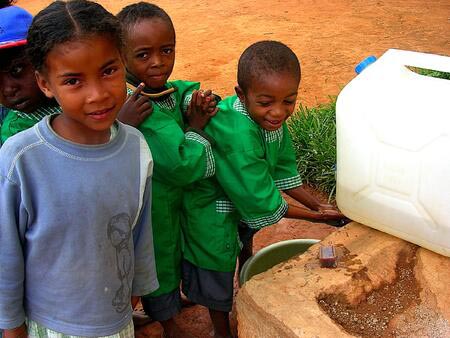
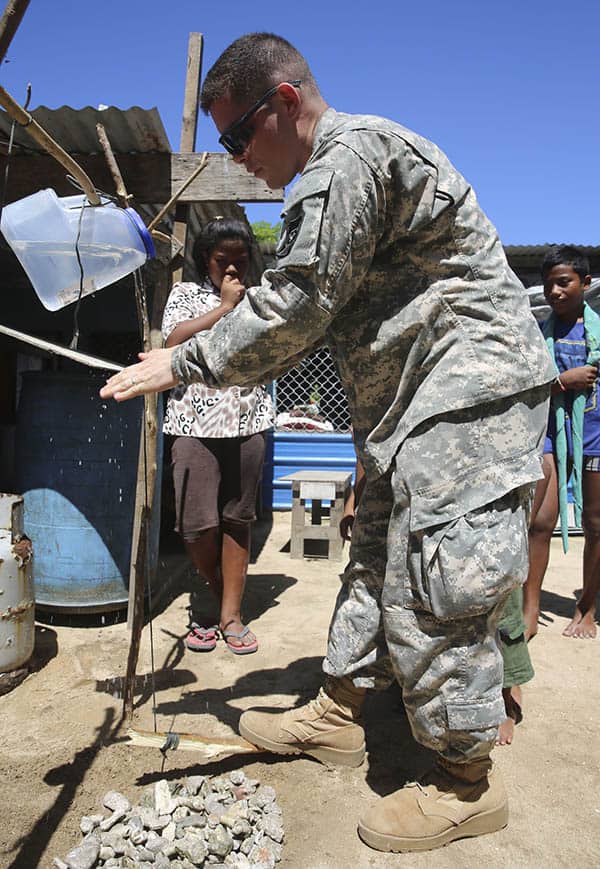
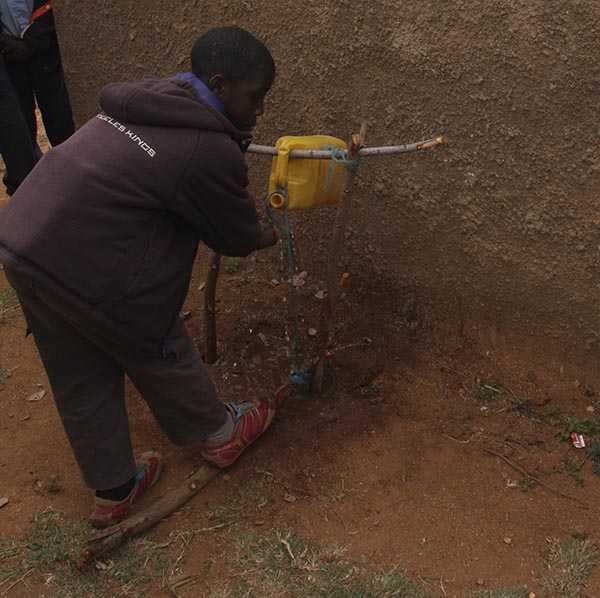
A tippy tap is a type of gravity sink for washing hands. To make a tippy tap, you poke a hole in a plastic container and hang it up. When you tilt the container, water starts flowing.
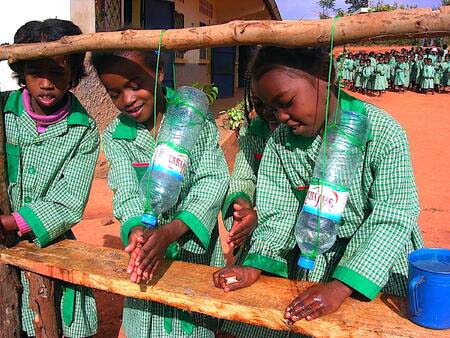
A simple tippy tap hand washing station. Pull the bottles downward to start the “faucet.” Return upright to stop the flow.
3. Plastic Water Bottle Gravity Sink
Here’s another way to make a gravity sink for washing hands:
- Poke a hole in the lid of a water bottle. A hot nail works well for this.
- Cut the end off of the water bottle.
- Hang the water bottle with the lid down.
- Pour water into the bottle to start the “faucet”.
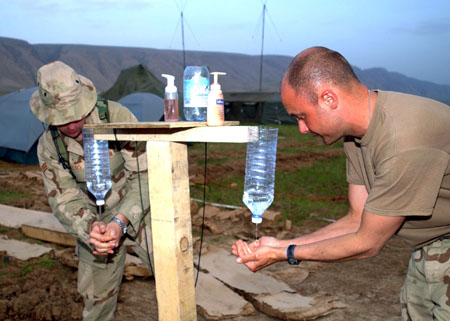
This design encourages water savings because you see exactly how much water you are using. You’ll lather quickly to get your hands washed before the water runs out.
4. Hands-Free Gravity Sink
A hands-free sink is more hygienic since you don’t have to touch the spigot. This is particularly important if you are doing things like cleaning fish or cooking meat.
It’s actually fairly simple to attach a foot pedal. You’ll just need some string, metal hooks to run the string through and a pedal. You can read the full instructions here.
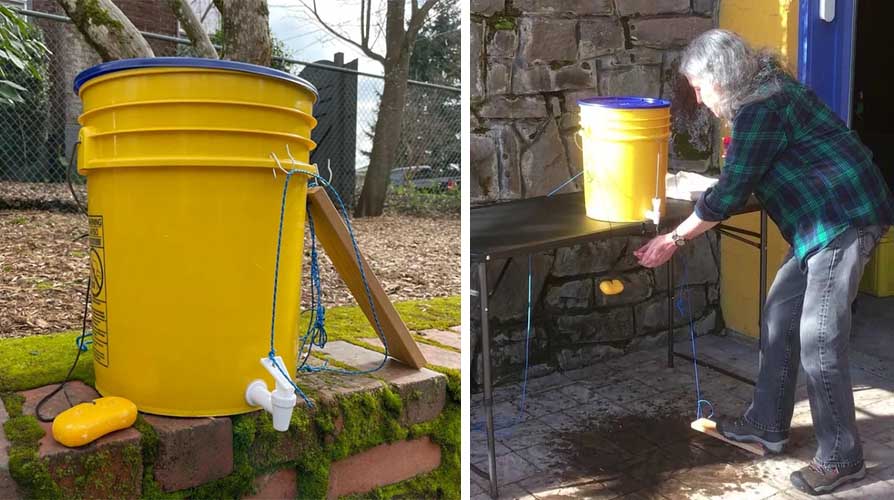
This foot pedal gravity sink even has soap on a rope. It needs a graywater basin or drainage to prevent splashing and muddiness.
5. Splash Free, Hands-Free Gravity Sink
Here is a more advanced version of the hands-free gravity sink design. It has a sink basin with a drain and a hose. The hose takes dirty water into a closed container, so insects can’t get in. String connected to a foot pedal controls the water flow.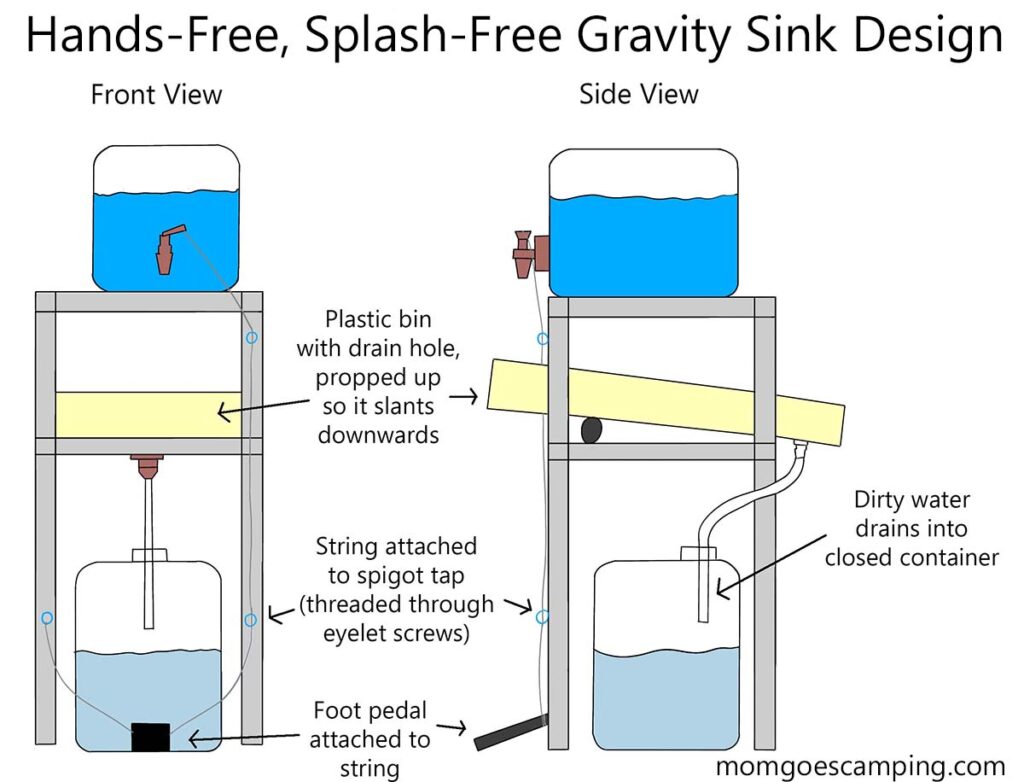
For this design to work, you’ll need a plastic basin with a drain hole. You can install a drain in a plastic basin by drilling a hole in the bin and attaching a hose. Here are instructions; the are for a bucket but apply to plastic bins as well.
Troubleshooting Gravity Sinks
Here are some of the common problems with gravity sink designs and how to fix them.
Muddy Ground
A gravity sink should have a graywater catchment basin underneath it. Otherwise the ground can get wet and muddy. Dirty can splash your feet as you use the sink. You can reuse the graywater for things like watering plants.
If you don’t have a graywater basin, you’ll need good drainage underneath the gravity sink. For permanent sinks, you can dig a pit and fill it with sand and gravel.
Splashing
As the water hits the sink or graywater container, the gravity sink can splash. To prevent splashing:
- Put the graywater basin very close to the jug’s tap.
- Keep the water flow slow.
- Dump the catch basin often.
Conserving Water
The gravity sink should have a spigot or another way to control the flow of water. This will reduce the amount of water you use and the number of times you need to dump the graywater basin.
Insects
Both your clean water basin and graywater basin should be CLOSED. Otherwise mosquitoes, flies and other insects will swarm over the water. Closing the graywater basin can be tricky. You may need to attach a hose. If you can’t close the graywater basin, then dump it frequently.
Did you forget something? See this List of Camp Kitchen Essentials to make sure your kitchen is setup right.
Image credits:
“Washing hands” (CC BY 2.0) by CDC Global Health
“Handwashing station” (CC BY 2.0) by CDC Global Health
“Simple handwashing facility” (CC BY 2.0) by Sustainable sanitation
https://www.af.mil/News/Photos/igphoto/2000031626/, “Boy is using current – not yet improved” (CC BY 2.0) by Frodo1977,
“150610-N-GO800-005” (CC BY-NC 2.0) by U.S. Pacific Fleet,
“Everything; no exceptions.” (CC BY-SA 2.0) by Mike Burns,
Garden wash station by amtrudell, (CC BY-NC-SA),
Easy build handwashing station, with videos, By Merilee D Karr, (CC BY-NC-SA),




Post your comments