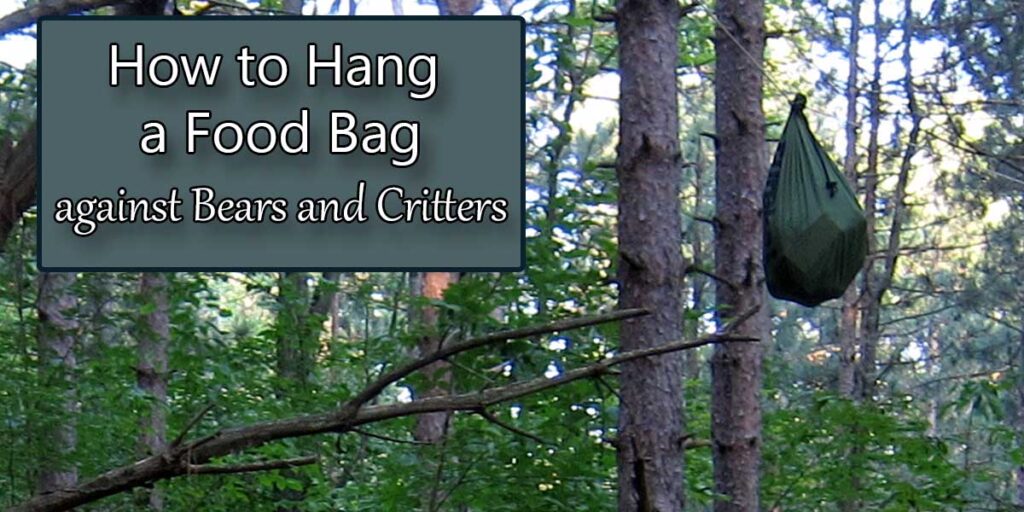
If you are going backcountry camping — especially in bear country — you will need to store your food properly. In many cases, this means hanging your food in a tree to keep it away from bears and other animals. There are several ways to hang food camping, some of which are much better than others.
This post will go over those methods, as well as tips so you don’t end up doing something like hitting yourself in the head with the throw rock. 🙂 Also read this Guide to Bear Safety When Outdoors.
Jump to:
- Why Hang Your Food?
- Tips for a Successful Hang
- What You Need
- The 5 Ways to Hang a Bear Bag
- Bear bag vs. Bear canister
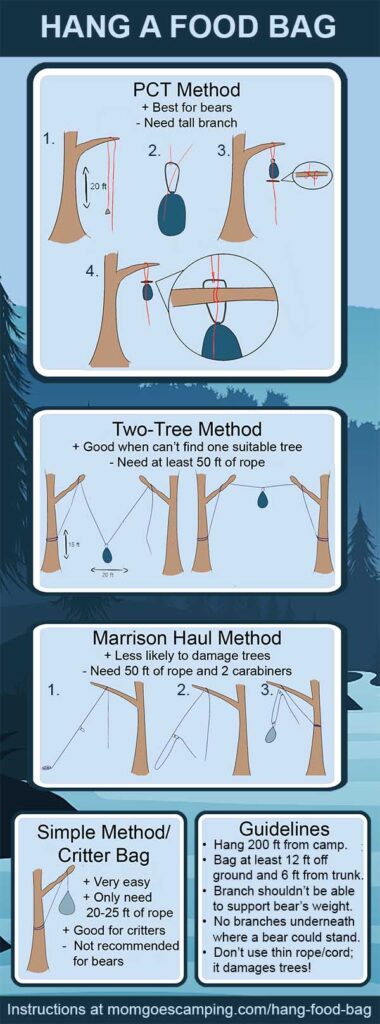
Food Hang Infographic
Click the image for higher resolution!
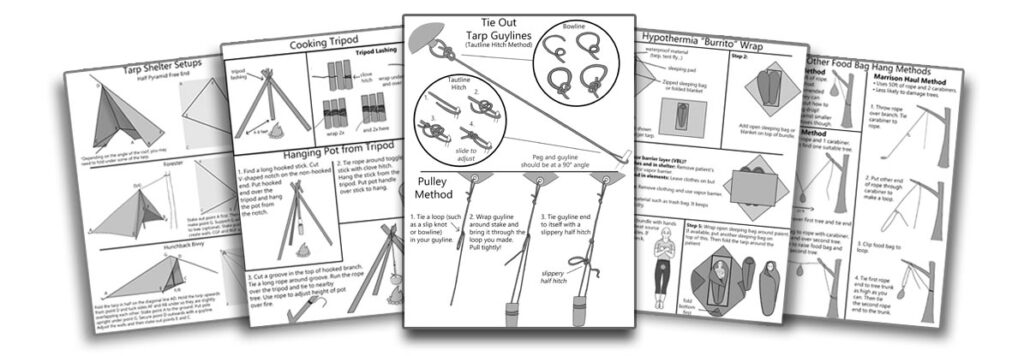
Wants this info (and more) in PRINTABLE format? Get my
Camping Cheat Sheets: An Illustrated Manual
Why Hang Your Food when Camping?
The obvious reason to hang your food is to keep it safe from wild animals. You don’t want to wake up only to discover all your food for the trip is gone. But hanging a food bag is also about protecting wild animals from your food.
When wild animals like bears get a taste of human food, they learn to associate people with an easy meal. Instead of avoiding humans, they will intentionally seek out humans. These bears can become problematic and may need to be relocated or even killed. Hence why the NPS says, “Human food conditioning invariably gets bears into trouble and ultimately reduces their survival.”
Critters Also Steal Food
In addition to bears, there are plenty of other animals will happily eat your food. It’s impressive how quickly they can get to it too! Take a look at the photo below. I left camp for less than 10 minutes to gather some more firewood. By the time I got back, a (I’m guessing) fox had already devoured my trail snacks. Apparently it didn’t like my dehydrated pasta sauce as much, but munched through that bag too.
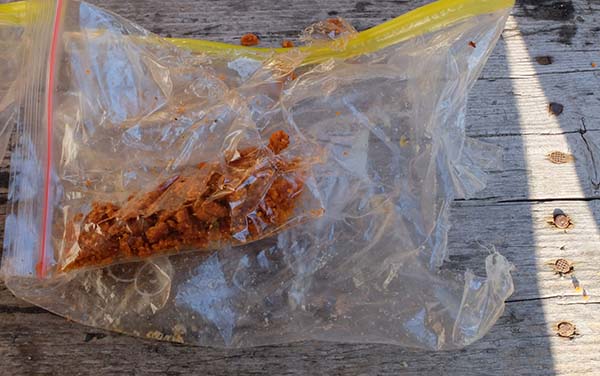
Food bags after a critter got to them!
Can I Keep Food in My Car?
If you are not in bear country, yes you can absolutely store food in your car. However, storing food in your car is not always allowed in bear country. For example, Yosemite allows you to store food in your hard-topped vehicle but only during the day. It must be out of sight, all windows must be closed and doors must be locked.
Even if it’s allowed to store food in your car, it’s not always smart. There are lots of examples of bears breaking into cars (and causing extensive damage in the process) to get to food. This is why many parks don’t allow you to store food in your car.
For more on bear food strage, read: How to Keep Bears Away from Your Campsite
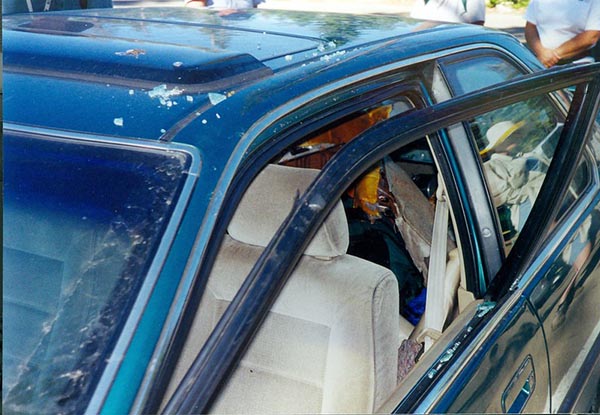
This car was damaged by a black bear which managed to get in! Even the doorframe is bent.
Don’t Keep Food in Your Tent
It is incredibly dangerous to keep food in your tent in bear country. Do you really want to be awoken by a bear tearing through your tent to get at your peanut butter protein bars? Don’t even bring the food into your tent since your tent will then smell like food.
Even outside of bear country, it’s not smart to keep food in your tent. I personally like my tent and don’t want a mouse to eat a hole through it to get to my snacks!
Important: Hanging a Bear Bag Correctly Is VERY Difficult
While the instructions make it seem easy, hanging a bear bag is really difficult in real-life conditions. Some issues you may have:
- Finding a good tree. Or any tree in some terrain.
- Throwing the rope. You’ll need to throw it least 12 feet up in the air. It is not easy. The phrase “throw like a girl” literally applies to me in this situation!
- Rope gets caught in branches. Even if you get it over the branch, it might get tangled on the way down. So annoying!
- Remembering instructions: Because it’s not like you can check the internet in the backcountry!
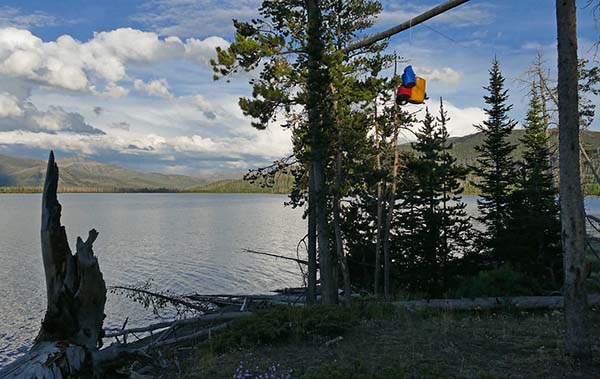
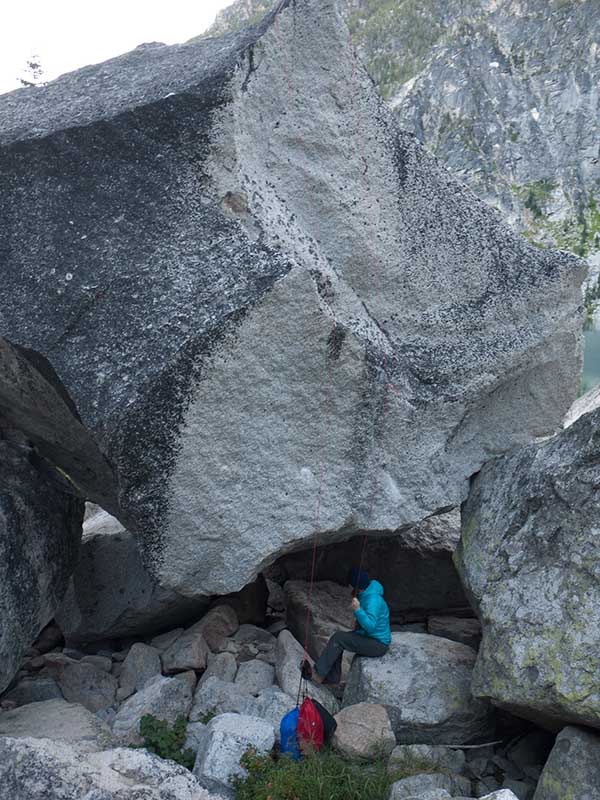
Finding a good tree is so difficult that some backcountry camps in Yellowstone have “bear poles” for hanging food. It prevents trees from getting damaged too.
Tips for Hanging a Bear Bag
When you take a look at the instructions below, it might seem rather straightforward and easy to hang a bear bag. But rarely does it work out as perfectly as in the diagrams. Here are just some of the issues you may have when hanging a bear bag:
- Give yourself LOTS of time. Scout out a tree and get your hang set up immediately when you get to camp. Don’t wait until after dinner!
- Make sure you have enough daylight: Don’t wait until the end of the day, because darkness will quickly fall and then you’ll really have a blast trying to hang it.
- Find the “perfect” tree. It’s worth the effort to scout out a tree without much vegetation in the way.
- Divide up weight. If you have a lot of food, you’ll need to divide it up and do multiple hangs.
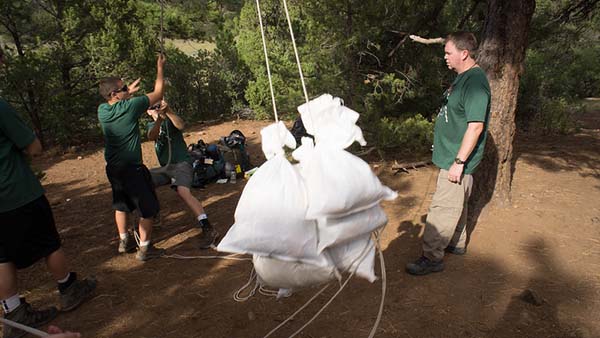
These scouts have to work hard to lift those bags and could seriously damage trees in the process. They should have hung each bag separately!
Supplies for Hanging a Bear Bag
1. Food Bag
The best food bag is:
- Waterproof
- Drawstring or rolltop closure
- Has a strap on the bottom (so you can hang the bag upsidedown so no water gets into it)
A lightweight dry bag like the one below works great. But, so long as the bag is sturdy and waterproof, you are fine. I usually just use my backpack’s rain cover. A heavy-duty shopping bag will work in a pinch.
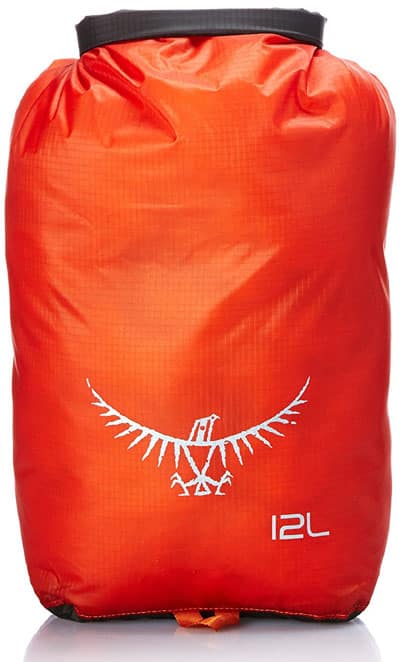
This waterproof dry sack by Osprey is the perfect bear bag. Buy it here.
2. Rope
You’ll need approximately 20 to 50 feet of rope to hang a bear bag. It’s better to have more than less!
Important: Thin rope damages trees! Don’t get rope thinner than 1.5mm as it will cut into tree branches and damage them.
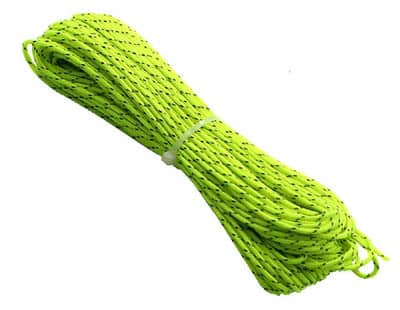
This ultralight cord by ThreeBulls is reflective so you can find your bear bag in the dark. Buy it here.
3. Throw Bag
You’ll need to tie the rope to a throw bag so you can toss it over the branch. To make a throw bag:
- Empty your tent stake bag (or another small drawstring bag)
- Put some rocks in the bag.
- Make sure the bag is closed.
- Tie it to your throw rope.
DO NOT USE A ROCK! Even if you are awesome at tying knots, the rock can still come undone and hit you in the head. Yes, this happens often! I almost got injured at least twice before I learned my lesson. :/
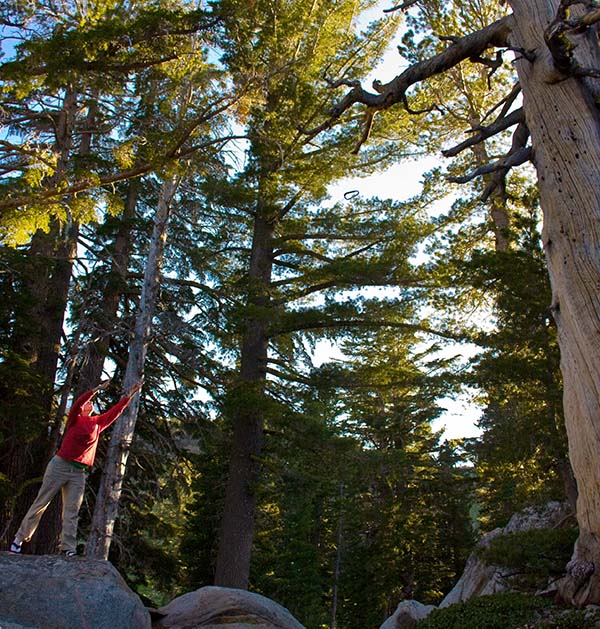
A carabiner is too light to pull the rope down after it goes over the branch, especially if vegetation is in the way. Make life easier by using a throw bag!
4. Odor-Proof Bags (Optional)
Hanging your food won’t stop bears from smelling it. And bears have amazing senses of smell. They can detect food from 20 miles away!
Lots of campers have stories about bears spending all night trying to get to the food. This hasn’t happened to me, but I definitely wouldn’t be able to sleep with a major predator outside my tent door!
One solution is to put your food in odor proof bags before putting it in the food bag. Odor-proof bags aren’t 100% effective. However, they do reduce smells. The large bags are also great for putting your stinky clothes into. 😀
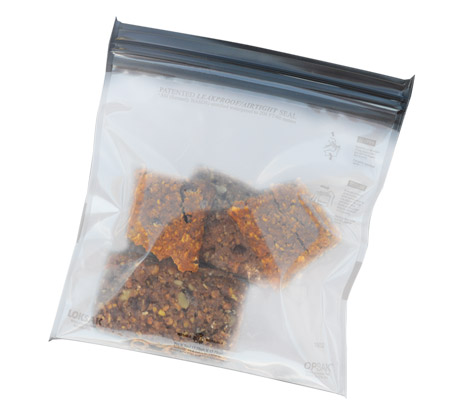
These odor-proof bags by Loksak are the most popular with backpackers. Get them here.
Not sure what to eat while outdoors? I’ve just written an eBook with over 50 dehydrator trail recipes, plus tons of advice on meal planning for backpacking trips.
Learn more here. Or buy it now.
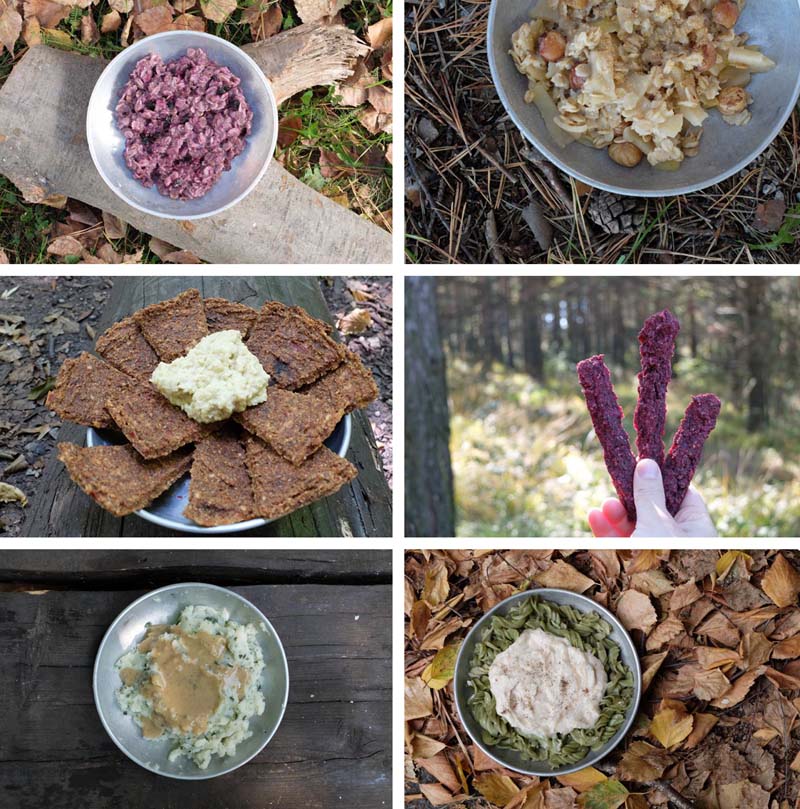
These are the types of meals I’m eating when I backpack. They pack in over 130 calories per ounce dry weight. Just add water to rehydrate! Get the book here.
Ways to Hang a Food Bag
There are multiple ways of hanging a bear bag. It is good to familiarize yourself with more than one of these because each has its pros and cons, and some are more suitable for certain types of trees.
General Guidelines:
Regardless of the hang method you use, follow these guidelines.
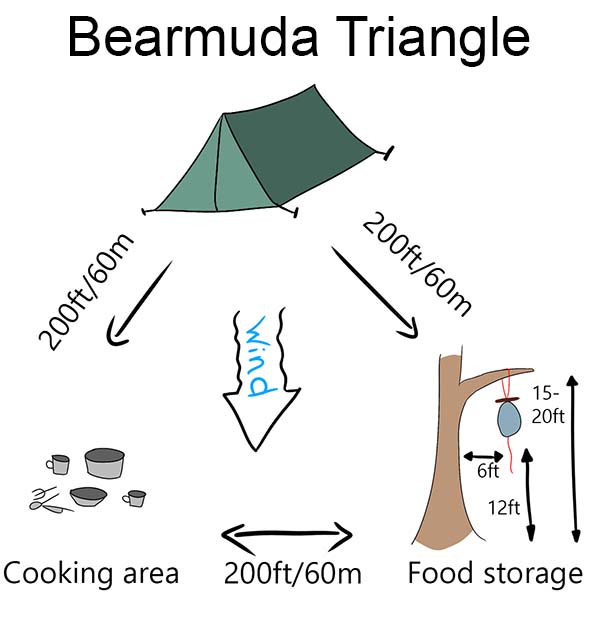
- Follow the Bearmuda Triangle: This means keeping your food hang, at least 200 feet downwind from camp. As I keep emphasizing, bears have really good senses of smell. They will be able to smell your food in the bear bag, and will likely try to get it. The last thing you want is bear trampling through your campground because the scent of food is there. For these reasons, you need to make sure your bear bag is hung at least 200 feet downwind from camp!
- The branch should be 15-20 feet off the ground. The food bag itself needs to be at least 12 feet off the ground (large bears are over 8 feet tall when standing and can reach even higher up). Since the food bag hangs down a bit, the branch needs to be around 15 feet or higher.
- Choose a branch which cannot support the bear’s weight. You don’t want the bear climbing onto the branch to get to the food. Also make sure none of the branches right under the food bag can support a bear.
- Hang at least 6 feet away from the tree trunk. Bears can climb the tree and reach out to grab the food bag. Some experts say to keep it 10 feet from the trunk!
- Put ALL scented items into the bear bag: That includes your soap, toothpaste, dish soap, perfumes, body creams (not sure why you are bringing these items camping though 😉 ). Since you will need your toothpaste at the end of the night, you can put it in a smaller bag and attach it to the main food bag.
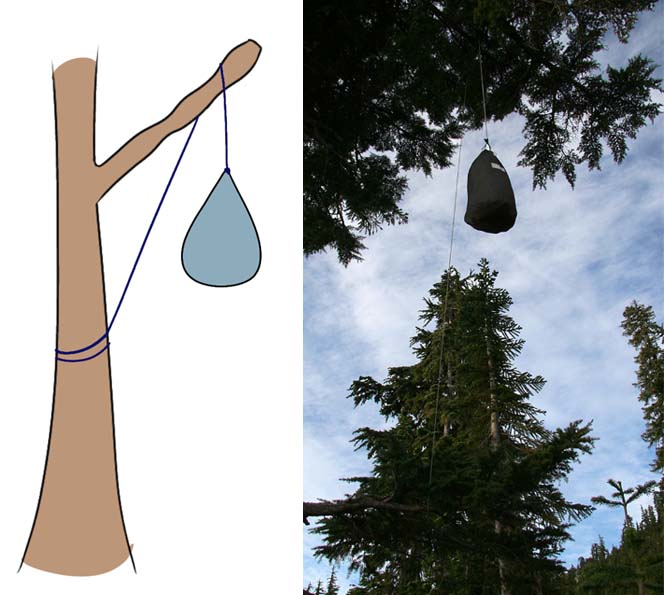
1. Simple Method/Critter Hang
- Very easy
- Only requires 20-25 feet of rope
- Not recommended in bear country
Instructions:
- Throw rope over the branch.
- Tie your food bag to one end of the rope.
- Pull on the rope so the bear bag goes as high as possible.
- Tie the rope to the tree trunk.
- To retrieve the bear bag, untie the rope at the tree trunk. Slowly release the rope so the bag doesn’t come crashing down!
2. Marrison Haul Method
- Uses 2 carabiners and 50 feet of rope
- Carabiners makes it easier to hoist/lower food bag
- Less likely to damage tree branches
- Not recommended in bear country
Instructions:
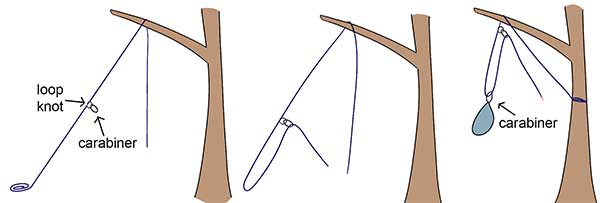
- Toss side A of the rope over the branch. The rope should be at least 6 feet from the trunk of the tree.
- On side B of the rope, make a “trucker’s hitch” knot about 6 feet up.
- Attach carabiner 1 into the knot you just made.
- Run the end of side B through the carabiner.
- In the loop you just made, attach carabiner 2 and attach the food bag to this.
- Tie rope side A to a nearby tree; tie as high up as you can
- Now tie rope side B to the same tree
- To retrieve your food bag, just untie and release rope side B slowly.
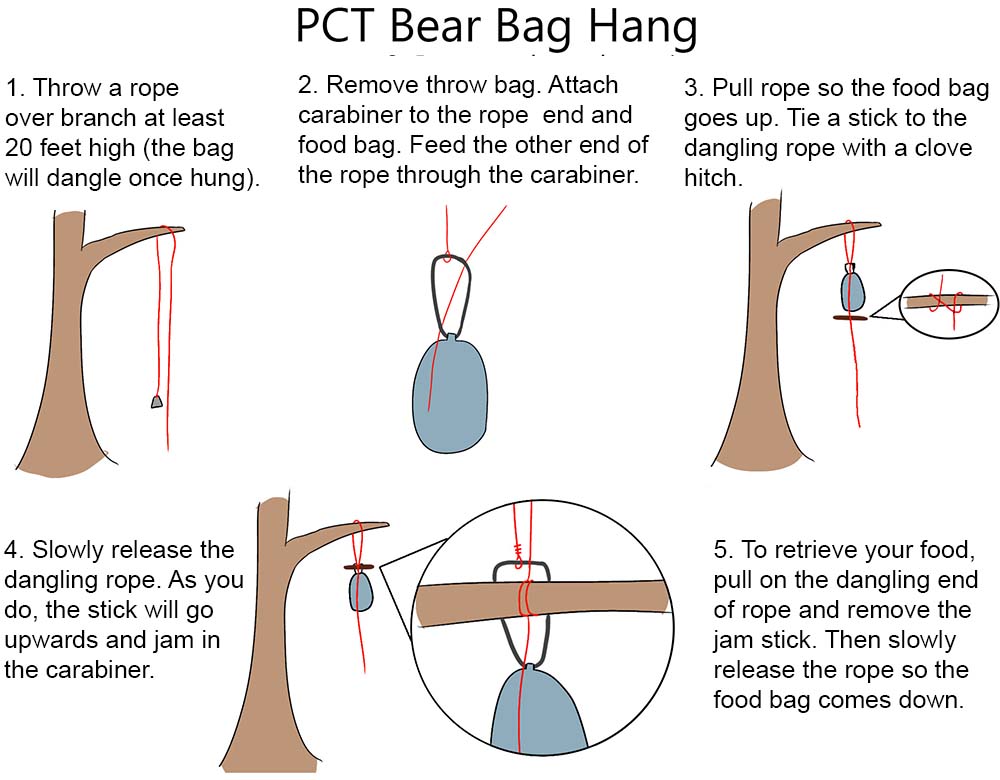
3. PCT Method
- Requires at least 40 feet of rope, 1 carabiner and 1 stick
- Considered best in bear country because they aren’t any ropes which can be chewed through to make the food drop.
- Tree branch needs to be at least 20 feet high
- Slightly awkward to tie the stick in place while the food bag is hanging in the air
- Difficult with heavy food bags.
Steps:
- Throw a rope over a tree branch about 20 feet high.
- Remove throw bag. Tie carabiner to the rope end. Also attach food bag to carabiner. Feed the other end of the rope through the carabiner.
- Pull rope so the food bag goes up. Tie a stick to the dangling rope with a clove hitch.
- Slowly release the dangling rope. As you do, the stick will go upwards and jam in the carabiner.
- To retrieve your food, pull on the dangling end of rope and remove the jam stick. Then slowly release the rope so the food bag comes down.
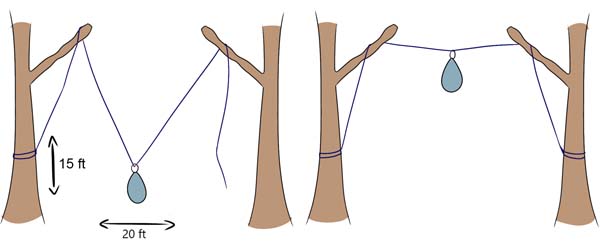
4. Two-Tree Method
- Requires at least 50 feet of rope and 1 carabiner
- Good when you can’t find one suitable branch
- Safer against bears than methods 1 and 2, but not as good as PCT method
- Must throw the rope two times
Instructions:
- Find two trees which are 12-20 feet apart and each have a branch which is at least 15 feet high.
- Throw one end of the rope over a branch. Tie the end around trunk of the tree.
- Throw the other end of the rope over the second branch.
- Using a carabiner, attach your food bag to the rope between the trees
- Pull on the loose end of the rope to hoist the food bag into the air between the two trees.
- Tie the rope to the second tree.
- To retrieve the food bag, slowly untie one end of the rope and loosen it so the food bag gently comes to the ground.
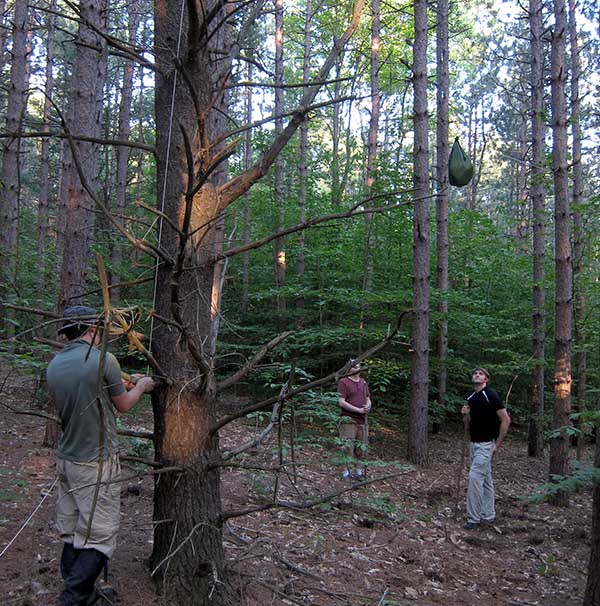
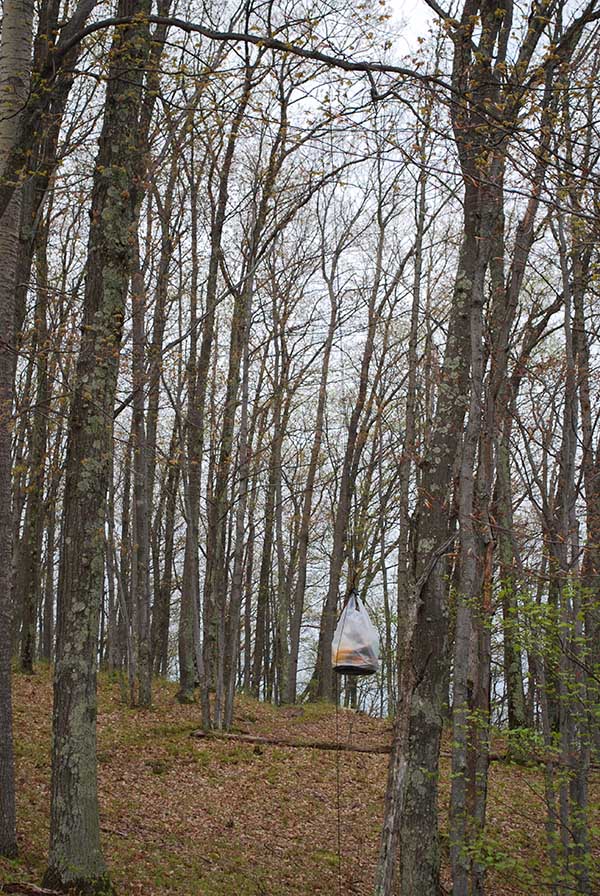
Here’s what the two-tree hang method looks like in real life
5. Double Rope Method/Counterbalance Method
Note: I really hate this method because you generally need two people and the food bags can get stuck in the tree, so I didn’t include it in the infographic.
- Requires 40 feet of rope, 2 carabiners and 2 food bags
- Very difficult for one person to do
- Need a branch at least 20 feet high
- Bags can get stuck in the tree
- Food may get damaged when poking bags with stick or lowering
Instructions:
- Toss your rope over the tree branch so both ends are now touching the ground.
- Divide your food into two bags of equal weight. Attach one bag to rope side A.
- Pull on rope side B to hoist the food bag into the air. Pull it as high as it can go. If you have a friend to help, have the friend hold the rope now.
- While your friend holds the rope so the food bag stays in the air, tie the second food bag to rope side B. Attach it as high as you can reach. Create a loop with the extra rope. You will use this for retrieving the bear bag.
- Let go of the ropes. Now, use a long stick to push the second food bag up (this will lower the first bag). Both food bags should be level with each other. They should be at least 12 feet off the ground.
- To retrieve the bear bag, use your long stick to grab the loop and pull it down. You can then remove the food bag and lower the other food bag down.
Bear Bag vs. Bear Canister
Bears are very smart. They can easily figure out which part of the rope to cut to make the food bag drop. The fact that most people don’t hang a food bag properly also makes it easy for them.
For these reasons, many national parks now require campers to use a bear canister. Rangers might even stop you and ask you to show your bear canister. If it doesn’t meet regulations, then you will get fined or even kicked out of the park.
Even if it isn’t required, you still may want to use a bear canister instead. While canisters are heavy and bulky, they save you the hassle of having to hang a food bag, especially when thru-hiking.
Use a Bear Canister If:
- It is required
- Bears are a problem where you are going (Yosemite, Lake Tahoe…)
- Trees will likely be scarce
- You suck at throwing
- Weight isn’t an issue
- You’ll be getting to camp late
- You want convenience, even if it means carrying some extra weight
Use a Bear Hang If:
- Bears aren’t likely to be seen where you are going
- Your food is more likely to be stolen by critters than a bear
- You will get to camp early enough to hang the bear bag properly
*Bear Vault is the most popular bear canister for backpacking (available here at Amazon and here on REI). There is also the option of using a Ursack instead of a bear canister (Amazon, ). It’s a bear-proof bag made from Kevlar material. It does just as good of a job at keeping your food away from bears, but is much lighter and easier to carry.
*Read the difference between bear canisters and Ursack here.![]()
Image credits:
“IMG_1467” (CC BY-NC 2.0) by jim_bogar,
“Our first raising of the bear bags” (CC BY-ND 2.0) by brookscl,
“The Toss” (CC BY-NC 2.0) by Ken-ichi,
“P1070011.jpg” (CC BY-ND 2.0) by brianholsclaw,
“Hanging our bear bag” (CC BY 2.0) by waitscm,
“bear bag food hang” (CC BY-NC-ND 2.0) by badenton,
“Bear Damage0001” (CC BY 2.0) by CaliforniaDFW







Post your comments