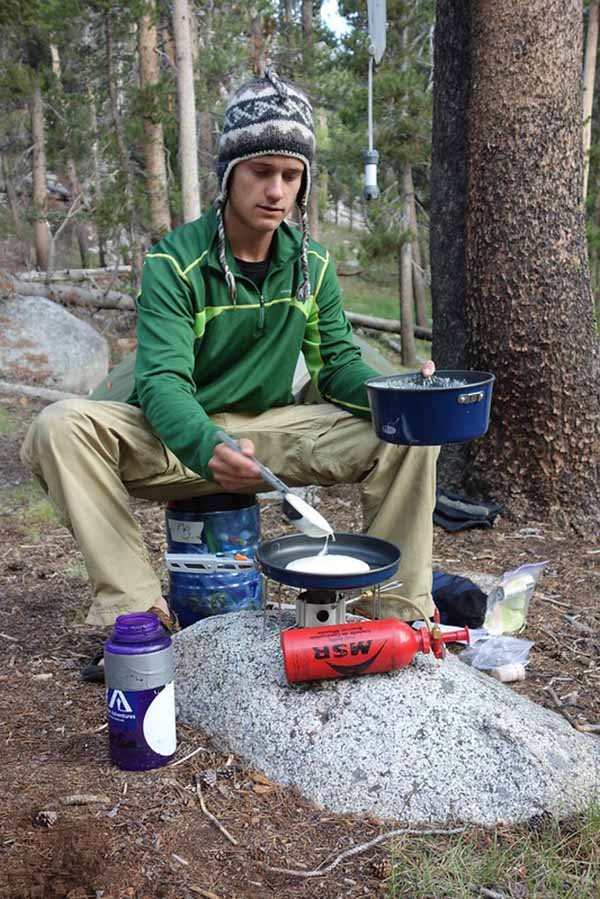
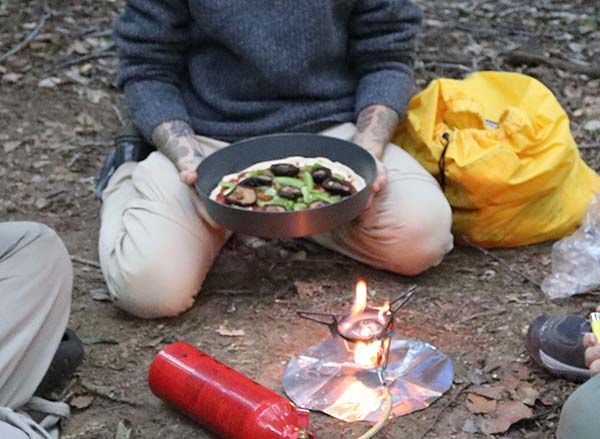
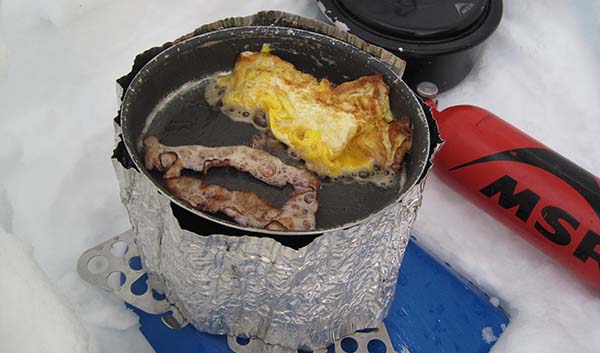
One “luxury” backpacking item which can be really worth its weight is a skillet or frying pan. Having one greatly increases the types of foods you can make on the trail. For example, you’ll be able to cook up pancakes, quessadillas, sausage, cinnamon rolls, eggs you got during refueling trips in town, and even pizzas.
If you plan your setup right, the frying pan can also serve as a sauce pan, allowing you to make two-part meals – like preparing instant mashed potatoes in your main pot and dehydrated gravy in the frying pan. Then you really get a LOT more options for backpacking food.
The problem is that most lightweight backpacking skillets are terrible for gas canister or even alcohol stoves. The lightweight metal doesn’t transfer heat well so you end up with either burnt or undercooked food (not to mention a burnt pan and a lot of frustration on the trail).
So, you’ve really got to be realistic about how lightweight you can get while still having a useable product. And, if you are going to go with ultralight titanium frying pots, then you’ve got to know how to properly use them with your stove.
I’ll go over all of that here. 🙂
Quick Answer:
Hard anodized frying pans are best for backpacking. They are conduct heat well, are durable and nonstick, and are lightweight. Titanium is much lighter but you’ll need to use an alcohol stove and keep the pan above the flame. You may also need to season the titanium pan or use a lot of oil to keep food from sticking.
Top Picks:
- Best Overall: Trangia 27 UL -Made from anodized aluminum so it’s lightweight and naturally nonstick. Great quality product without costing too much. You’ll need your own handle though, which adds approx. 1.5oz of weight.
- Runner Up: Jetboil Skillet – It’s has a thicker middle than edges for better heat distribution. Just take good care of it because of the nonstick surface.
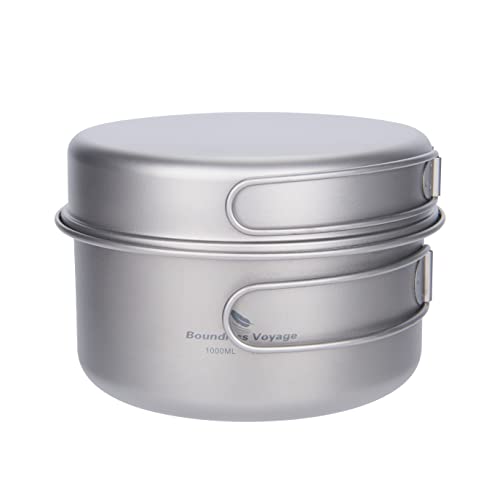
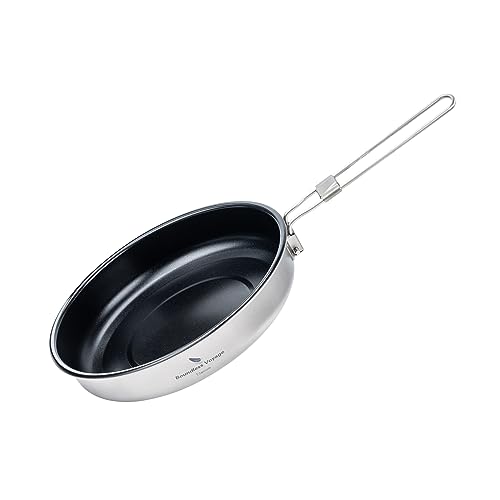
- Ultralight Pick: Boundless Titanium Voyage Set – Comes with a pot and frying pan that also serves as a lid. Great UL setup and surprisingly affordable too.
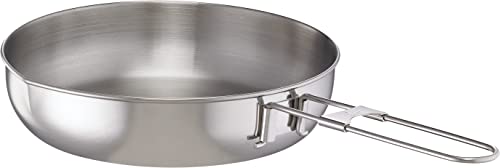
- Most Durable: MSR Alpine Fry – It’s far from ultralight but this stainless steel frying pan can take a beating and also distributes heat really well.
- Budget Pick: Toaks D115 or Toaks D145 – A really good brand of cheap titanium cookware. Just be realistic about how well titanium handles high temperatures.
Want to elevate your trail food?
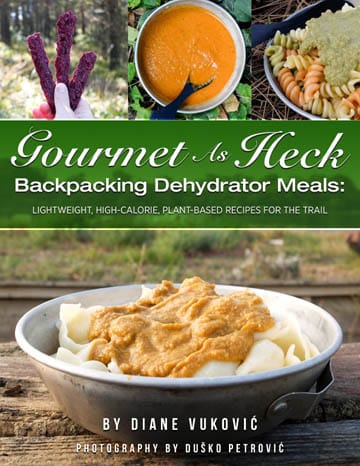
Check out my eBook. It’s got over 50 gourmet dehydrator recipes which are insanely calorie-dense and delicious.
Comparison Table
*Ti = Titanium; Al = aluminum; An Al = Anodized aluminum; SS = stainless steel
| Pot | Material | Weight | Size | Coating? |
|---|---|---|---|---|
| Toaks D115 | Ti | 1.6 | 4.4" | No |
| Snowpeak 1400 | Ti | 2.2 | 5.57" | No |
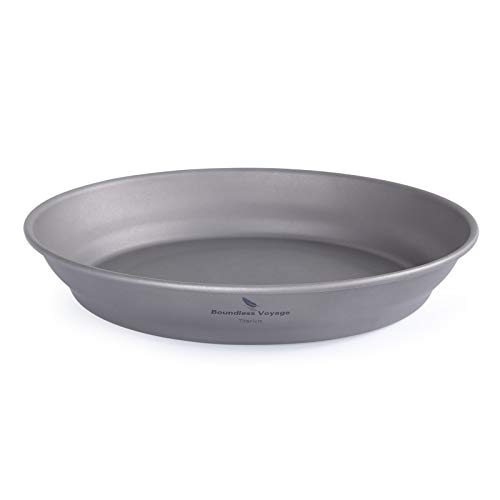
| Boundless Voyage Plate | Ti | 2.6 | 5.6" | No |
| Boundless Voyage Set | Ti | 2.3 | 5.6" | No |
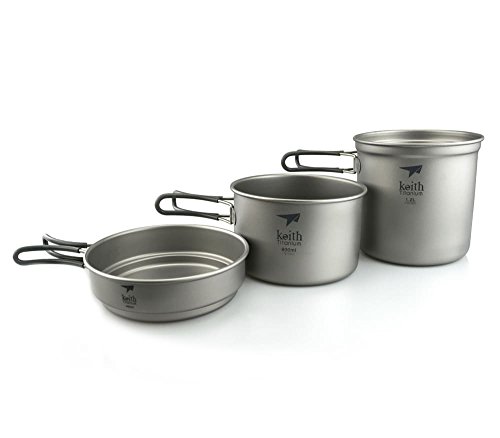
| Keith Set | Ti | 2.5 | 5.45" | No |
| Toaks D145 | Ti | 2.7 | 9.9" | No |
| Trangia 27 UL HaAn | An Al | 2.8 | 7.4" | No |
| Trangia 27 Duossal 2.0 | Al & SS | 2.8 | 7.4" | No |
| Trangia 25 Duossal 2.0 | Al & SS | 4.2 | 8.7" | No |
| Evernew Nonstick | Ti | 4.9 | 7.3" | Titanium plasma |
| Fat Daddios Pie Pan | An Al | 5.6 | 9" | No |
| MSR Quick Skillet | AnAl | 5.9 | 7.75" | No |
| MSR Ceramic | Al | 6.8 | 8" | Ceramic |
| Boundless Voyage Nonstick | Ti | 7 | 7.4" | Ceramic |
| Sea to Summit X Pan | An Al | 10 | 8.5" | No |
| Jetboil Skillet | Al | 10.6 | 8" | Ceramic |
| MSR Alpine Fry | Al & SS | 11.4 | 7.7" | No |
Heat Transfer When Boiling vs. Frying (or Why Your Backpacking Pan Will Burn)
Let’s start with a quick primer on boiling vs. frying cooking methods. Trust me, this is important if you want to avoid burning your pan!
Boiling = Convection
When you boil food in a pot, the primary method of heat transfer is convection. With this method, the heat is transferred to the water. The hot liquid rises and cooler liquid drops, where it is reheated. This continuous circulation ensures the heat is evenly distributed throughout the pot.
Since the food is surrounded by the liquid, it also has a uniform cooking temperature. The pot never gets above the boiling point of water. There are no hot spots and your pot doesn’t burn.
Frying = Conduction
Frying uses conduction: heat is transferred to the food through direct contact with the frying pan. There is no liquid in the pan to help transfer the heat, so the pan gets a LOT hotter than the temperature of boiling water.
Conduction does wonderful things to your food like caramelizing and searing. But it also means that heat isn’t evenly distributed so you get hot spots on the pan. If you aren’t careful, the pot can burn and food sticks.
To prevent burning and sticking, good skillets are made from a thick material which conducts heat well (think cast iron). The extra mass allows for a more gradual and even transfer of heat throughout the entire pan, preventing rapid temperature fluctuations and hot spots.
Best Material for Backpacking Frying Pans?
Anodized aluminum is the best choice for backpacking frying pans. It is a good heat conductor while still being lightweight enough for backpacking. Compared to regular aluminum, the surface is more durable and naturally nonstick.
If weight is your primary concern though, titanium is the way to go. However, titanium frying pans are terrible heat conductors. You’ll need to take a lot of care to ensure the pan doesn’t burn.
When it comes to durability, stainless steel is the best choice and also conducts heat decently. The downside is that it’s too heavy for most backpackers.
I’ll go over each of the different material choices here as well as the best frying pans. Whatever frying pan you choose, be sure to test it at home first!
Aluminum
With the exception of copper, aluminum has the best conduction properties of any frying pan material. It is even better than cast iron in conducting heat. This makes it great for dry foods like sausages. Aluminum frying pans also have the benefit of being incredibly lightweight and cheap.
The downside is that aluminum pans aren’t very durable. I use aluminum cookware backpacking and the pots definitely have dents in them! Any sort of dent in your pan will cause sticking in those spots, so you need to be more careful with them. Trangia solves this by adding a layer of stainless steel to the pans to make them more durable.
Recommended:
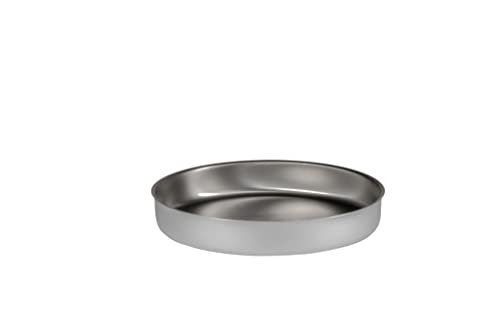
The Duossal by Trangia is made out of aluminum with a layer of stainless steel on the interior bottom. This makes it lightweight, able to conduct heat well but stronger than aluminum alone. The 27 version is very lightweight at 2.8oz. The 25 version is larger (8.7x1.3") and weighs 4.2oz. Both pans can nest into each other.
Hard Anodized Aluminum
Anodized pans are created through a process called anodization. First, the aluminum pan is immersed in an acid electrolyte bath. Then, an electric current is applied, forming an oxide layer on the surface. This oxide layer creates a surface that is more durable and naturally nonstick.
In terms of usability – such as nonstick properties and ease of cleaning – anodized aluminum pans are definitely better than regular aluminum. The only downside is that they are pricier and there aren’t as many options.
Recommended:
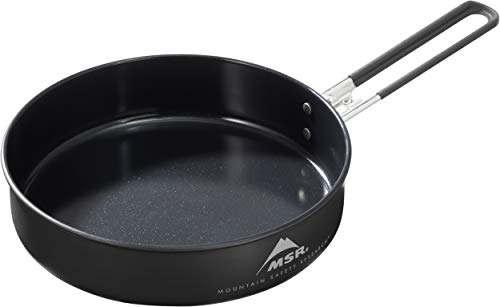
This skillet is a nice size and weight and doesn't cost a fortune. It nests with Quick 2, Base 2 and Alpinist 2 cookware.
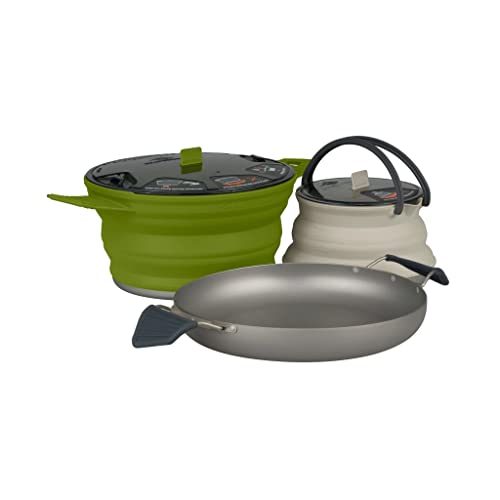
You'll either love or hate the X pan because of its weird collapsible handles. It's heavy, but also large enough for multiple people. It's been discontinued so you may only be able to find it as a set with the pot and kettle, both of which are collapsible. The set nests together but is heavy at 1.8lbs total. It's also pretty pricy.
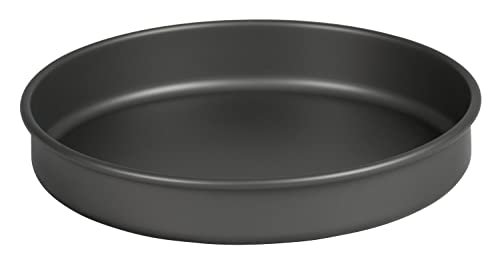
Trangia makes good products which don't cost a fortune. The edges are nicely rounded so the pan is easy to clean. Bear in mind that this skillet doesn't have a handle, so you'll need to use a pot grabber. This one weighs 1.5oz and is cheap.
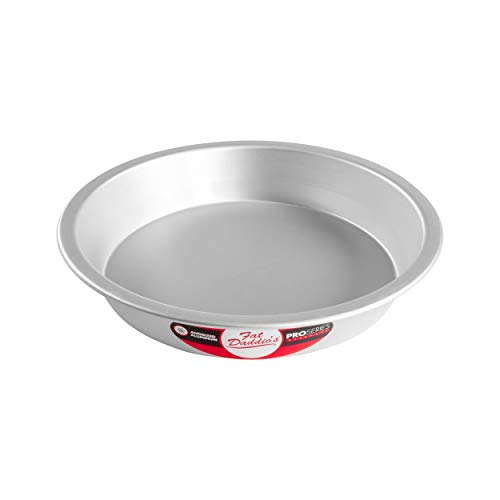
This isn't meant for backpacking but works great as a fry pan. It's made from thick anodized aluminum that distributes heat well. The edges do have a lip, so it can be annoying to clean, but is a good cheap solution.
Titanium
For ultralight backpacking, titanium pots are the best choice. But, when it comes to pans, titanium is a terrible material. It doesn’t conduct heat well at all.
Try to cook pancakes in a titanium skillet and the center of the pancake will be burnt before the edges are remotely cooked!
If you are so obsessed with reducing pack weight that you want to use a titanium pan, you are probably better off not bringing a pan in the first place. That said, there are some people who successfully have used titanium pots while backpacking.
If you want to use a titanium frying pan…
- Add a lot of oil to the pan. The extra oil then transfers heat through convection so the pot is less likely to burn and food is less likely to stick. But bringing that much extra oil negates the weight-saving benefits of choosing titanium in the first place (unless you really like oily food).
- Move the pan around constantly. This prevents hot spots from forming in one place. This is a pain though.
- Use an alcohol stove. The temperature of an alcohol stove is typically less than that of a gas stove.
- Put pan above flame. If using an alcohol stove, you can prop up the pan so it is higher above the flame so you don’t get as intense of a hot spot.
- Season the pan. Just like how you would season a cast iron pan, you can season a titanium pan. This involves putting a coating of flax or rapeseed oil on the pan, heating it in the oven, removing from the oven to let it cool and then taking it out of the oven and repeating the process.
Recommended:
- Contains pot with fry pan that acts as a lid
- 5.57"
- 2.2oz (just pan); 7.4oz (set)
- Nests with Trek 900 and 700
- Rounded edges for easier cleaning
- Folding handles
- 1.6 oz
- 4.75" x 1.5"
- Handle folds
- Also available in 5 5/8" size
- Can be a lid for the Toaks 900ml and 1100ml pots
- Cheap!
- Plate that works as a frying pan if you get a handle for it
- 7" x 1"
- 2.1oz
- Also available in other sizes and shapes
- Cheap
- Set contains 1000ml pot and 500ml pan
- Also available with 1200ml pot
- 5.6x1.3" (pan)
- 2.3oz (pan only); 6.3oz (set)
- Set contains 1000ml pot and 500ml pan
- Also available with 1200ml pot
- 5.6x1.3" (pan)
- 2.3oz (pan only); 6.3oz (set)
- Set contains 2 pots (1200ml/4.4oz and 800ml/3.5oz) and 1 pan (400ml/2.5oz)
- 5.45"x1.57" (pan)
- Pan serves as a lid for either pot
- Set contains 2 pots (1200ml/4.4oz and 800ml/3.5oz) and 1 pan (400ml/2.5oz)
- 5.45"x1.57" (pan)
- Pan serves as a lid for either pot
Stainless Steel
Stainless steel isn’t nearly as good of a heat conductor as aluminum and it’s also heavier. But, when it comes to durability, you really can’t be stainless steel. It can handle very high heat well (including your gas canister stove) and you don’t have to worry about it getting scratched in your pack or during cleaning.
For solo backpacking, stainless steel pans are probably too heavy to be worth it. But, if you are sharing the weight with a group, it is worth considering because of the durability.
Recommended:
MSR Alpine Stainless Steel Camping Fry Pan
- Stainless steel with an aluminum bottom for better heat distribution
- 7.7" x 1.9"
- 11.4oz
- Removable handle
- Nests with MSR 3L Apline pot
Non-Stick Backpacking Frying Pans
Non-stick pans have a coating on them that prevents food from sticking to them. The problem is that these coatings usually can’t withstand high heat. They also are easily scratched and damaged.
Most guides recommend keeping the temperatures to below 400ºF (good luck doing that with a gas canister stove!). Otherwise the coating can wear away. With Teflon, the coating can bubble off and get into your food, which has serious health risks. These health risks are why virtually no backpacking pots have Teflon coatings: they generally use ceramic instead. But even ceramic nonstick coatings don’t handle heat very well.
If you want to use a nonstick frying pan backpacking…
- Only plastic or silicone utensils. Don’t even think of touching it with metal!
- Pack it carefully. You’ll need to put a microfiber towel or something else in the pan to prevent it from getting scratched in your pack.
- Use an alcohol stove. The temperature is lower so the coating will last longer.
- Be realistic about longevity. Some of these pans are expensive , so consider how much you want to spend on a backpacking pan which might not survive many trips.
- Don’t use Teflon. It will be on a stove which gets insanely hot.
Recommended:
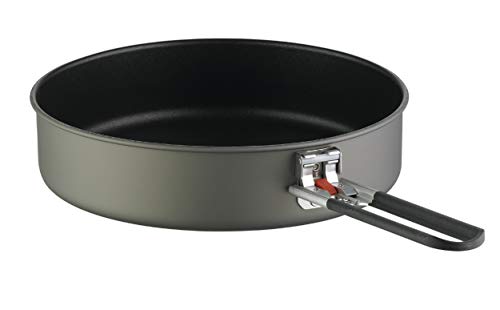
Like most MSR products, this skillet isn't cheap but it's really well made. The ceramic coating holds up well. The aluminum is a bit thicker so it distributes heat fairly well. The handle is removable.
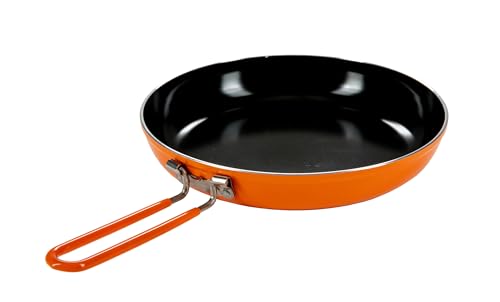
This is far from the lightest backpacking skillet but it's really well made. The center of the skillet is thicker than the edges, which reduces hot spots and burning. You still need to be careful with it, but it holds up well.
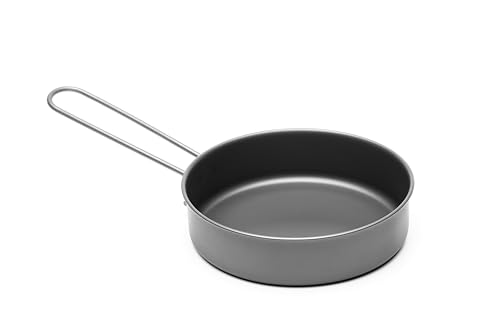
"Titanium plasma coating" is a newer nonstick technology that is safer and more durable than ceramic. It withstands high heat and scratching better than ceramic too. Amazon uses it on some of their frying pans but, otherwise, it's still not very popular. The pan ends up being expensive because of this.
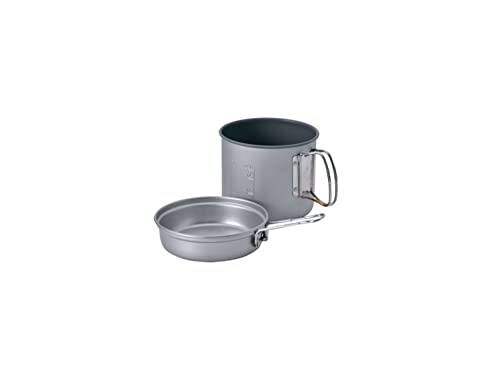
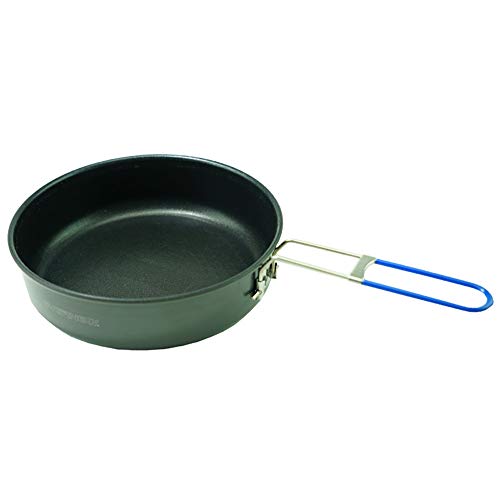
This is the most affordable of the nonstick backpacking pans here, while still being a good quality. I like how there's a lock on the handle so it isn't as wobbly as other removable handles.
Alternative Solution: Use Your Pot as a Skillet
If you only want to occasionally fry something when backpacking, consider using your pot as a skillet. You’ll just need to choose a pot which is wider and shorter (as opposed to those narrow/tall pots which are more popular). The Sea to Summit Alpha pot (1.2L, 6.6oz) and MSR Ceramic Solo (1.3L, 7.3oz) are good choices.
Don’t forget about my eBook!
Because you made it to the end of this post, I’ll even give you 50% off. 🙂
Resources:
https://www.goodhousekeeping.com/cooking-tools/cookware-reviews/a43974972/best-cookware-material/,
https://therationalkitchen.com/best-cookware-material/,
https://prudentreviews.com/ceramic-cookware-pros-and-cons/#Con-Durability,
https://hestanculinary.com/pages/titum-story,
https://evernew-global.com/products/alminium/feature.html,
https://lumenflon.eu/en/titanium-plasma/
Image credits:
“Kyle prepares excellent pancakes on our” (CC BY-ND 2.0) by brianholsclaw
“Fry ’em!” (CC BY-SA 2.0) by lumachrome
“Eliza and Rose” (CC BY-SA 2.0) by simonov
“bacon and eggs (and butter.)” (CC BY-NC-SA 2.0) by mizinformation
“IMG_8835” (CC BY-NC 2.0) by Sterling College






1 Comment
Rosemary huebner
March 22, 2024 at 11:08 pmA non-stick pan is a lifesaver for cleanup especially when you want to hit the trail early.