
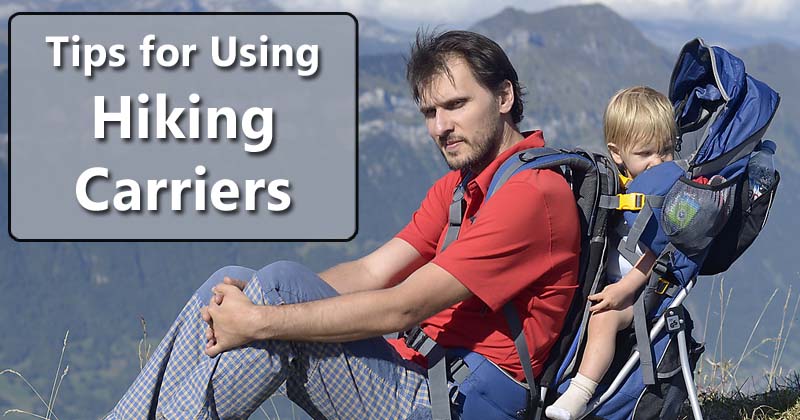
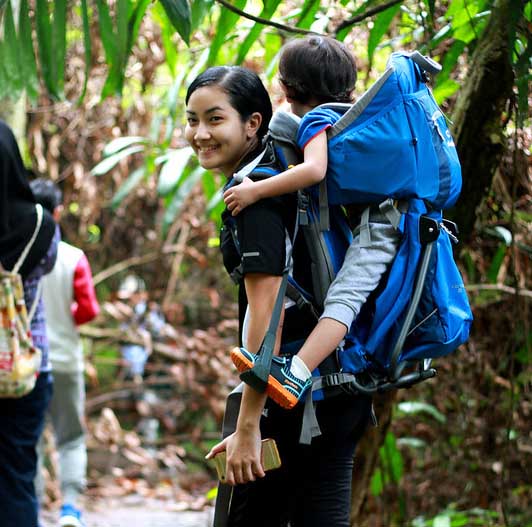
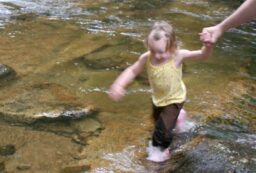
Most children aren’t able to complete hikes on their own until they are at least three or four years old. So, unless you want to carry your kid in your arms (you don’t!), you’ll need a child hiking carrier. There’s a high learning curve to using child carrier backpacks though. Here are some tips to make the experience go more smoothly.
1. Read the Instructions
Most of the “best” hiking carriers have tons of bells and whistles. This is one case where you’ll actually want to actually read the instructions. Otherwise, you might miss an important feature or adjust straps incorrectly. For example, the Deuter Kid Carrier (see on REI, Amazon) has a water bladder compartment, but it’s hard to find without consulting the instruction book.
2. Some Features Are Worth the Extra Cost
Child hiking carriers are expensive. I tried to save money by purchasing a secondhand off-brand carrier for my daughter. It only cost about $30 but lacked a lot of features. Ultimately I found it too annoying to use. After that carrier, I happily paid more for:
- A good suspension system!
- Hydration pack compatible
- Front pillow/drool sponge
- Big hip belt storage pockets
- Sun roof
- Removable day pack
- Rain cover
Tip:Check out REI’s Outlet. You can sometimes find big discounts on child hiking carriers.
3. Attach a Mirror to the Carrier
Some hiking child carriers come with mirrors attached to the straps. The mirror is incredibly helpful for checking on your child (see if they are sleeping, have too much sun, hat fell backwards…). If your carrier doesn’t have a mirror, you can get one of those little camping signal mirrors and attach it with a carabiner.
4. Use Trekking Poles for Stability
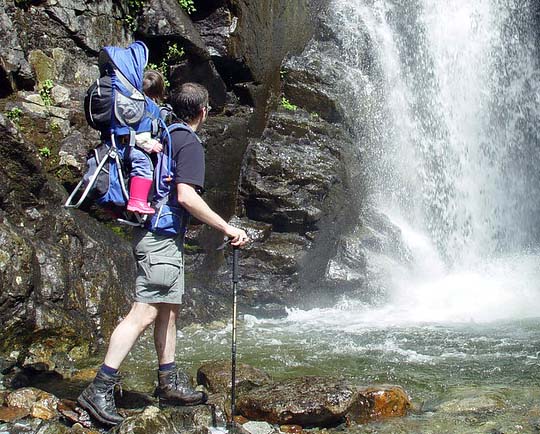
Don’t mess around while carrying your child in a hiking carrier – use trekking poles! Carriers are top-heavy and thus make it harder to balance. Even if you are used to carrying heavy loads, you’ll still probably want poles as kids don’t sit still like normal cargo does. Research shows poles will help distribute the weight throughout your body and give you stability while saving your back.
Read this post about the pros and cons of using trekking poles
5. Your Child Should Sit As Low As Possible
Adjust the seat in the carrier so your child is at low as possible while still having his/her head out (your child should be able to see well in front and to the sides).
Keeping the seat low helps prevent the carrier from being too top-heavy. A top-heavy load is a lot harder to a balance.
A child positioned low in a hiking carrier means better balance
6. Choose a Hydration Compatible Carrier
As mentioned before, some features are worth paying extra for. The most important one is a hydration compatibility.
If you don’t have a hydration pack, you will have to keep a water bottle in a side pocket. These side pockets are NOT accessible while you have the carrier on! You’ll either need to ask a partner to hand you the water bottle each time you want a sip or (worse) take the carrier off to get the water.
7. Never Leave the Carrier on a Picnic Table
Or any other elevated platform. While it is easier to put on/take off a carrier from here, the carrier could also topple over and send your child falling to the ground.
This is NOT safe!
8. Bring a Foam Pad
When hiking with a baby or toddler, you’ll need to take a lot of breaks – for your child to stretch and for you rest your back. A foam pad means you’ll have someplace to put your baby down and for you to sit. As a bonus, the pad doubles as a changing pad.
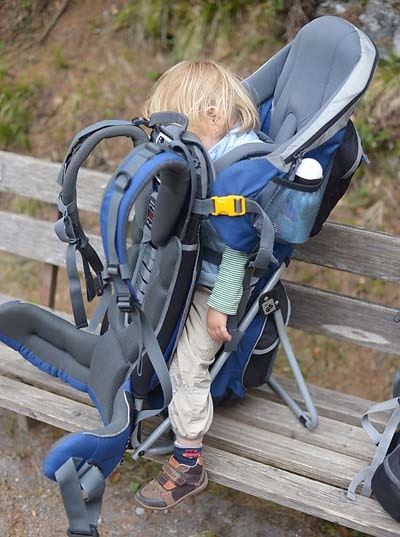
9. Only Pick Up the Carrier by the Center Loop
If you try to pick up the carrier by the straps when putting it on, the carrier will get off-balance and the entire thing will flip – with your child in it!
10. Use Carabiners to Attach a Snack Cup
Once your kids get a bit older and can feed themselves, use a carabiner to attach a cup to the carrier. They will happily snack while you hike.
11. Wear a Daypack in the Front
One of the things that annoys me most about child hiking carriers is that the storage pockets are in the back. To access anything on solo hikes, you have to take the entire carrier off. Not fun!
A simple solution is to wear a daypack in front. The Deuter Kid Comfort Pro even comes with a daypack which you can clip to the front. I personally find that daypack a bit too big (I’m only 5’1” and it hangs too low on my small frame). Other solutions are to get shoulder strap attachment pouches or sometimes I even hike with my purse. Yes, my normal everyday purse!
12. Cover Muddy Shoes with Bags
Once kids get a bit older, they will probably spend part of the hike in the carrier and part hiking. In good conditions, this isn’t an issue. But, in muddy or snowy weather, it means your kid’s shoes get really dirty – and then have to go back in the carrier.
I’m not afraid of a bit of mud but it’s no fun to clean inches of mud from your carrier. The mud also gets on your clothes since your child’s feet in the carriers are right on your sides. Try going to lunch after a hike covered in mud like this and see how many stares you get!
A simple solution is to bring some baggies to put over your child’s feet each time they go back into the carrier. Even better, get some nylon drawstring bags. One hiker I talked to uses old umbrella cover bags for his kid’s feet.
13. Do a Test Run At Home
You don’t want to be fiddling with straps and adjustments while you are on the trail. Absolutely do a test run before you go hiking.
Adjust the straps. Load up the carrier with everything you’ll bring and test it out. Then adjust the straps again. If you aren’t sure how to fit a backpack properly, here’s a good video.
Note: Wear your hiking clothes when doing the test run – your carrier will have different adjustments in summer vs. in winter when you’ve got a bulky jacket on.
14. Consider a Hiking Stroller for Toddlers
Yes, I know all the “serious” hikers use child carrier backpacks – but that might not be the right solution for you. I’m a very petite mom and I lost a lot of my core strength during this last pregnancy. Now that my daughter is two years old and very heavy, I have a hard time carrying her in the backpack carrier. The hikes are exhausting and I don’t enjoy them as much.
Instead, I’ve had to redefine what hiking means to me. Now, I mostly take my toddler out on stroller-friendly hikes. This allows us to be outside together all day in a way that both of us enjoy.
Read more about hiking carriers vs. strollers here.
Also read:
- What to Bring when Hiking with Kids
- Advice for Camping with Toddlers
- Best Hiking Child Carriers for Petite Women
- Frame Carriers vs. Soft Carriers for Hiking
Do you have any tips for using child hiking carriers? Let us know in the comments.
Image credits:
“20140510-162047-d610-DSC_7971” (CC BY 2.0) by vasile23,
“Daddy pose” (CC BY 2.0) by vasile23,
“Baby Hiker” (CC BY 2.0) by kteague,
“Taman Negara” (CC BY 2.0) by Phalinn Ooi,


Post your comments