There are lots of ways to cook over a campfire. Of these, cooking tripods are popular because they have a low learning curve, versatile and are great for hands-off slow cooking. Here I will go over the best campfire tripods for cooking, how to make your own campfire tripod like how to hang the pot and keep food from burning.
What Is a Campfire Tripod?
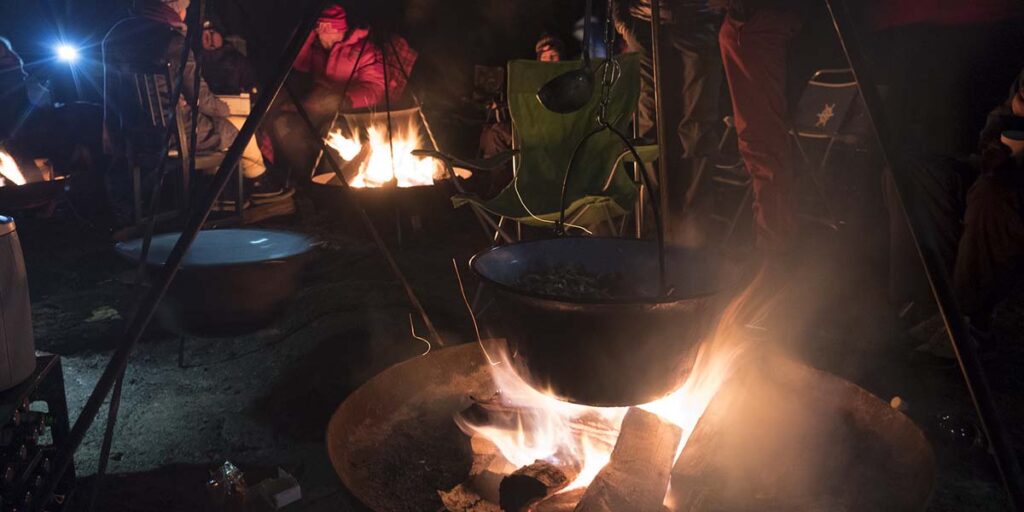
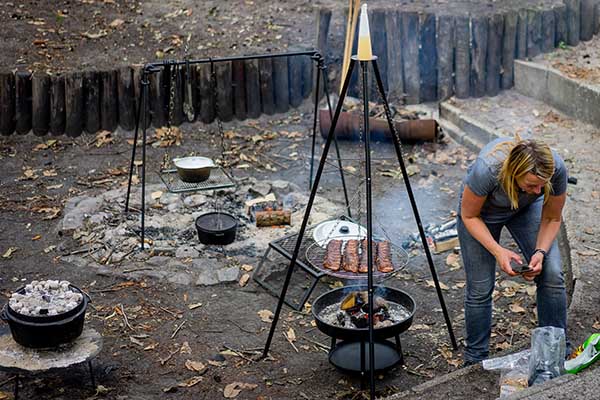
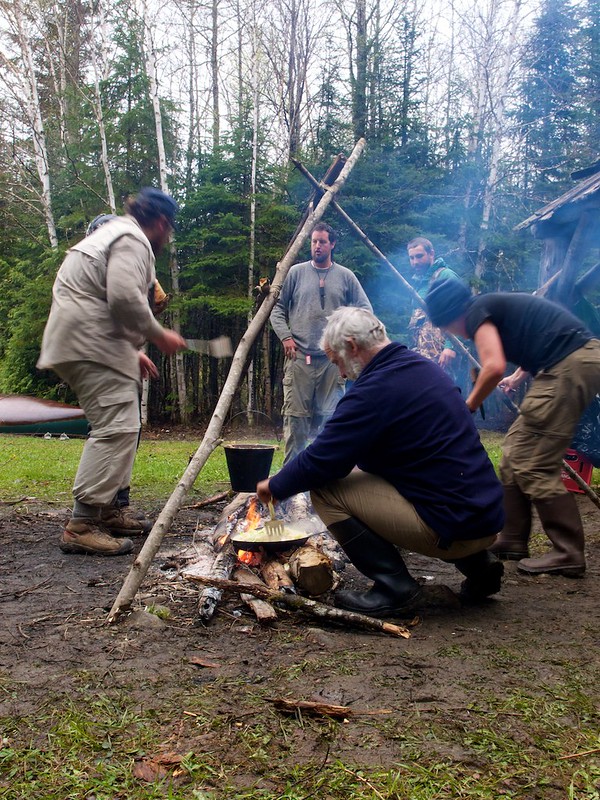
A campfire tripod consists of three legs connected together at the top. You spread the legs over a campfire and hang a pot from the center. A lot of campfire tripods have chains so you can adjust the height of the pot or hang a grill rack from the tripod.
Cooking with a Campfire Tripod
What Can You Cook with a Campfire Tripod?
Campfire tripods are typically used to make slow-cook meals in hanging pots. You start by frying ingredients like onions, garlic and peppers in the pot. Then you add water or stock, proteins like beans or meat, and carbs like potatoes. Let it simmer with the lid on or off for at least an hour, or until the liquid has reduced and all foods are cooked.
You can also hang a grill rack off of many campfire tripods. You can grill food directly on the rack or use it for holding cast iron pans. This allows you to use campfire tripods for a wide range of foo.
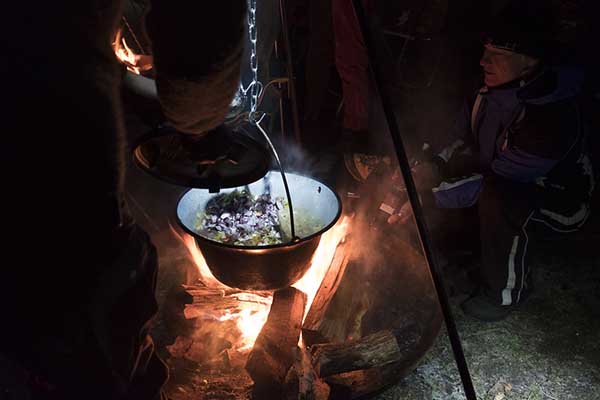
Stews and other slow-cook foods are great for campfire tripods.
Setting Up the Tripod
Once the fire it going, it can be tricky to move the tripod around. So, you want to make sure it’s set up properly before you light the fire. Here’s how.
- Assemble your tripod.
- Position the tripod over your fire pit. The legs need to be evenly spaced and on solid ground. They should be far enough apart that you can access the fire.
- Pull the chain. Does the tripod feel stable?
- Hang your empty pot or grill from the tripod chain.
- Adjust the chain height. You can put a few pieces of wood underneath the pot to get an idea of the height.
- Once you have the right height, remove the empty pot.
- Make a fire and let it burn down.
- Once you have a large bed of coals, hang your pot on the tripod and start cooking.
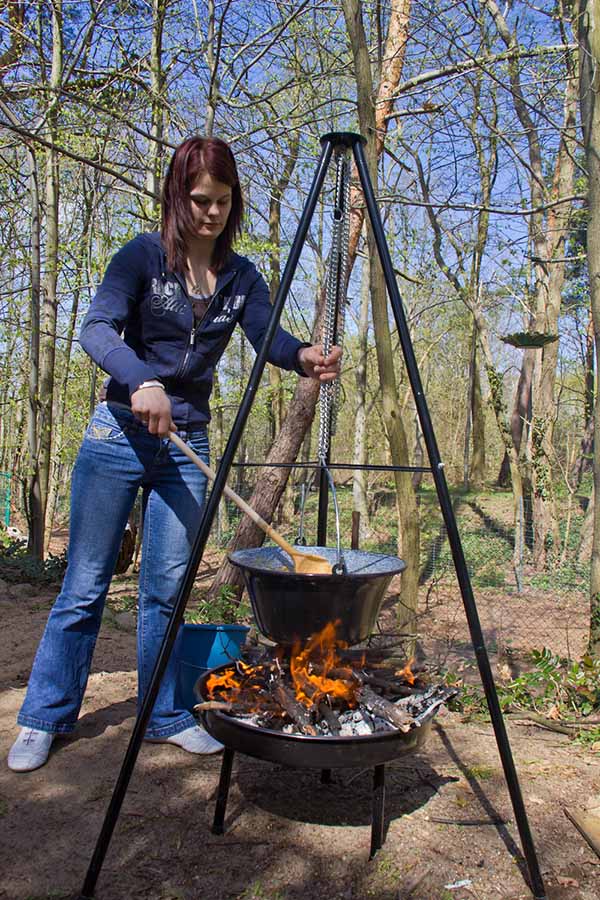
The wider the base, the sturdier your tripod will be.
Adjusting the Height
Adjusting the height of the tripod allows you to control the cooking temperature. There are two ways to adjust the height.
- Adjust legs. This should only be done before you start cooking. It’s not safe to move the tripod once the fire is burning. Remember that a wider base is more stable, so don’t move the tripod legs too close together.
- Adjust the chain. Try to get the right length before you start cooking. If you need to adjust the chain after you’ve started, remove the pot from the chain. Do NOT try to adjust the chain with the pot hanging from it!
What Height?
- Slow-cook meals and simmering: Hang the pot further away from the fire to allow for convection cooking.
- Grilling: you’ll want the rack to be closed to the fire so it touches flames or gets the smoky taste of charcoal.
- Boiling: Hang the pot closer to the fire but keep it closed so ashes don’t get into your water.
Pro Tip: Wear heat-resistant gloves when handling the tripod or cooking equipment. It’s safer and reduces the likelihood of dropping your pot!
Best Campfire Cooking Tripods
If you want to buy a tripod for campfire cooking, you’ll need to pay attention to these features:
- Weight capacity. If using a large pot or cast iron, the tripod will need a high weight capacity.
- Does it have a collapsible design? How much does it weight?
- Base size. The wider the tripod’s base is, the more stable it will be. However, this means that the tripod will be larger.
- Adjustable height chain. You can use this to lower the height of your cooking pot.
- Grill rack. This accessory allows you to cook many other types of food from your tripod.
Below are the top picks for campfire cooking tripods.
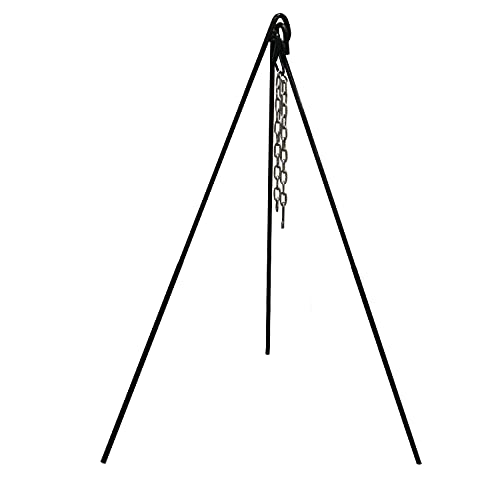
Stansport Steel Cooking Tripod
Verdict: Cheap yet strong cooking tripod that can hold heavy Dutch ovens
- Weighs: 13lbs
- Height: 43”
- Chain length: 25”
- Heavy duty steel
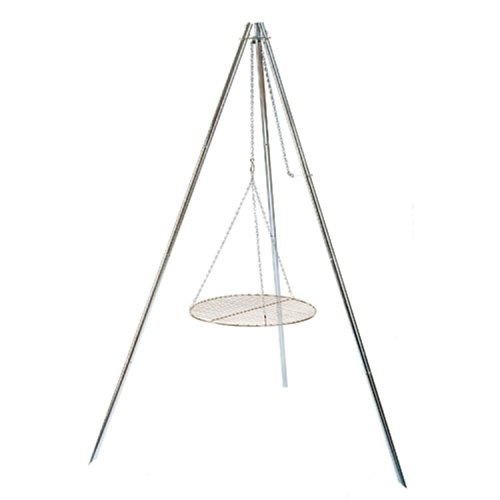
Verdict: Affordable and packable set, but not strong enough for large cast iron cookware
- Weighs: 7lbs
- Folding legs
- Max Height: 43”
- Folded size: Approx. 19”
- Includes 17” grill
- Aluminum
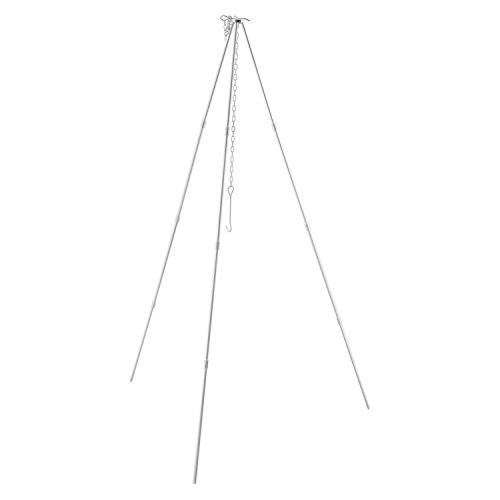
Verdict: Very lightweight and portable tripod for simple meals
- Weighs: 19oz
- Folding legs
- Max Height: 43”
- Folded size: Approx. 12”
- Aluminum
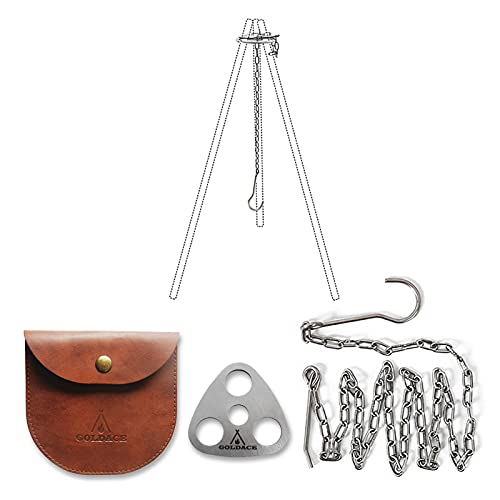
Goldace Tripod Plate and Chain
Verdict: Great portable solution if you don’t mind finding sticks for the tripod legs.
- Weighs: 148g
- Chain length: 46”
- Hole size: 0.78”
How to Make a Cooking Tripod
If you don’t feel like buying a cooking tripod or carrying one to camp, you can easily make one. You’ll just need sticks, rope and a bit of knowhow.
1. Find Your Tripod Legs
Finding sticks to use for your tripod legs can be tricky, especially if you are using large pots or cast iron. The legs may need to be 4 to 6 feet long and strong enough to hold your full pot. Make sure the branches aren’t rotting or split in parts.
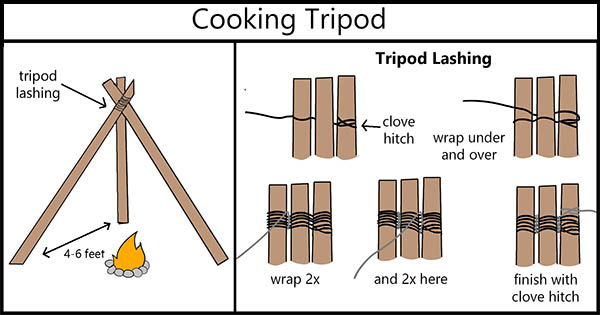
2. Lash Tripod Legs Together
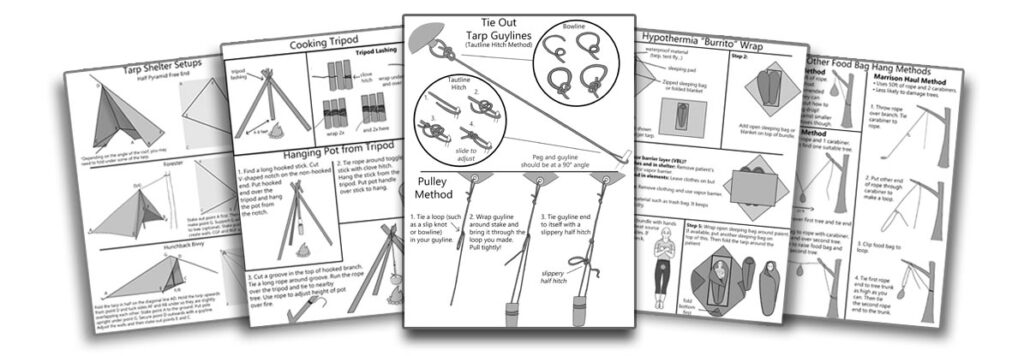
Tie your sticks or branches together with the tripod lashing shown below. Once tied, set up your tripod over the fire pit.
3. Hanging a Pot without a Chain
Now that you’ve made your tripod, you’ll need to hang the pot from it. You can bring a hook and chain. Or, use one of these three DIY methods.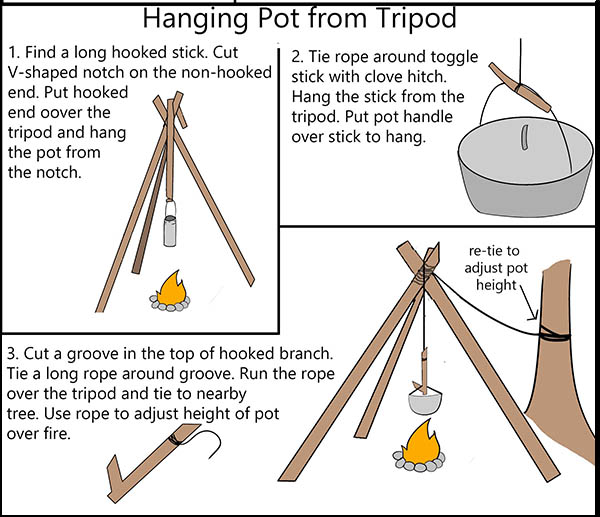
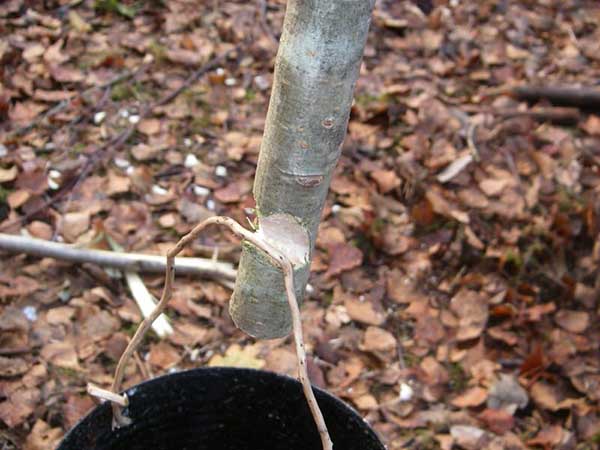
Method 1: Hooked stick
Find a long, hooked stick. Cut a V-shaped notch in the non-hooked end. Put the hooked end over the tripod. Hang the pot from the notch.
2: Toggle stick
Tie a rope around a sturdy “toggle stick” using a clove hithc. Hang the stick from the tripod center with rope. Put the pot handle over the stick to hang.
3: Adjustable height pot hanger
Cut a groove into the top of a hooked branch. Tie a long rope on the stick so it sits in the groove. Run the rope over the tripod and tie to a nearby tree. The hooked part holds your pot. Use rope to adjust the height of the pot hanger.
Wants this info (and more) in PRINTABLE format? Get my
Camping Cheat Sheets: An Illustrated Manual
Image credits:
“IMGP1236” (CC BY 2.0) by ProAdventure,
“DSC01321” (CC BY-NC 2.0) by #bas
“KW14/52 cooking” (CC BY-NC-ND 2.0) by JudithTB
“Cooking at Munsungan Stream” (CC BY-NC 2.0) by Nick Gallop,
“Weekend Winter Camping Event” (CC BY 2.0) by Kitty Terwolbeck,
“Weekend Winter Camping Event” (CC BY 2.0) by Kitty Terwolbeck




Post your comments