Regardless of whether you make simple freeze-dried foods or gourmet meals on your camping trip, you’ll need a camp kitchen.
How you set up your camp kitchen matters! Using these steps will make meal prep and cooking much easier. They also help you stay organized and avoid problems like insects swarming your camp kitchen area.
Here are the steps for setting up your camp kitchen, along with real-life photos of camp kitchens ranging from ultra-simple to glamping setups.
1. Where to Put the Camp Kitchen?
Before you start setting up, you’ll need to decide where to put your camp kitchen. It should be:
- In low-traffic areas. Avoid places like in front of the tent, areas where kids are playing or on the path to the bathroom.
- Close to your eating area.
- On flat ground.
2. Create the Three Stations
The three-station setup keeps your camp kitchen organized because equipment has a designated area. Meal prep and cooking is easier because you don’t have to walk around to get equipment. There’s less likelihood of spills or toppling pots.
The three stations are:
- Food prep:Keep your cooler, food bins, knives, cutting boards and other prep supplies here.
- Cooking: Keep your stove here along with spices, cooking oil, and other items you need while cooking.
- Serving: Keep plates and utensils here. Napkins and condiments can go here or at the dining area.
3. Don’t Put Your Stove on the Ground
You kitchen should be off the ground. Otherwise, you’ll have to hunch over (as seen in the picture below). It’s also a safety hazard to have your stove on the ground!
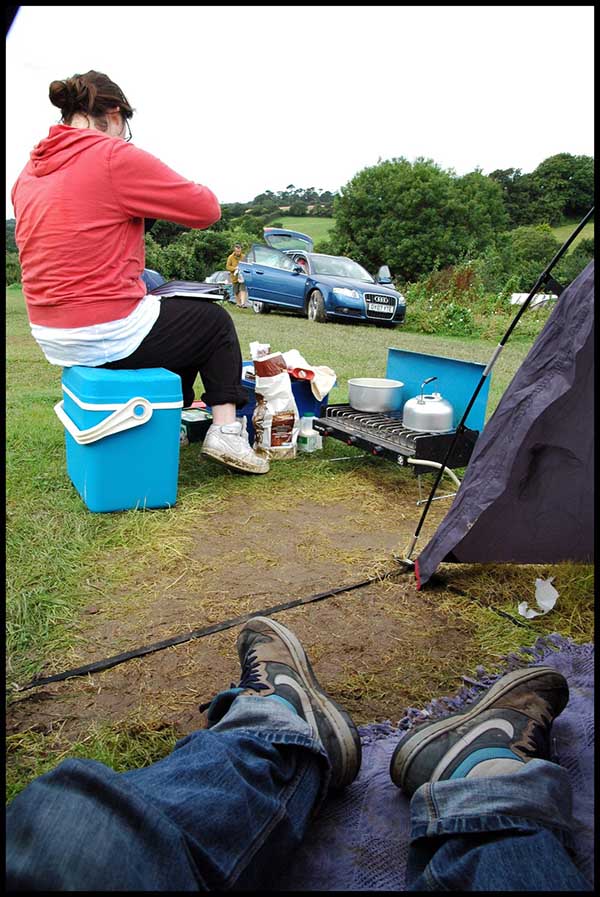
Using a platform also means your equipment is less likely to get muddy, as is happening to the campers above.
4. Elevate Your Kitchen
Since we’ve established putting your stove on the ground is a bad idea, you’ll need to have some sort of surface for it. Your best options are:
- Folding table with metal top: This is okay if you are making simple meals. The table must be sturdy!
- Picnic table: This gives you more space and is sturdy, but you will have less room for eating.
- Chuck box: These are “camp kitchens in a box.” It keeps everything contained and ready to set-up and pack up.
- Camp kitchen stations: For large groups or gourmet cooking, these give you lots of space for prep and cooking. Some even have sinks! See my favorite portable camp kitchens here.
- Truck bed kitchen: You can use the back of a truck bed as your “kitchen.”
Important: Never put your stove on a plastic bin! It needs to be on a heat-resistant surface.
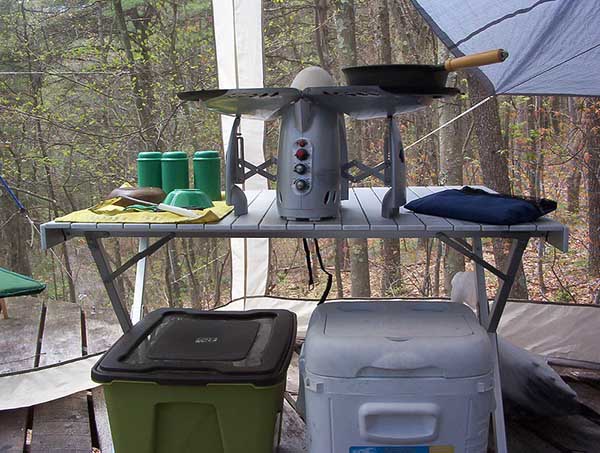
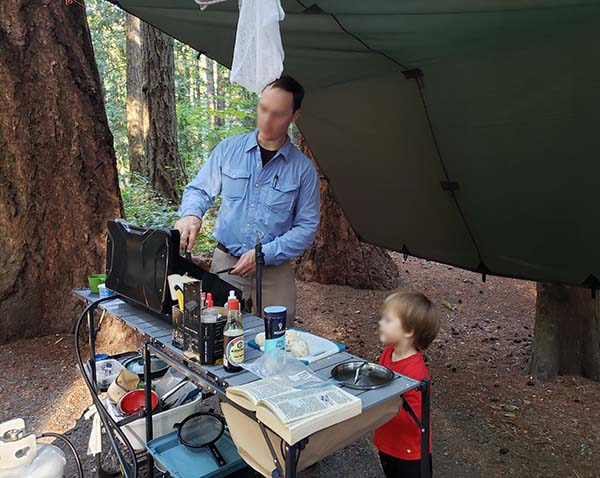
Kitchen setup on small folding table
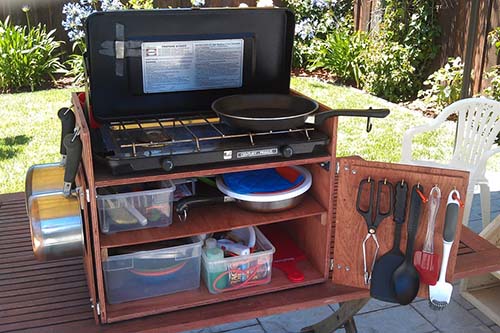
The DIY chuck box below holds all the kitchen equipment inside. You can see more DIY chuck box designs and pictures here.
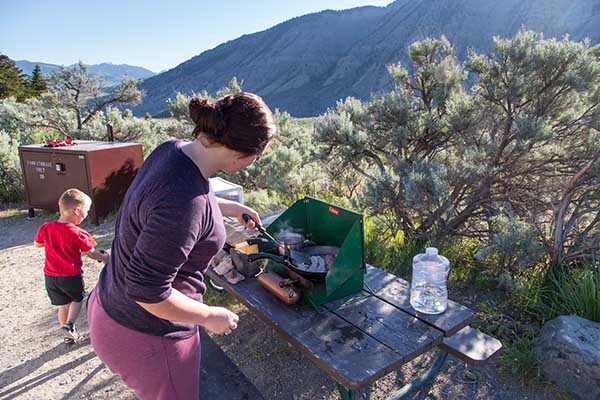
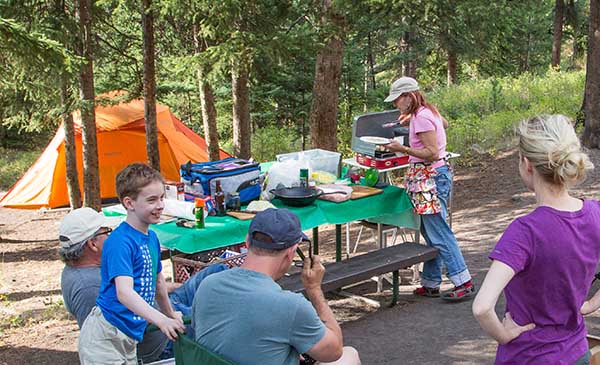
Camp kitchen on a picnic table.
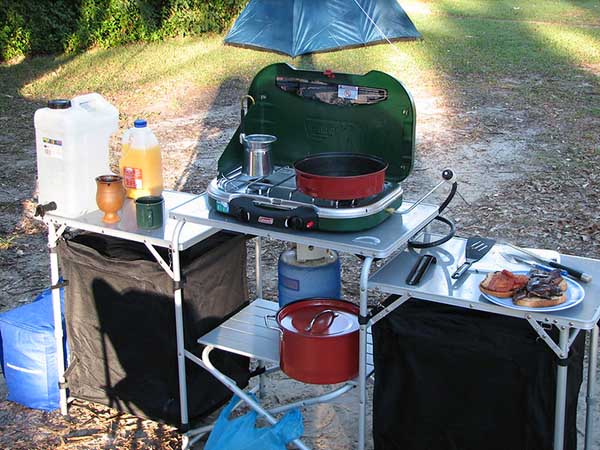
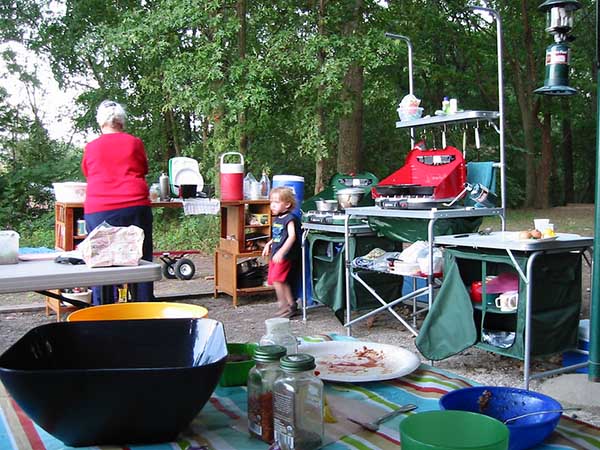
The camp kitchen above has three separate stations with storage underneath each.
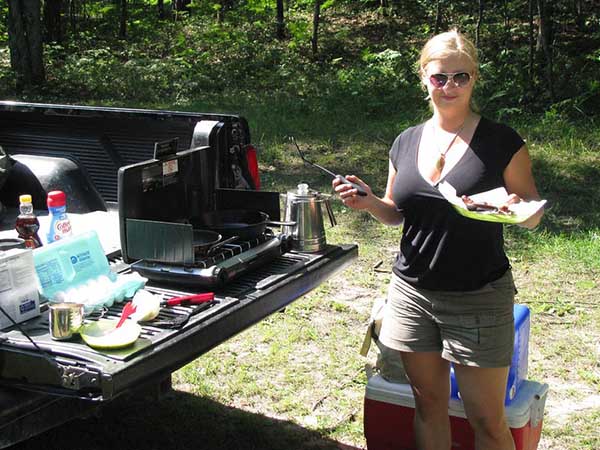
Truck bed kitchen setup
5. Put Food and Equipment in Storage Containers
Insects and wild animals can be a huge problem at campsites. To keep them out of your kitchen, you need to keep all food and equipment which touches food in storage containers. In bear country, you may be required to keep food in bear-proof bins.
Storage containers also help keep food and equipment clean and dry. This is especially important when camping on windy beaches or in muddy conditions.
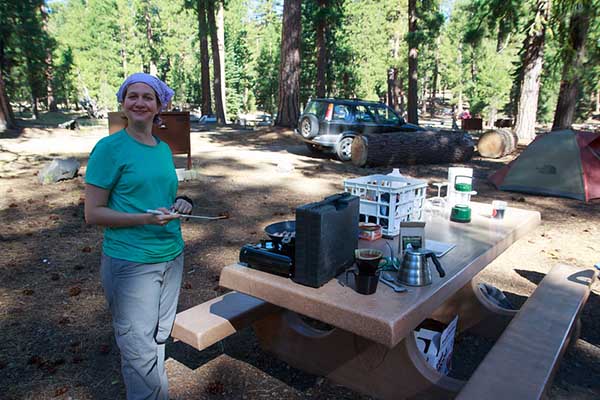
Kitchen equipment is kept in plastic crates. When it’s time to cook, just grab the crate from the car.
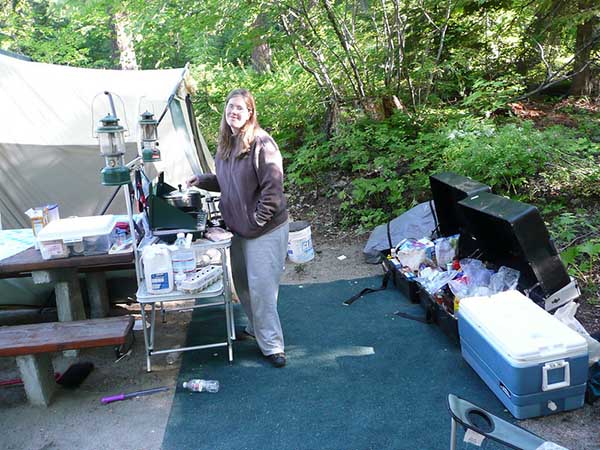
This kitchen setup is for a large family on a long-term camping trip. They have a lot of food, so it is kept in large animal-proof bins.
6. Designate a Trash Area
To keep annoying insects like flies out of your camp kitchen, you’ll need to designate a trash area.
The trash area can be a plastic bag hanging off a tree. If you have lots of food waste, then you will want a trash can with a lid to keep insects out.
Tip: Plan your meal portions so you don’t end up with lots of leftovers and wasted food!
7. Create a Dish Washing Station
Some campgrounds have dish washing stations. If not, you’ll need to set up your own using portable sink basins.
If you are limited for space, you can set up the dishwashing station on your kitchen platform after you are done eating. Otherwise, you will need an additional table. There are also some portable kitchens which have sinks.
Tip: Do dishes right after eating. Dirty dishes attract insects. And it’s hard to wash them after food dries on the plate!
Also read: How to wash dishes camping
8. Stay Organized
The more complicated your meals are, the more kitchen stuff you will have to bring camping – thus making your camp kitchen cluttered and disorganized.
A camp kitchen can quickly get disorganized. Here are some tips for keeping everything organized.
- Put things back! Make sure everyone puts equipment back in the right station.
- Keep meals simple. The simpler your meals are, the less space you will need for prep, cooking and serving.
- Streamline the mess kit. Bring just one cup, bowl, plate and utensil per person. You will need less storage space.
- Don’t underestimate how much kitchen space you need. Bring extra tables so you have space for each station.
9. Use a Tarp or a Kitchen Tent
Cooking in the rain or blaring sun isn’t exactly fun, so consider setting up a tarp shelter over your kitchen. If bugs are an issue, a kitchen tent might be a better idea.
Also read:
Image credits:
“Camping stove” (CC BY-NC-ND 2.0) by @andymatthews,
“Camp Cooking” (CC BY-NC-SA 2.0) by rahook2000,
“Breakfast” (CC BY-NC-SA 2.0) by heathzib,
“Camp setup” (CC BY 2.0) by andrewmalone,
“Camping setup. Lunch” (CC BY-NC-ND 2.0) by Baha’i Views / Flitzy Phoebie,
“Camp Kitchen” (CC BY-NC 2.0) by eeetthaannn,
“Camp Kitchen” (CC BY 2.0) by CseaWillis,
“camping kitchens” (CC BY-NC-ND 2.0) by herm007,
“Camp kitchen! https://www.flickr.com/photos/81715383@N00/13924088171/” (CC BY 2.0) by Avia55,
“Camp kitchen – Beverly campground” (CC BY-NC-ND 2.0) by Baha’i Views / Flitzy Phoebie,
“Mama’s kitchen” (CC BY-NC-ND 2.0) by Chris and Jenni,
Ultimate camp box https://www.instructables.com/Ultimate-Camp-Box/ By wgreunke https://creativecommons.org/licenses/by-nc-sa/4.0/





Post your comments