If you want to go backpacking in the great outdoors, then a backpack is one of the most essential pieces of gear you need to have (duh; backpack is in the name! 🙂 With so many options out there, it can be confusing to buy a backpack. What is all comes down to is this: volume, torso length, hip size, comfort, compartments, and extra features. Here I will go over all of these features of backpacks so you can get the perfect one for your backpacking trip.
Types of Backpacks
There are a lot of different types of backpacks out there. To clarify, here we are talking about backpacks for a trip where you will be spending at least 1 night in the wilderness and will need to carry ALL of your gear with you. This means your backpack needs to have room for your sleeping bag, food, clothes, and probably a tent, cook set and some extras too (unless you’ve got a strong friend who is going to carry all of this for you).
- Day Packs: These are smaller backpacks which are meant for day trips. I use my daughter’s backpack for day trips. You might want to bring a day pack along with you on your backpacking trip so you don’t have to carry your huge pack with you when walking trails.
- Travel Backpacks: There usually isn’t that much difference between a travel backpack and a backpacking backpack. However, since you don’t need a tent, sleeping bag, etc. when traveling through cities and sleeping in hostels, these backpacks will probably be missing some features.
- Backpacking Backpacks: This is what we are talking about in this post!
Finding the Right Backpack Volume
Backpacking backpacks list how much they can hold in liters. The volume you need depends on how much stuff you plan on bringing with you on your trip, as well as the size of your stuff. For example, if you’ve got a big sleeping bag, you’ll need a bigger backpack to hold it. If you’ve got a nice ultra-compact sleeping back and other compact gear, then you can get a smaller bag.
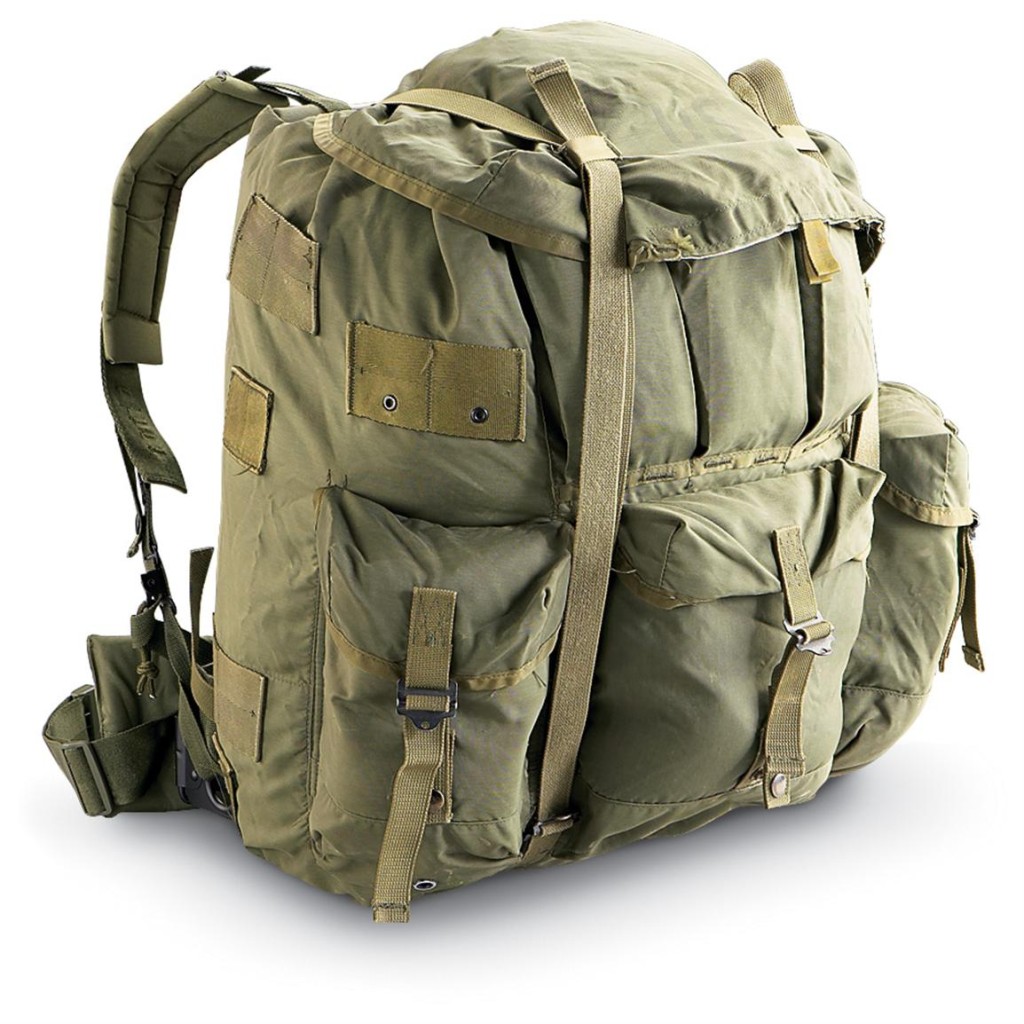
My first backpack (as an adult) was a military surplus bag which holds about 35 liters. I used it on a 10 day backpacking trip with my daughter. I can’t believe that I was able to get all of my gear and her gear into the pack! But that’s probably why we wore the same clothes multiple times and were really, really stinky when we came out!
Backpack Volume Guide for Traditional Backpackers |
|
| Liters | Activity |
| 15-30 | Day hikes |
| 30-50 liters | 1-3 day backpacking trips |
| 50-80 liters | 3-5 day backpacking trips |
| 70+ liters | 5+ day backpacking trips |
Backpack Volume Guide for Ultra-Light or Ultra-Minimal Backpackers |
|
| Liters | Activity |
| 20-30 liters | Overnight backpacking trips |
| 30-50 liters | 2-3 day backpacking trips |
| 40-55 liters | 2-5 day backpacking trips |
| 55+ liters | 5+ day backpacking trips |
If in doubt, always get a bigger volume than you think you need. If you get really into backpacking, chances are that you’ll end up buying several different backpacks of varying volumes.
Backpack Torso Length
As a short woman who is just over 5 feet tall, I can attest to how important it is to have a backpack which fits your size. This means having a backpack which is made to fit your torso length.
Why is torso length so important? Because the weight of a backpack should sit on your hips. If you get a backpack which is too big or small for you, it will cause the weight to bear down in the wrong place.
- Too short torso length = weight on shoulders and you’ll get tired quickly
- Too long torso length = backpack will pull you backwards and you’ll lose balance
Measuring Your Torso Length
Torso length is measured from your C7 vertebra down to the iliac crest. The C7 vertebra is the most noticeable protrusion on your upper spine. Your iliac crest is the “shelf” of your hips. You can have a friend measure this for you. The torso length must match the distance from the backpack’s shoulder strap to the hip belt.
*Do NOT buy a backpack online without first measuring your torso length!!! Make sure it matches the torso length listed for the backpack!
Here are the general guidelines for backpack size and torso length. Keep in mind that your torso length doesn’t always match your height. You can be short or tall and have a “regular” torso length!
- Extra Small: Up to 15 ½ inches
- Small: Torsos 16-17 ½ inches
- Regular/Medium: 18-19 ½ inches
- Large/Tall: 20 inches and up
Adjustable Torso Length Backpacks
A lot of modern backpacks have adjustable torso lengths. This means that the distance between the shoulder strap and hip belt can be adjusted. Buying one of these backpacks means that you’ll be able to share the backpack with someone of a different torso size. Adjustable torso lengths are also good choices for kids because you can adjust it as they grow. The only downside is that adjustable torso backpacks tend to be slightly heavier.
Backpack Hip Size
Hip size isn’t as important as torso length, but it is still something to keep in mind (especially when buying a backpack online and you can’t try it on).
To measure your hip size, measure around your waist at the top of your hip bones. Note that you measure at the highest point of your hip bones – not wear your pants normally sit (unless you are still stuck in the 70s and are wearing high-hipped pants 🙂 ).
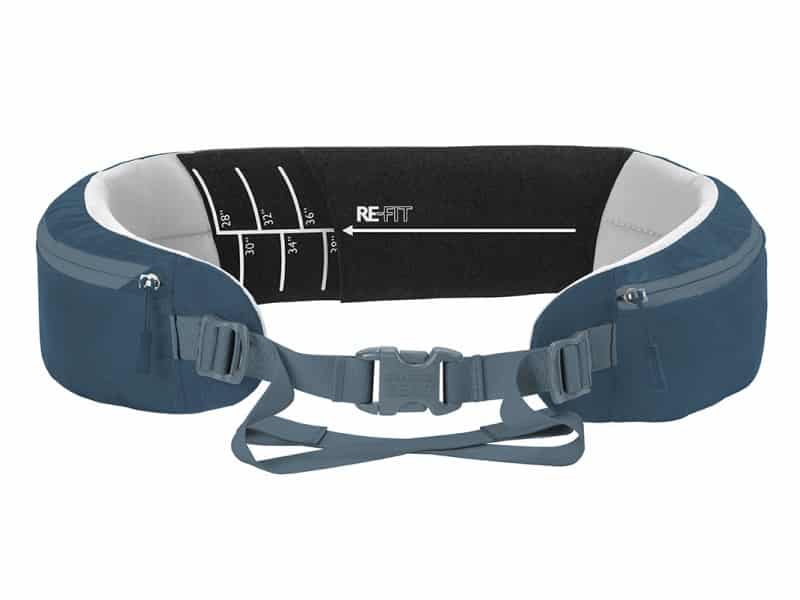
Some backpacks have adjustable hip belts. For example, the Lutsen 55L comes with this adjustable hip belt shown below.
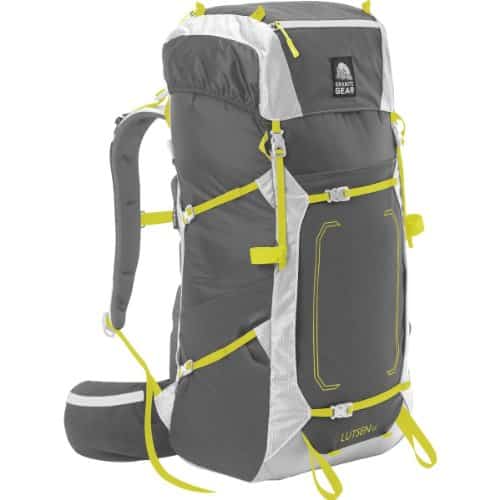
The Lutsen 55L backpack has an adjustable hip belt
Backpack Comfort Factors
Since you are going to be wearing your backpack for a lot of time, you want to make sure that it will be comfortable. There are four major things that contribute to comfort: the back panel, shoulder straps, load lifter straps, and sternum straps.
Back Panel
Backpacks usually have some sort of padding on the back for extra comfort. Some have mesh panels which hold the backpack off your back a bit and keep you from getting so sweaty. Others have internal frames which make a curved contour so it fits the shape of your back more.
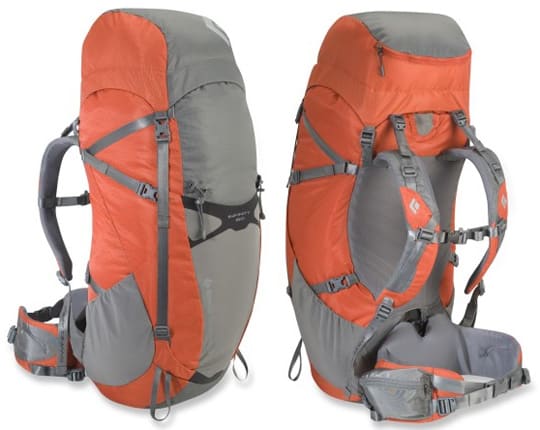
The Black Diamond Infinity 60 backpack has a contoured back for comfort. But it sits flat against your back, so expect to get sweaty.
Shoulder Straps
The backpack shoulder straps should be padded so they don’t dig into your shoulders and cause you pain. If you are a woman, look for a backpack which is specially designed to fit a woman’s contours!
Load Lifter Straps
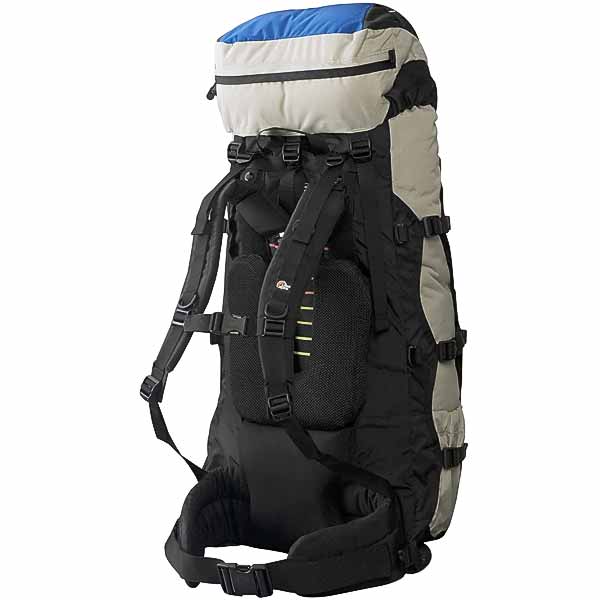
Most good backpacking backpacks have load lifter straps. They attach the top of the back frame to the top of the shoulder straps. They should sit at a 45 degree angle between the straps and your pack. Their job is to prevent the upper part of your backpack (where you will probably keep your tent or other heavy items) from pulling away from your body.
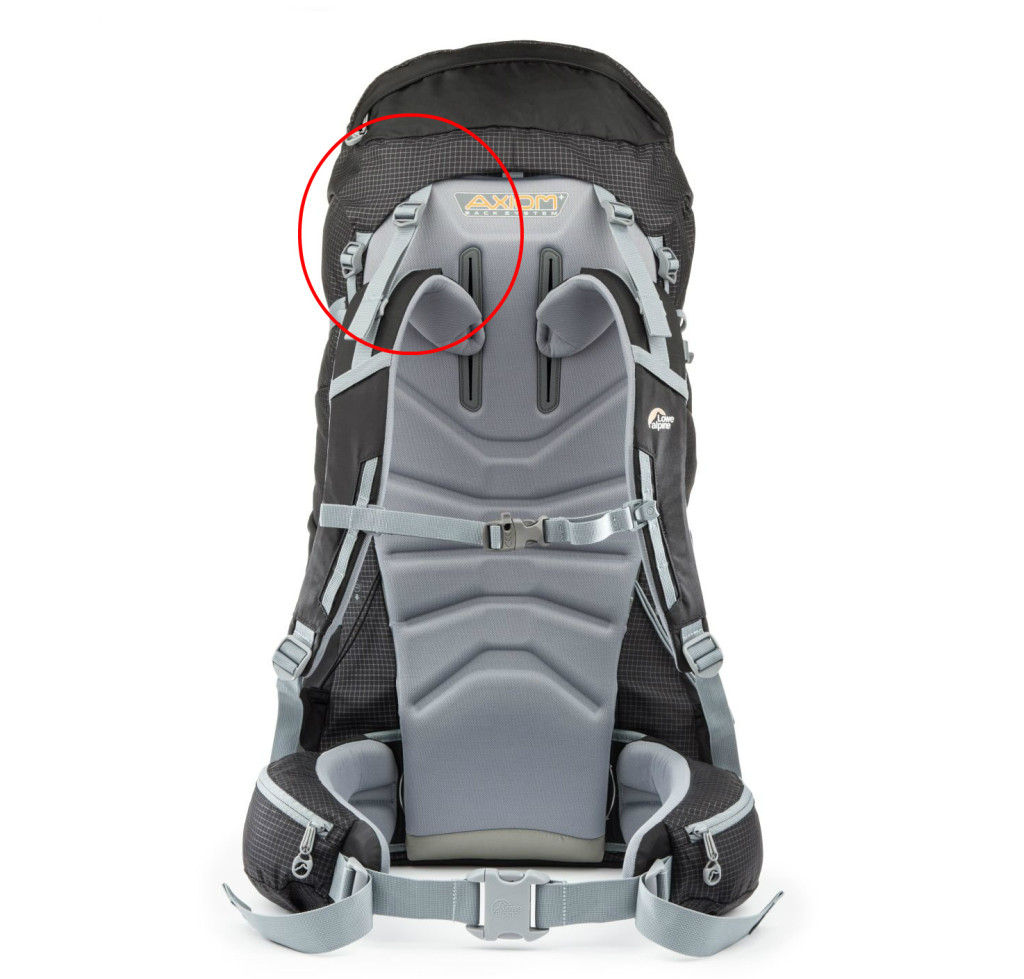
Load lifter straps on the Lowe Alpine Cerro Torre backpack
Sternum Strap
The sternum strap connects the two shoulder straps across your chest. This prevents your back from moving around, and greatly improves stability. Note whether the sternum strap location can be adjusted. As a woman, I can tell you that it isn’t comfortable to have a sternum strap squeezing your boobs!
Backpack Frame
You’ll have three options for frames when choosing a backpack: frameless, external frame, and internal frame. In most cases, you’ll probably want to get an internal frame backpack for your first pack.
Frameless Backpacks: These are fine for day packs, but they aren’t going to do a good job of supporting the weight in your pack. As a result, your posture can suffer and back end up hurting. Frameless backpacks are really only recommended if you are an ultra-light backpacker.
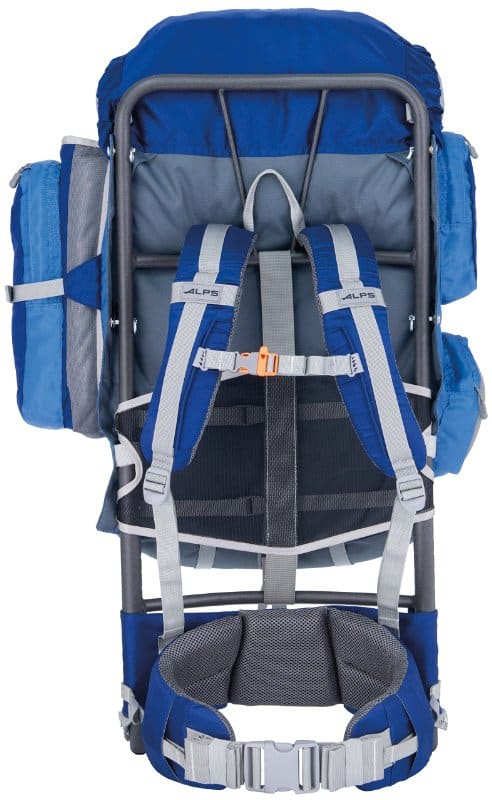
External Frame Backpacks: My first backpack as a kid 25+ years ago was an external frame backpack. These are now mostly considered retro. However, they do have the benefit of promoting good posture. It is also a lot easier to attach gear to them, so they are a good choice if you need to carry lots of bulky items on your backpacking trip.
Internal Frame Backpacks: Most backpacks today have internal frames made out of a load-bearing material like aluminum. They are designed to feel like part of your back and should transfer weight to your hips.
Compartments
I recently bought a new backpack and I was surprised at how many backpacks don’t have side pockets. How are you supposed to access your water bottle??? I don’t want to take my pack off completely each time I take a drink (which is about every 5-10 minutes on the trail – read this post about how much water to bring when hiking), so I made sure to get a backpack with side pockets.
It is also nice to have lots of other compartments and pockets on/in your backpack. That way, you can easily keep your dirty (aka stinky) socks away from your food. Here are some of the compartments you should look out for when buying your first backpack:
Top Lid: The “lid” of the backpack will help keep rain out and also has a compartment in it. Put gear here that you need to access easily, like your rain jacket. You’ll also use the top lid for holding your tent on top of your pack.
External Sleeves and Pockets: These are great for holding your hydration pack, water bottle, snacks, toilet paper, shovel, and other gear you need to access often.
Sleeping Bag Compartment: This will be at the bottom of the backpack. It makes it easy to get your sleeping bag without having to dig through all of your pack.
Hip Belt Pockets: These are nice for keeping small items like a compass within easy reach.
Multiple-Access Points to Main Compartment: Some backpacks have multipole zippers so you can access the backpack contents through the top, front, side, etc.
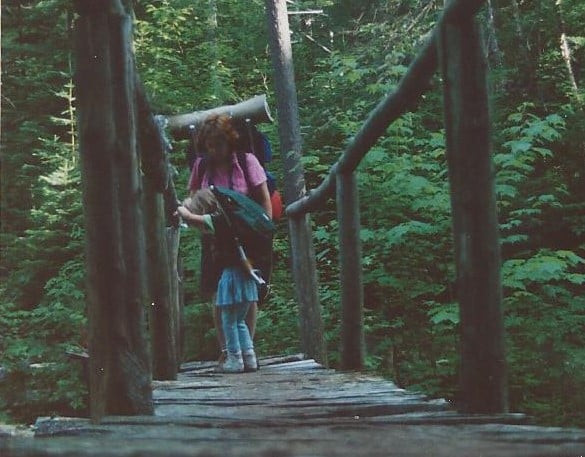
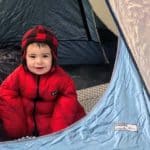
Side pockets are really great for holding things you need to access frequenty, like your map or water bottle. Or, if you are 3 y.o., your teddy bears 🙂 This is my daughter, btw.
Other Backpack Features
If this is your first backpack, then you probably don’t need to worry about any fancy extra features yet. Just focus on getting the right volume and fit. But, once you’ve been on the trails a few times, you might realize that you’d like to have these extras.
Hydration Pack Compatibility: Many backpacks will have an internal sleeve which can hold a hydration pack (usually sold separately). The tube for the hydration pack will come out through a hole. If you already have a hydration pack, make sure the sleeve is the right size!
Built-In Rain Cover: Even if the backpack is made out of waterproof material, it will NOT be rainproof. Water can enter through the zippers. You must get a cover for your backpack (I use mine as a bear bag when hanging food so I get double use out of it). Some backpacks have a built-in compartment for the rain cover.
Compression Straps: These are great for making your backpack bigger/smaller. You’ll be able to get more use out of the backpack with these, such as being able to use it on short and long trips. Side compression straps are also great for attaching bulky gear to the side of your pack.
Lash Loops and Daisy Chains: These are used to attach gear to the outside of your backpack.
Removable Daypack: This is a really cool feature. The main backpack has a compartment which can be removed and worn as a day pack. This way you don’t have to carry your huge pack with you when you go on day trips from base camp.
Tips for First-Time Backpack Buyers
A good backpack doesn’t have to be expensive, but it is a big investment. Whatever backpack you pick you will probably be stuck with for the next few trips you make. If possible, I recommend borrowing a backpack from a friend for your first backpacking trip. That way, you will be able to see what features you like – such as whether you found the side pockets really useful or were wishing that you’d had a suspended mesh panel to keep your back from getting so sweaty. Don’t be shy about asking to borrow gear. I love it when people ask to borrow my gear so they can get out into nature! But do make sure you know these rules about the etiquette of borrowing camping gear!
What backpack do I use?
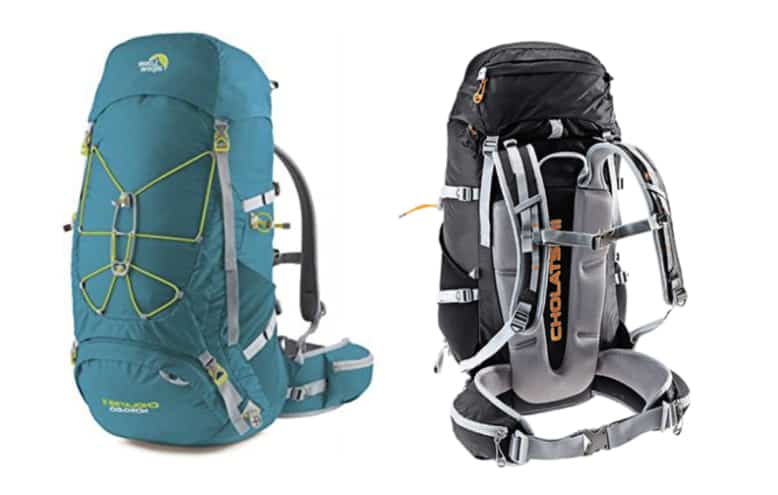
I recently bought the Lowe Alpine Cholatse II andn LOVE it. It is a women’s backpack, so it fits really well. It also has a bunch of nice features that I’ll actually use. You can buy it here. If that is outside of your price range, there are some good backpacks made by Teton (shop here) and High Sierra (shop here).
Here are some of the things I love about the backpack:
- Multiple points of entry – top opening, bottom opening for sleeping bag compartment, andn front zip too
- Hydratioin pack compatible
- Good back support, including load lifter straps
- Small compartments on the hip belt
- 50-60 liter capacity; has compression straps for making it smaller/larger
- Lots of ways to attach gear outside of the bag
- Two seperate compartments in the top lid
- Super comfortable!
- Lightweight!!
What I don’t like about the pack:
The side pocket material seems a bit flimsy, and I’m worried that it might tear eventually (though it has held up so far without problem). I’d also like it if the pack were a bit larger and had some more external pockets or hooks where I could attach extra gear if necessary. And, finally, when you put a tent on top of the pack, the rain cover won’t fit over it so well anymore.
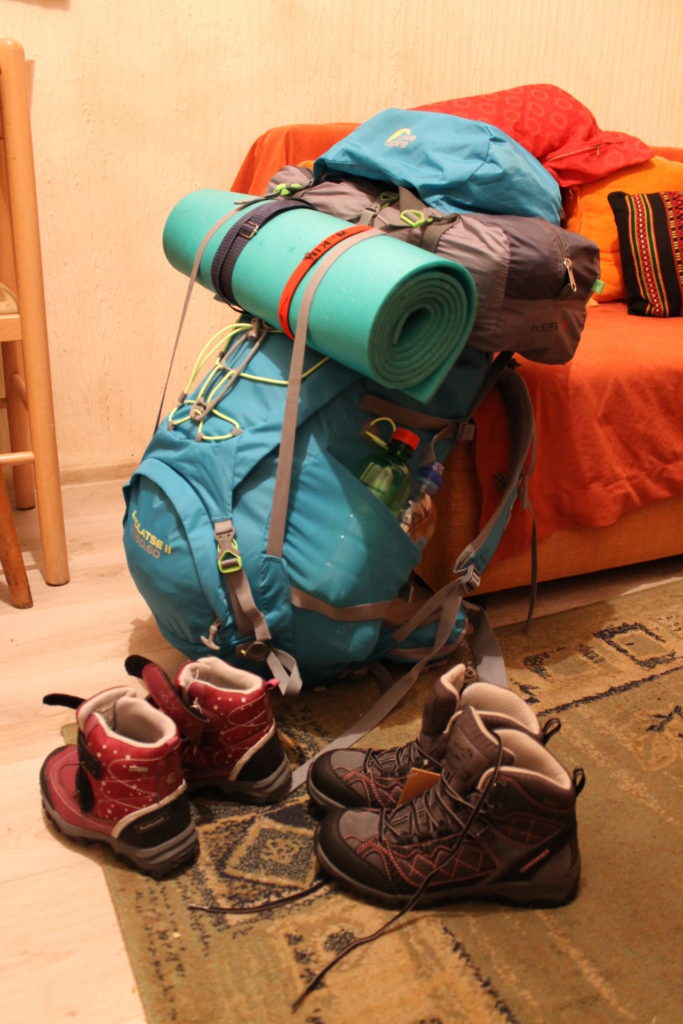
Gear all packed for a 6-day backpacking trip!
The Backpack My Dad Uses for Thru-Hiking
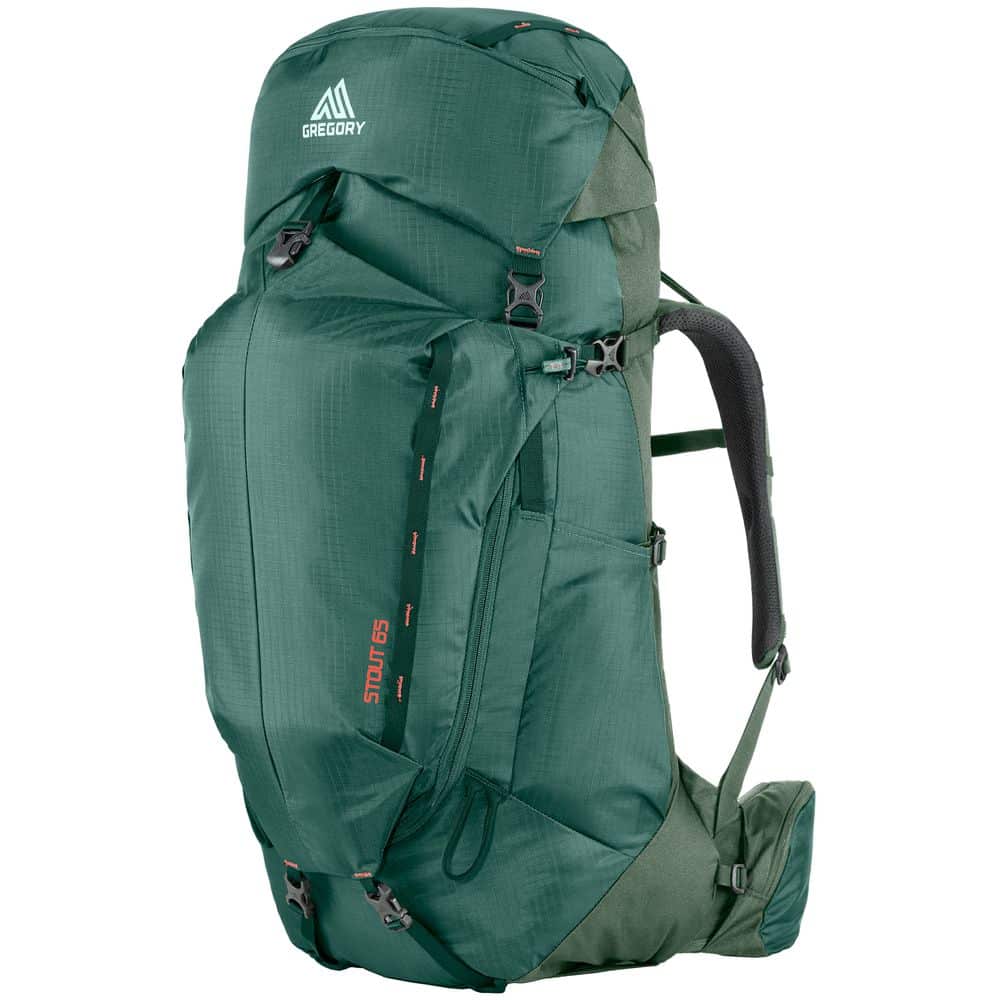
My dad does a completely different type of backpacking than I do (he doesn’t have kids in tow anymore!). He’s a very minimalist backpacker (even more than I am, and I’m pretty minimal!) and does long-distance thru hiking. After trying out a zillion different packs, he now swears by his Gregory Stout 65 pack. Considering that he’s got some back problems, the comfort aspect really matters.
He says it is the most comfortable pack he’s ever used. I also love that it has a detachable day pack. I use my daughter’s pack for day hikes, so I don’t need this feature yet, but my next backpack is definitely going to have one! It is a bit pricier but worth it – you can buy it here.
Do you already have a backpack? What’s the deciding factor for you? Let us know in the comments or over at our Facebook page!
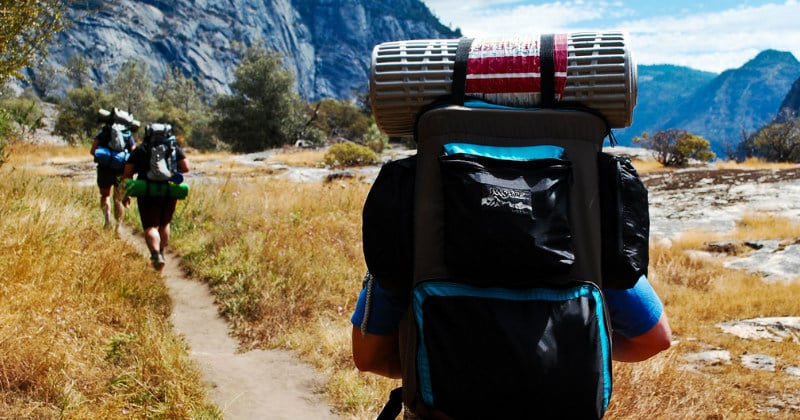
*Title image credit: www.flickr.com/photos/jaywei80/4923273964 / (https://creativecommons.org/licenses/by-nc-nd/2.0/)







Post your comments