I’ve had the Cloud Up 2 tent by Naturehike for over 5 years now (read my review of it here). While that tent is perfect for when I’m camping solo or with my daughter, I also need something a bit roomier for when I’m camping with another adult. I spent a lot of time looking at lightweight 3P tents and ultimately decided to go with Naturehike again. Here’s what I think of the Cloud Up 3P tent and what it’s best for.
Cloud Up 3 Specs (Gray Version):
- Weight: 5.3lbs
- Max Headroom: 43.3”
- Interior Length/Width: 82.7”/70.8”
- Vestibule Size: 29.5” (depth) x 41.3”/70.8” (front/back)
- Packed Size: 7.1”x20”
- Pockets: 4
- Available At: Amazon, Aliexpress
Quick Verdict:
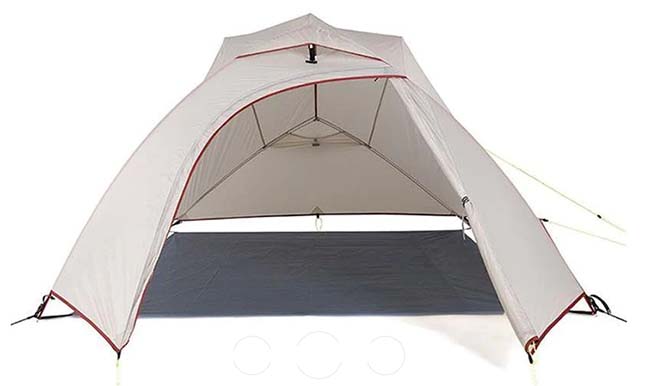
You’ll be hard-pressed to find a lightweight freestanding 3p backpacking tent which is as affordable as the Cloud Up 3. The crossbar at the top means you actually get decent headroom and interior space inside. If you don’t mind that it only has one door and vestibule, the Cloud Up 3 a great backpacking or camping tent for two adults or two adults and one small kid.
Pros:
- Affordable
- Lightweight
- Good ventilation
- Fast and easy setup
- Durable and withstands some abuse
Cons:
- Supposed to sleep with head towards door
- Fly-only setup doesn’t work well
- Only one door and vestibule
- Not as many features as other 3P UL tents
Weight of the Cloud Up 3 Tent
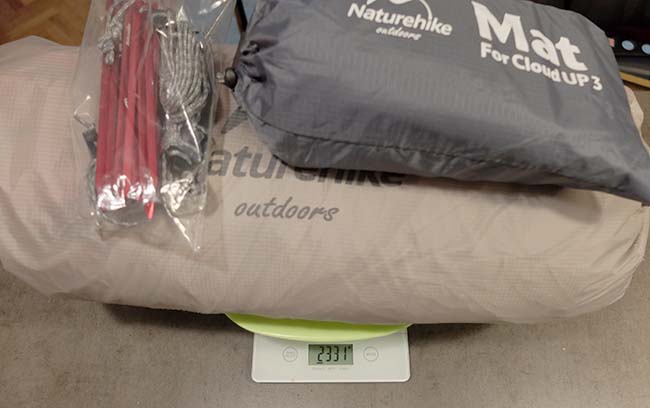
The official weight of the Cloud Up 3 tent is 5.3lbs/2.4kg. I put it on a scale and the weight actually came in lighter at 5.1lbs/2.331kg (I think the extra weight is from the plastic that the tent is wrapped in for shipping, which you obviously remove before using).
You actually don’t need all 14 stakes or the cordage which comes with the Cloud Up 3p. When you remove this, the trail weight is just 4.9lbs/2.243kg.
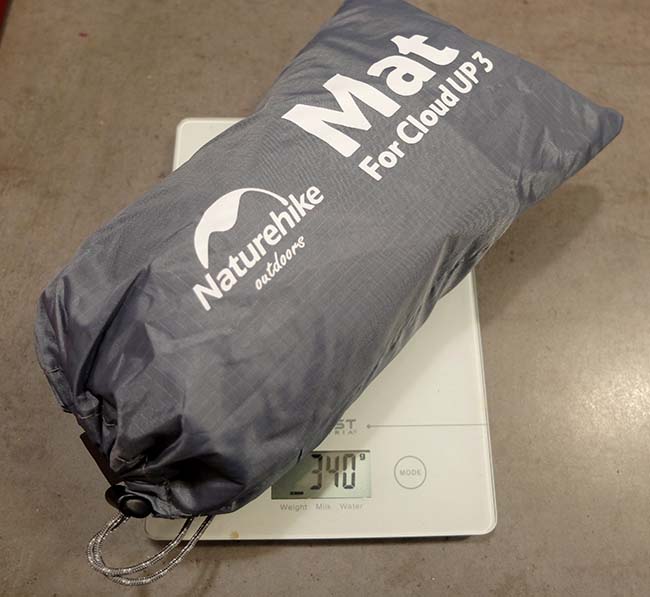
The Cloud Up 3 footprint weighs 390g. If you decide to skip the footprint (which I don’t recommend), you can get the weight down to 4.2lbs/1.9kg.
Weight Breakdown:
- Inner mesh tent: 1.37lbs/623g
- Fly: 1.29lbs/587g
- Poles: 1.26lbs/571g
- 9 stakes: 0.2lbs/90g
- Footprint: 0.75lbs/340g
- Carry bag: 0.95oz/27g
- Additional stakes (5) and cordage: 3oz/90g
Price vs. Weight of the Cloud Up 3
The main draw of Naturehike tents, including the Cloud Up 3, is that they are VERY affordable. To put the price in perspective, the cheapest 3-person tent in this weight range at REI right now costs twice as much as the Cloud Up 3.
There are tents which are cheaper than the Cloud Up 3, but I have yet to find one which is this cheap, lightweight and still freestanding. The closest I’ve found is the Marmot Crane UL 3P. It’s 5lbs 3oz but still costs significantly more than the Cloud Up 3.
Of course, there are lots of 3p tents which are lighter weight than the Cloud Up 3.
For example:
- Big Agnes Copper Spur 3: 3lbs 15oz (plus 8oz footprint)
- Big Agnes Tiger Wall UL 3: 2lbs 15oz (plus 7oz footprint)
- NEMO Hornet OSMO UL 3P: 3lbs 5oz (plus 9.2oz footprint)
These tents are pretty awesome – but cost 2x or even 3x the amount of the Cloud Up 3. And don’t forget that the foot print for these UL tents can cost another $50-$100.
If I wasn’t worried about my tent getting stolen in some of the places I camp, I might be fine shelling out this much money to save ~10oz of weight. It’s your call how much shedding weight is worth to you.
Size and Roominess
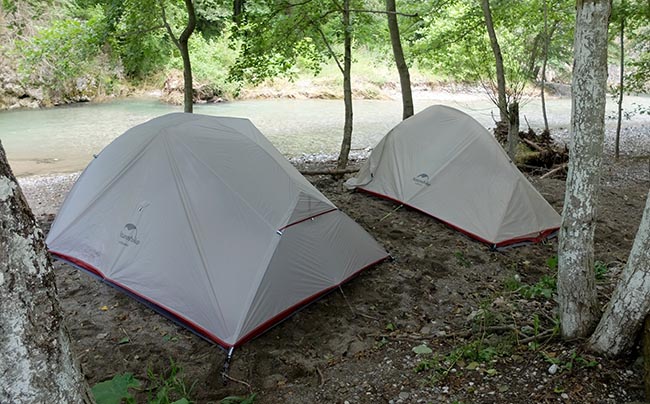
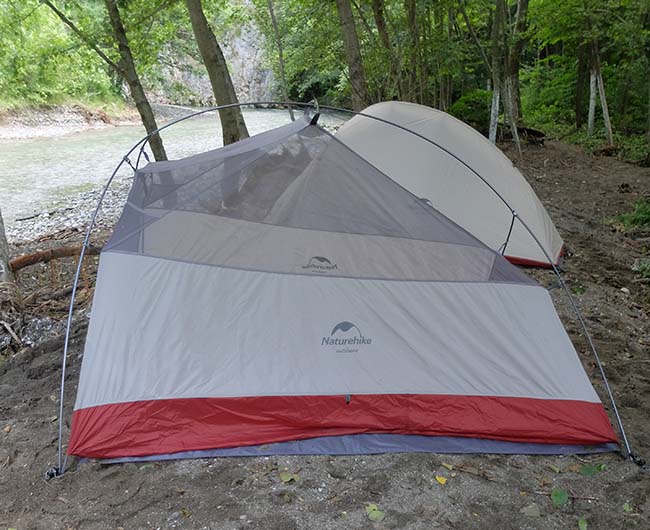
The Cloud Up 3 next to my Cloud Up 2
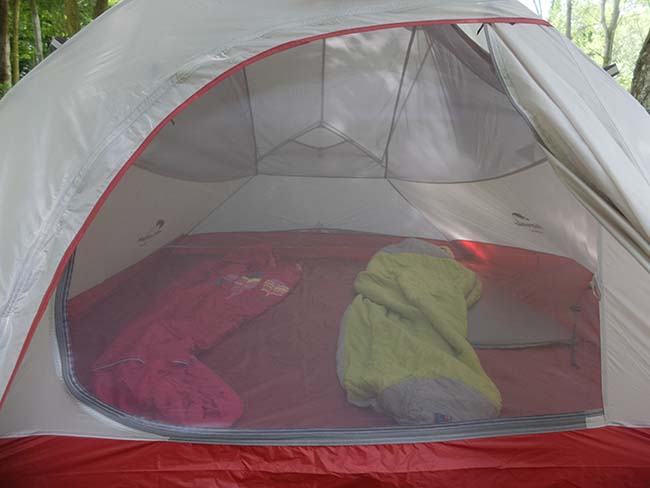
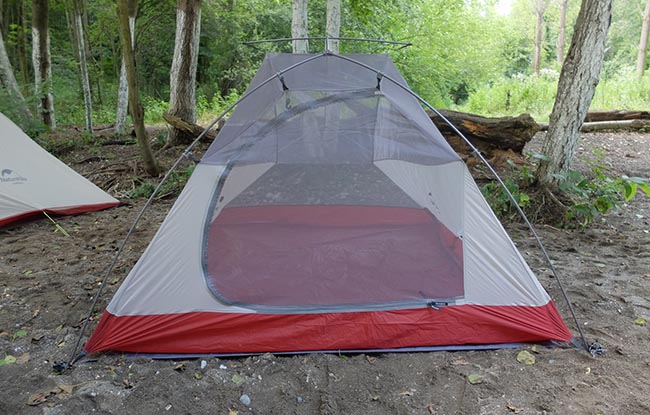
After using a 2p tent for so long, the Cloud Up 3 feels like a palace. The crossbar on the top does wonders for giving you more interior space. The walls don’t slant or droop too much so you actually get a usable interior.
Bear in mind that the Cloud Up 3 is still going to be a bit cramped with two larger adults. I can’t imagine using it with three adults (even skinny ones) because of how annoying it would be to get in/out without waking the fellow campers.
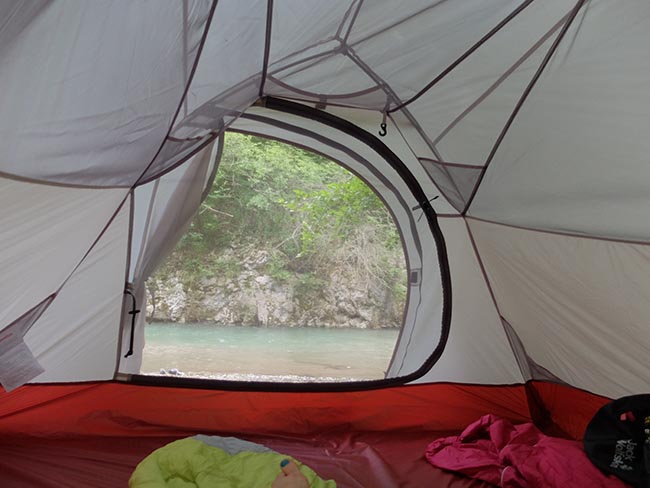
But this is really the perfect size for my backpacking trips with another adult. I can even sleep in it with my partner and my 5 year old (which beats our previous setup of bringing a 1p and 2p tent). My teen daughter and her friend slept in the Cloud Up 3 on the trip where these photos are from. They played card games in the tent at night, so it was nice that it was large enough that they could hang out in it.
You’re Supposed to Sleep with Your Head Towards the Door
This is becaus the back of the tent is narrower than the front. I never sleep this way though (I want a view and don’t want to enter the tent feet-first!) If you actually want to fit three people in the tent though, you’ll have to sleep with your heads towards the door.
Only One Door and Vestibule
Most 3 person backpacking tents today have two doors and two vestibules. The Cloud Up 3 only has one.
I personally prefer one door (I’d rather have one entrance and orient it so everyone gets the best view). However, if you like to sleep parallel to the door for easier in/out, then you won’t like this about the Cloud Up 3.
Setting Up the Cloud Up 3
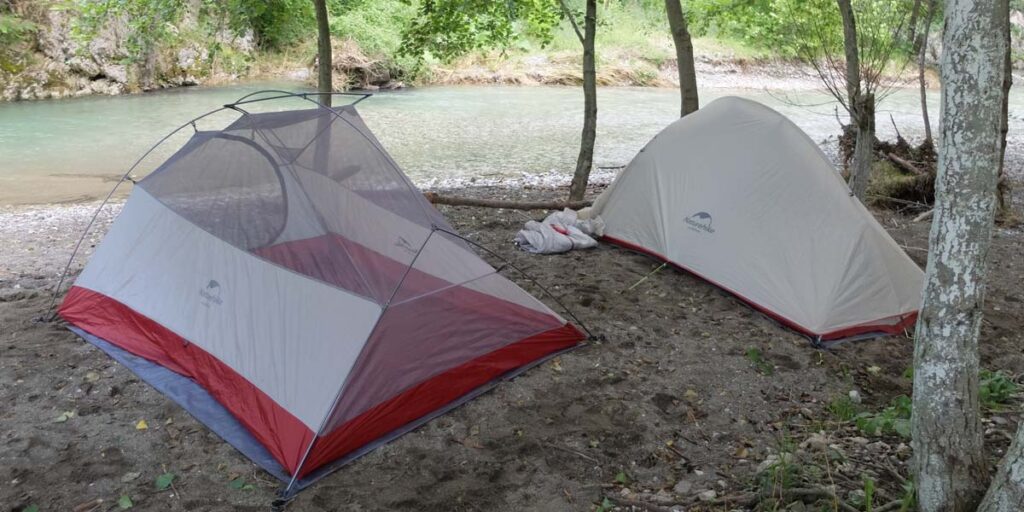
The Cloud Up 3 is a two-layer freestanding tent. It is incredibly easy to set up and takes under 5 minutes to do by yourself. You need to stake out 9 points (4 corners, 1 per side and back wall and 2 for the vestibule). There are also some additional stakeout points for bad weather.
There are two important things to be aware of:
Insert Crossbar Pole First!
Before taking the Cloud Up 3 backpacking, I set it up in my yard (you always do this with new gear, right?).
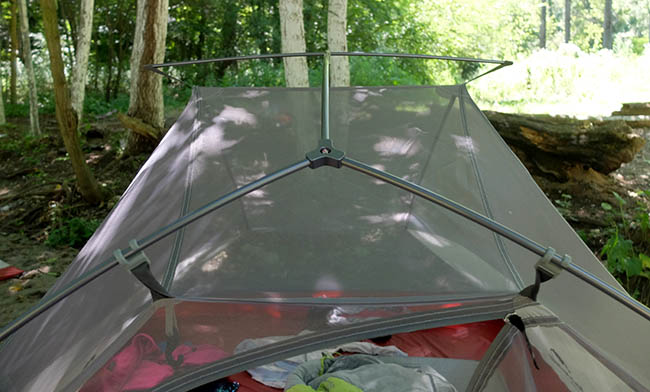
I first put the corner poles in place and then tried to attach the crossbar pole on top. I could not get the crossbar pole in place! It was simply too taut. Plus, it was awkward to reach the other side of the crossbar once the tent was standing up (I’m short). I think you’d need to have two people to get the crossbar pole.
The solution? Simply connect the crossbar pole FIRST (while the tent is still on the ground). Then do the corner poles. With this method, I was able to easily setup the Cloud Up 3 alone.
The Poles Have a Front and Back Side
The Cloud Up 3 poles are two V’s connected with a pole. At first glance, the V’s look identical. But one of them is actually smaller than the other. This one goes in the back of the tent. Pay attention to this or you will have to detach the poles and turn them around.
Quick Pitch Fly-Only Setup
With the Naturehike Cloud Up 2p version, it’s possible to set up the tent with just the fly and not the inner mesh tent. This gives you an even lighter weight shelter for situations when bugs aren’t a concern.
In theory, the fly-only setup is also possible with the Cloud Up 3p. However, the fly doesn’t have any pockets for holding the crossbar in position. Instead, you have to use the two extra tie-outs on the wall to get the poles to stay in position. The crossbar area of the fly isn’t even reinforced, so I worry that the crossbar would eventually tear a hole in the fly if you used the quick pitch frequently.
Other UL 3p backpacking tents have little pockets in the fly for the quick pitch option. But, at those prices, I would expect them to sort out all of the details!
Ventilation and Condensation
There are two vents on the Cloud Up 3. I haven’t had a chance to test the tent in cold weather yet. However, condensation has never been a problem with my older Cloud Up 2 tent which doesn’t have any vents at all (the newer one does have a vent). So, I don’t expect this to be an issue with the Cloud Up 3 either.
Storage
The Cloud Up 3 has four pockets, all located near the front door. A minor complaint is that there is only one hook and it’s also located near the door. I utilize that hook for hanging a headlamp and my glasses. So, I would prefer to have the hook overhead in the middle of the tent.
Check Prices of the Cloud Up 3 at Amazon and Aliexpress







Post your comments