
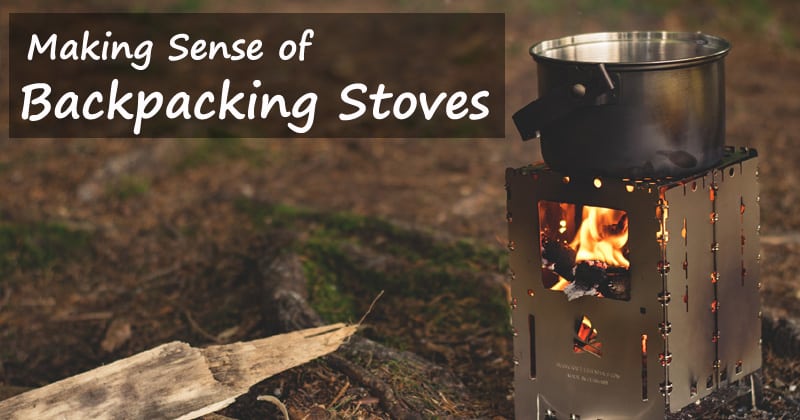
Unless you want to eat nothing but Snickers and GORP for your trip, you’ll need to bring along a backpacking stove. There are six main types of backpacking stoves. Depending on how you like to backpack, some types will be much better. Here’s what you need to know about backpacking stoves and the best options for each.
Jump to:
- Gas canister stoves
- Liquid fuel stoves
- Alcohol stoves
- Collapsible wood stoves
- Solid fuel (Esbit) stoves
- Alternative fuel stoves
*Carbon monoxide and backpacking stoves
Quick Overview:
- For most backpacking trips, you will be best off with a good-quality gas canister stove like the MSR Pocket Rocket.
- When traveling abroad or places where fuel canisters won’t be available, a liquid-fuel stove like the MSR Whisperlite gives you the most versatility.
- Liquid-fuel stoves are also good when cooking large meals for groups. The pot is less likely to fall off on these burners compared to a tiny canister stove burner!
- If you don’t want to bother carrying fuel at all, then a collapsible wood stove is a good option. Just be warned that it will take forever to cook with these stoves and they aren’t suitable if there are fire bans in place.
- If you are the DIY type or on a really tight budget, an alcohol stove is worth considering.
Option 1: Gas Canister Stoves
Pros:
- Lightweight and compact options
- Easy to use
- Boils water very quickly
Cons:
- Good canister stoves are expensive
- Fuel is also expensive
- It’s hard to find replacement fuel while on the road
- Can freeze in cold weather (I’m not hardcore enough to backpack in winter though, so this doesn’t bother me!)
- Can’t use with most wind screens. They can EXPLODE if they overheat!
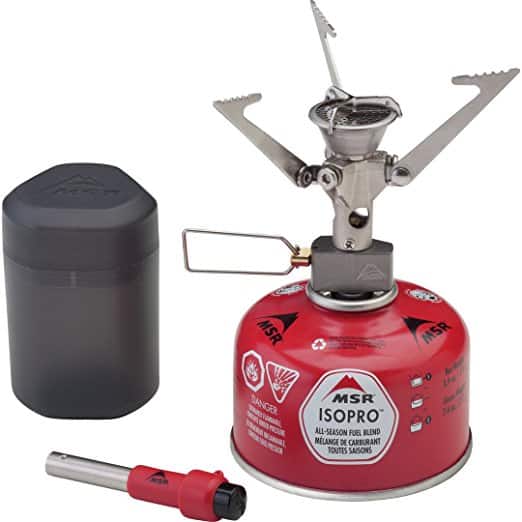
Top Gas Canister Backpacking Stoves:
- MSR Pocket Rocket 2
- Jetboil Flash Cooking Stove and System
- Optimus Vega (for cold-weather backpacking)
What are gas canister backpacking stoves?
These stoves get attached to small gas canisters. The canisters contain compressed gas, so are really compact, lightweight, and efficient. You just attach it to the stove and can quickly cook a meal.
Most canister stoves are really small, which makes them great for solo backpacking and small meals. However, it will NOT be fun trying to cook a large meal on top of this tiny burner! Big pots will be hard to boil and you risk the entire pot falling off.
Attachment Types
These backpacking stoves attach to the gas canisters in one of 3 ways:
Screw-On:
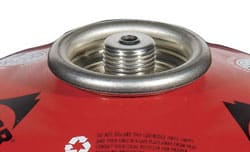
This is what you will see with most high-quality backpacking stoves. The gas canister has threads that the actual stove gets attached to. Once you are done using the stove, you can remove the canister and pack it away. The stove collapses, making it one of the most compact options for lightweight backpacking.
There aren’t any leakage issues with screw-on gas canisters, so you can travel with these easily.
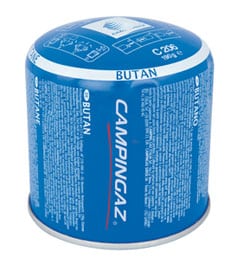
Click-On:
Click-on gas stoves (also known as Campingaz canisters) have a valve that you click the stove onto. They have a lot of the same benefits as screw-on canister stoves, like that you can remove them and that they don’t leak.
However, these stoves are only really used in France and some parts of Europe. If you are backpacking anywhere else in the world, then you will have a hard time finding gas for your click-on stove. For this reason, I wouldn’t recommend them.
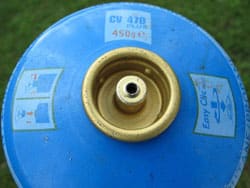
Pierceable:
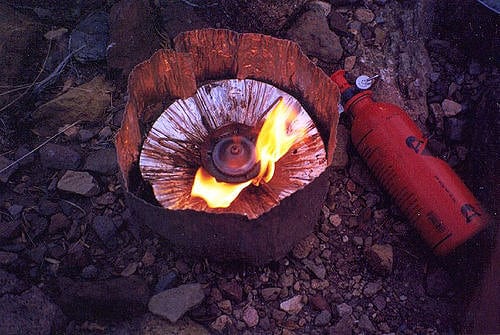
This is what you will find with very cheap gas stoves. They are common where I live in Eastern Europe. The gas canister actually goes inside the stove, so the stoves are really big and bulky. You can’t remove the gas canister once it’s been pierced, so it’s annoying to transport. On top of all that, pierceable gas stoves have a tendency to leak.
The only time I’d recommend using a pierceable stove is if you are traveling abroad in less-developed countries. The cheap gas canisters are used by a lot of people, so you can find them virtually everywhere. By contrast, if you run out of a compressed gas canister, you might not be able to find a replacement.
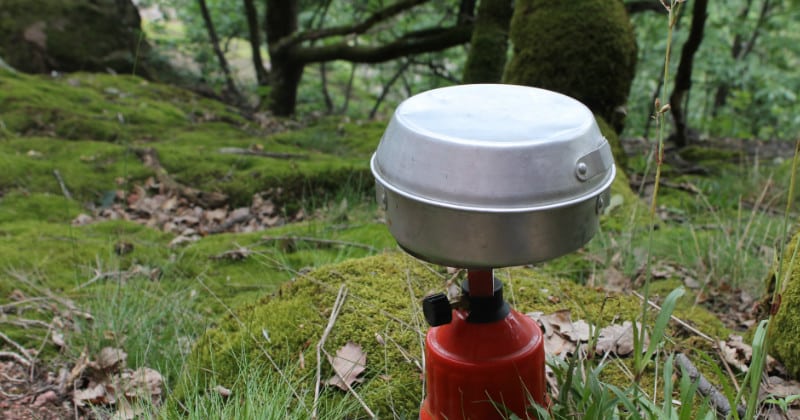
This is my old, super cheap stove that used pierceable canisters. Notice how bulky the stove is.
Fuel Types:
I used to think that fuel type didn’t matter. Gas is gas, right? I would buy the cheapest fuel for my camping stove. I’d be lucky if I got two days of fuel out of a large canister.
Then I upgraded to a Primus stove and fuel (MSR is also great). It was a whole new ballgame. One small canister could last me and my daughter over a week of camping compared to just a few days with the cheap fuel.
Butane:
Butane is what you’ll find in 8oz aerosol cans. It is the cheapest and least efficient of the fuels. Fuels have something called vapor pressure, which describes how well it can vaporize at a given temperature. Low-pressure fuels like butane will lose pressure quickly. They also perform badly when it is cold weather.
Don’t expect much from butane stoves. Even in good conditions, it will likely take over 6 minutes to boil a liter of water. Hopefully you don’t need the water for something urgent like purifying water for first aid.
The one thing that I like about this type of gas is the surface area of butane stoves. The canister is set off to the side, so you can get a much larger cooking surface. You could actually cook an entire pot of beans on the stove without a feat of balance. So, it might be worth it if you are cooking for a large group.
Isobutane:
Unlike butane, isobutane has a good vapor pressure. This means that it can deliver a lot of fuel at once. With a good stove, you could boil a liter of water in under 3 minutes. The gas performs well in cooler weather, but loses efficiency when it’s cold. You’re better off with propane in sub-zero weather.
The one thing I don’t like about isobutane canisters is their setup. Typically you screw a small stovetop onto the canister. The canister and stovetop aren’t large enough to support any big pots, so this is only suitable for cooking small meals for 1 or 2 people. I have cooked for many more people, but watched the pots constantly to make sure they didn’t tip over from the boiling action!
Fuel Mix with Propane
Finally there are fuel canisters which combine either isobutene with propane. This allows you to get the benefits of both types of fuel. This is the type of fuel I now use on backpacking trips. After switching to the mix, I’m not going back. The canisters do cost a lot, but it pays off quickly because they last so long.
The canisters are shaped the same as isobutane. This means they are also difficult to use when cooking large amounts. They are better suited for individual meals.
How Much Fuel?
To calculate how much fuel to bring, you’ll need to know:
- How long your stove takes to boil a liter of water
- The run time of your stove per canister
- How much water you will need to boil on your trip
For example, my Primus stove boils a liter of water in about 2.5 minutes. A small cartridge of 8oz (230g) will run for about 85 minutes which means that I could boil 34 liters (143 cups) of water.
How long would a canister last me? Based on the food I normally bring backpacking, here’s how much water I’d need to heat or boil per day to feed just me:
- 1 cups of water for oatmeal
- 2 cups for hot drinks
- 1 cup for lunch (such as for rehydrating hummus)
- 3 cups of water for dinner
This adds up to around 7 cups of water per day which needs to be boiled or heated. So, a full canister would, in theory, last me 20 days.
I say “in theory” because you won’t actually get nearly as much as the fuel advertised. A lot of the heat from the stove gets lost out the sides, especially on windy days. In cold weather, a lot of the heat is lost in the air. Snow will take longer to boil than warm water. Boiling also takes longer at higher altitudes.
We also don’t just boil water with the stove. We cook with it. The gas usage changes drastically when I put the stove at its lowest heat setting to simmer pasta for 10 minutes. So, it’s not just about calculating X number of boils per canister.
The bottom line? Play it safe. Check your stove and gas canister stats to figure out how many liters of water you could boil. Then divide that number by 4. That’s how much water you’d boil in worst-case scenarios.
Wind screens for canister stoves
Here’s my DIY ultralight windscreen for my canister stove
If it is windy, the flame ends up being blown away from the stove. You lose a lot of heat this way. How much? You might use 3 to 5 times the amount of fuel on windy days!
Most windscreens cannot be used with gas canister stoves because they cause the canister to overheat. However, you can make or buy one which doesn’t go around the canister. Here’s instructions on how to make your own windscreen for a canister stove.
What if you run out of fuel?
In case you run out of fuel, bring some meals which don’t require any cooking. For example, you can make instant mashed potatoes with cold water if necessary. My dehydrator meals will also rehydrate if they sit in cold water for long enough. This way I can still eat a nutritious meal even if I run out of fuel.
Not sure what to eat while backpacking? Check out my ebook. It contains over 50 ultralight, nutrient-dense meals for the trail plus tons of advice on how to plan meals. Learn more here.
2. Liquid Fuel Stoves
Pros:
- Multiple fuel options, including gasoline
- Will be able to find fuel pretty much anywhere there is civilization!
- Can use a windscreen
- Good heat control
- Boils water super quickly
Cons:
- If you are using white fuel, good luck finding it on the road
- Have a high learning curve.
- Require maintenance, such as changing O-rings
- Expect clogs if you use less-clean fuels
- Don’t spill gasoline. Oops! Too Late!
- Your hands will probably stink from them.
- Not exactly the most compact option if you are just going for a short trip
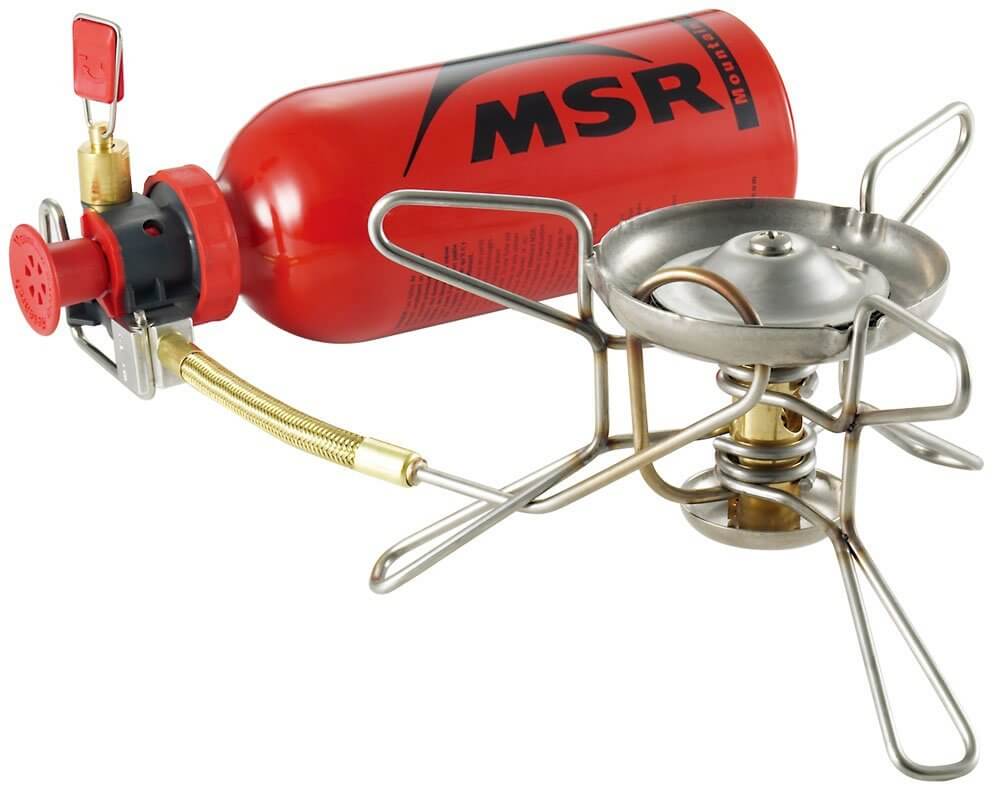
Top Liquid Fuel Backpacking Stoves
What are liquid fuel backpacking stoves?
Liquid fuel stoves consist of a gas tank that you fill up yourself. A tube connects the tank to a burner situated off to the side.
There is a lot to love about this setup. For starters, the canisters can be filled with many types of fuel. Typically backpackers will use white gas since it is clean-burning and efficient. However, you can also use kerosene, diesel, or standard unleaded gasoline.
The option to use various fuels makes them very versatile and great for travel. You won’t always be able to find a camping store to buy canisters but you can always go to a gas station and buy 30 cents worth of gas.
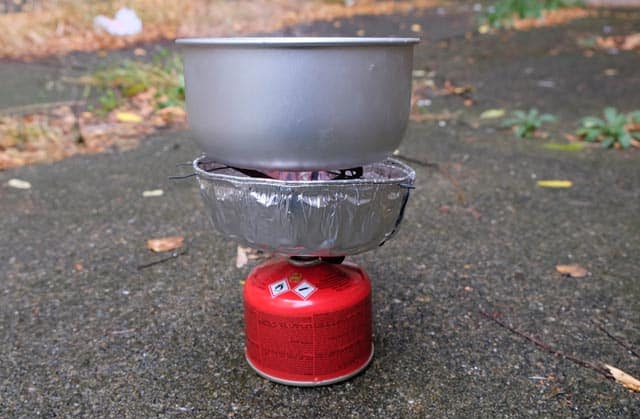
Because the burner is located away from the fuel tank, you can safely use a windscreen with these types of stoves. A windscreen will greatly increase the stove’s efficiency so you don’t have to wait as long to boil water or blow through fuel.
The MSR Whisperlite being used with a wind screen
On the downside, liquid fuel stoves have a bigger learning curve than other stoves. Once, while backpacking and camping on a mountaintop in Kosovo, a fellow hiker joined us for a night while passing through. He had a pressurized stove and had apparently not tested it before setting off on his trip. (Lesson? ALWAYS TEST YOUR GEAR BEFORE YOU LEAVE!!!)
He couldn’t figure out how to use the stove, so we cooked dinner on my gas canister stove. Hopefully he figured it out. Otherwise he was going to be munching on uncooked spaghetti for the rest of his hike.
With liquid fuel stoves, you also have to worry about spills during refueling. When using cheaper fuels, there can be some bad odors of your stove might even get clogged. Also note that fuel won’t last forever in the tank like with canisters. Oxygen gets into the tank and causes it to go bad fairly quickly.
3. Alcohol Stoves
Pros:
- You can make your own for free
- You can find alcohol pretty much anywhere
- Alcohol is cheap
- When you ask for “alcohol” fuel in a foreign country, they will probably misunderstand you and offer you homemade brandy instead 😉
Cons:
- Do you really want to carry around a LIQUID in your pack? Spills, anyone???
- Good luck controlling the flame. It is possible, but takes some getting used to
- Takes forever to boil water
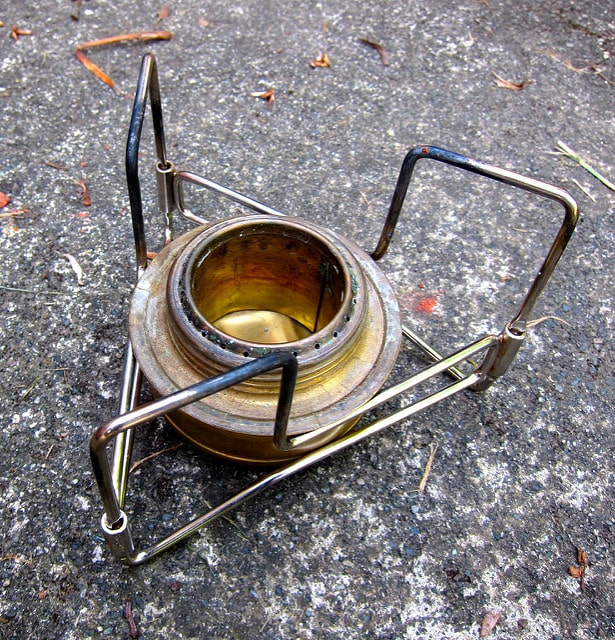
Top Alcohol Backpacking Stoves
What are alcohol stoves?
Don’t want to pay lots of money for backpacking gear? I hear you! Consider making your own backpacking stove that runs off of alcohol. You can easily make one out of two old soda cans. There are also plenty of “pro” alcohol stoves you can buy online.
Aside from being cheap, alcohol stoves are great because you can find fuel anywhere. However, they are terribly inefficient. Expect it to take least 10 minutes to boil a liter of water! It’s also virtually impossible to control the flame or temperature.
I personally wouldn’t recommend these for backpacking. However, if you couldn’t find canister fuel while resupplying, it would be smart to know how to make one of these so you could use it as a backup.

Cooking on a DIY alcohol stove made from soda cans
4. Collapsible Wood Stoves
Pros:
- Pyromaniacs will have fun building a fire for each meal
- You don’t have to carry any fuel with you
- No fuel = super ultralight!
Cons:
- When you are hungry, gathering sticks and then waiting 10 minutes to boil water feels like forever.
- Fire bans anyone???
- Good luck controlling the flame or heat
Top Backpacking Wood Stoves
What are collapsible wood stoves?
I’ve experimented with making my own “hobo stoves” and other portable wood stoves. They are a lot of fun to make and use, but are pretty terrible in real-life use situations.
The main issue with these stoves is that they take forever to boil water. Whereas a good canister stove will boil water in under 4 minutes, a wood stove will likely take 10+ minutes. Whil there are definitely more efficient versions of wood stoves, don’t trust manufacturer claims that they can boil a liter of water in much less time.
Note that you will need to be feeding the fire for most of that time so the flame stays strong! These are hands-on stoves and it will take practice to control the flame.
The only real good thing about these stoves is that the fuel is free anywhere that there’s wood. If you are going on a very long backpacking trip (and aren’t in a hurry), this option means you won’t ever have to worry about resupplying fuel. Since you won’t be carrying fuel, this ends up being the most ultralight solution.
5. Solid Fuel Stoves (Esbit)

Pros:
- Super easy to use
- Cheap
- Really lightweight
- Don’t even need a stove – just dig a little pit, put the fuel tab inside, and put your pot on top
Cons:
- It will take FOREVER to boil water
- They will leave a gross residue on your pot (Tip: Coat your pots with soap and you will be able to easily wipe off the residue)
- No way to control the flame
- Make your pack smell like rotting fish
Top Esbit Backpacking Stoves
What are Esbit stoves?
Best known as Esbit stoves, these tablets contain fuel in a solid form. You put the tablet in the stove and light it. A 14g tablet will burn for about 12 minutes.
Like with wood, it takes a long time to boil water with Esbit tablets. Expect it to take around 8 minutes for just 2 cups of water. There’s no way to control the flame size or heat other than adding more fuel tablets. Or, if you cut a fuel tab in half to increase surface area, it will burn faster and hotter.
Because of how inefficient the tablets are, I wouldn’t recommend using them for backpacking. Oh, and they smell really bad – like rotting fish!
However, the tablets are cheap and good to have around as a backup. They also work great as firestarters since they burn so long. If you need to make a fire in wet conditions, it will make your life much easier.
Note that Esbit tabs can eat through plastic. If you decide to bring them, you should put them in a plastic bag lined with foil.
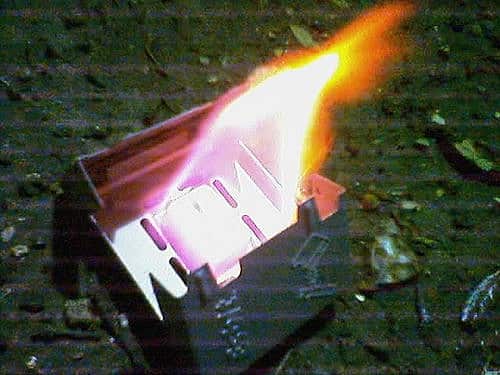
Solid fuel tablet lit. No use trying to control that flame!
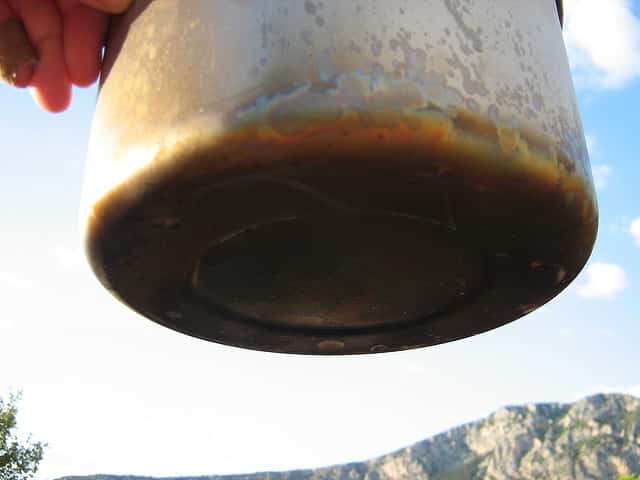
Did I mention that solid fuel tablets leave a gross film on your pots?
6. New High-Tech “Alternative Fuel” Stoves
Pros:
- You’ll get “cool” points for having the fanciest new gear
- You can charge your gadgets on the stove
Cons:
- Why the hell do you want to charge your gadgets? Shouldn’t you be enjoying nature?
- You’re paying a lot for the cool factor
- Some are big and bulky
What are they?
The fifth type of backpacking stoves are known as “alternative fuel stoves.” I guess some of them are pretty cool, but I generally prefer a more minimalist approach to backpacking.
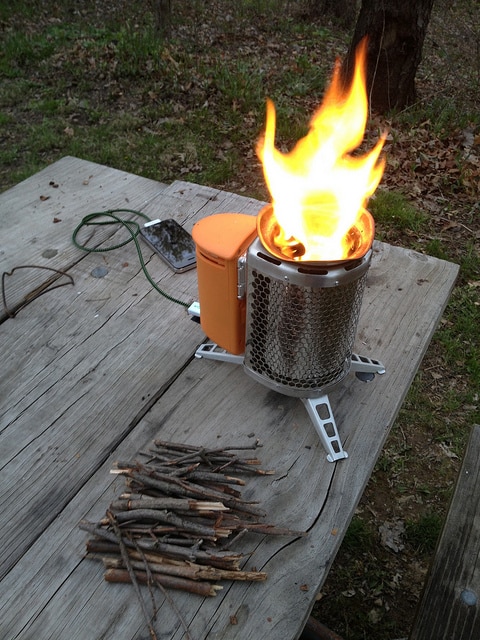
Take the Biolite stove. It not only runs on wood, but converts the energy so you can power your cell phone. But who want to be called while in nature? The last thing I need is a connection with civilization!!! 😉
Want to buy one?
Check out the BioLite Wood Burning Stove (that also charges your phone) or, for something more traditional, check out the Solo Stove Light which runs on wood.
Carbon Monoxide and Backpacking Stoves
Every year, several backpackers die because they used their camping stove inside their tent. I understand that you might be tired, or that it might be raining outside, but NEVER COOK INSIDE YOUR TENT.
Why? When you burn carbon-based fuel (which includes gas canisters), it releases carbon monoxide gas.
Breathing in the gas prevents the body from using oxygen, and poisoning can quickly occur. It’s odorless and colorless. You won’t know that you are being poisoned until it’s too late.
The bottom line is this: Don’t risk it. Make sure you have rain gear and go outside to cook.


Post your comments