Knowing how to make a fire in the rain is one of my favorite skills. It makes camping in the rain a heck of a lot more fun. Plus, I always feel like a badass when I can get a fire going in a downpour. Yes, it will impress your camping buddies too. It’s actually not that difficult to make a fire in the rain if you use the right lay.
Note: Don’t bother with this unless you’ve got good rain gear. Otherwise you are probably better off hiding in your tent until the rain passes. Obviously you need a rain jacket. I am also a huge fan of rain pants, even though they make me look like I’m in an MC Hammer video from the 90s. You can see my picks for the best rain pants here.
Here’s the video. Detailed instructions are below.
Do You Need Dry Wood to Make a Fire?
With the A-frame and lean-to fire lays, you do NOT need to have dry wood to make a fire. However, you do need to have dry tinder to get some of the kindling going. As the kindling burns, it will dry out the sticks above it. When those sticks catch fire, they will dry out the sticks above them, and so forth.
For tinder, I use firestarters made out of dryer lint dipped in Vaseline. They burn for 7 minutes. If you don’t have dry tinder, you’ll need to use a knife to shave pieces of wood off of a stick. This allows you to remove the wet exterior of the stick and get to the dry stuff inside.
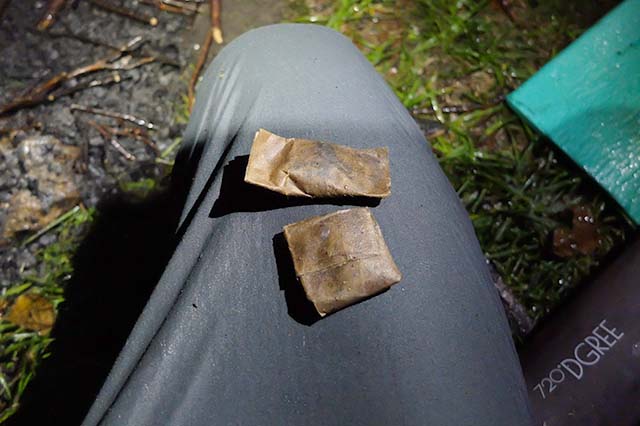
Fire starters made from dryer lint dipped in Vaseline and wrapped in wax paper for transport

This is a great knife for camp tasks like shaving sticks to make dry tinder. Get it here.
Can I Make a Fire Under a Tent or Shelter?
No. It is unsafe to make a fire underneath a shelter. You’ll end up burning down your tent or getting carbon monoxide poisoning. Plus, a shelter isn’t necessary for making a fire in the rain! The fire will stay lit even with rain on it.
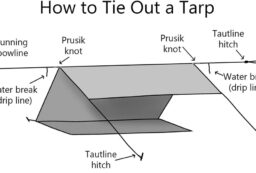
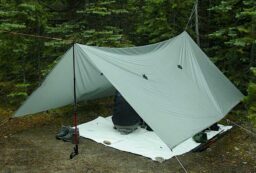
However, you can make a fire near the opening of a shelter – so long as you are careful to keep the fire far enough away from the shelter. If you have a tarp, you can use the loue pitch works well.
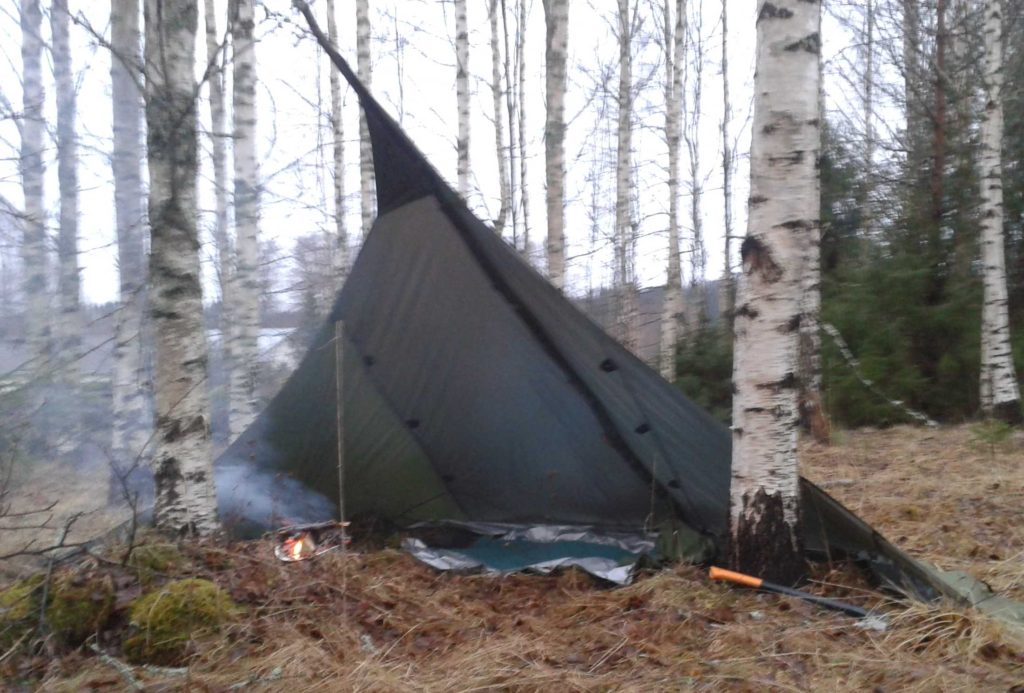
The loue tarp pitch can be used keep the rain off your fire.
How to Make a Fire in the Rain
1. Clear Fire Pit
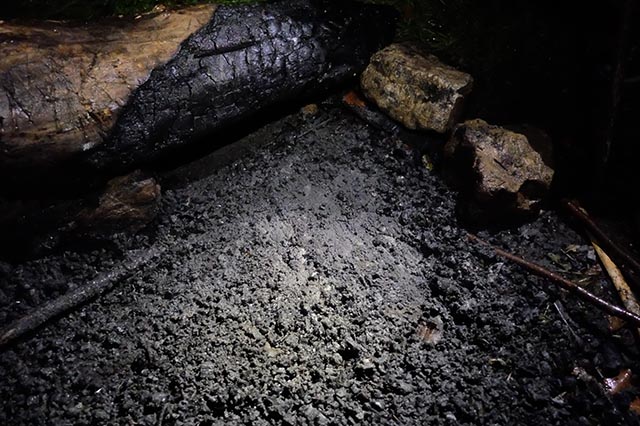
Clear the ground as best as you can. You want to get away as much wet debris as possible. I used a stick to clear this pit.
Step 2. Build a Floor for the Fire
You need to get the fire off of the wet ground. Otherwise rain will extinguish the fire from below. To do this, simply make a layer of sticks on the ground. You’ll be building the fire on top of these sticks. What’s awesome is that the fire will actually dry out these sticks as it burns, giving you a lot of strong embers and a fire which doesn’t go out.

Here’s a floor for the fire made out of 1-layer of sticks
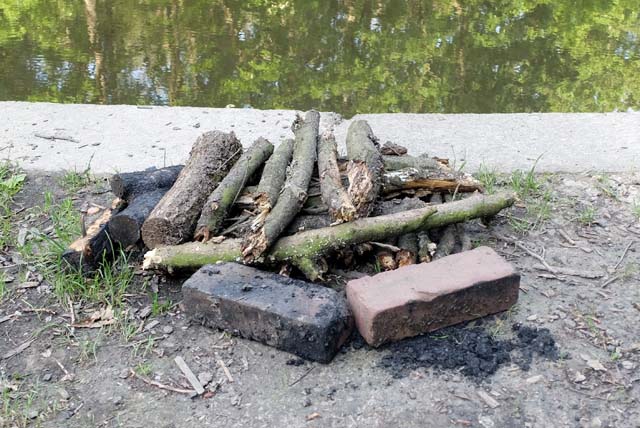
Here’s another example of a floor. It wasn’t raining that day, but the ground was completely wet so I still made a floor for the fire.
Step 3. Build an A-Frame or Lean-to Fire Lay
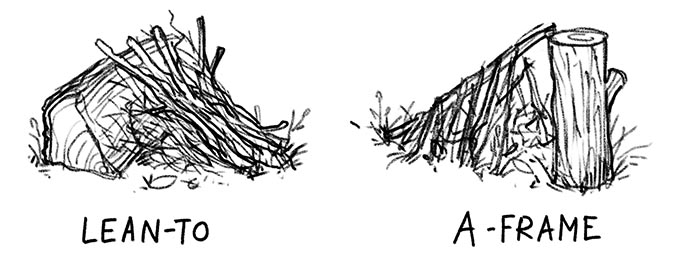
There are 6 main ways to lay a fire. If it is raining, then you will want to use the lean-to or A-frame fire lay. With these fire lays, you build up layers of kindling and fuel wood over the fire. The wood makes a “roof” which protects the fire from the rain. It will burn from bottom-to-top, instead of top-to-bottom.
To make a lean-to fire:
- Find a big log or rock. Put it next to the “floor” you made. This is the frame for your fire.
- Start with very small sticks. Prop them against the frame.
- Keep adding more sticks until you have a “roof”
- Be sure to leave an opening underneath the roof.
To make an A-frame:
- Find a long, thick log or branch.
- Prop it up on something (like another log or a rock) over the floor you made. This is the frame for your fire.
- Start with very small sticks. Prop them on both sides of the frame.
- Keep adding more sticks until you have a slanted roof on both sides of the frame.
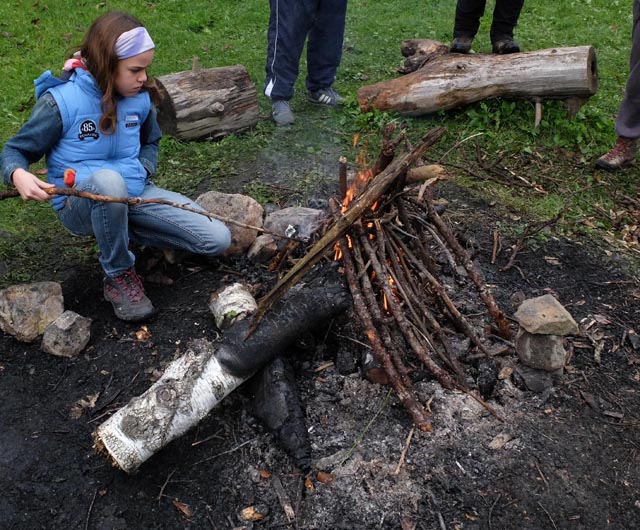
Here’s an A-frame fire (above). The big log in the middle serves as the frame for the fire. The “floor” is underneath. It was drizzling that day.
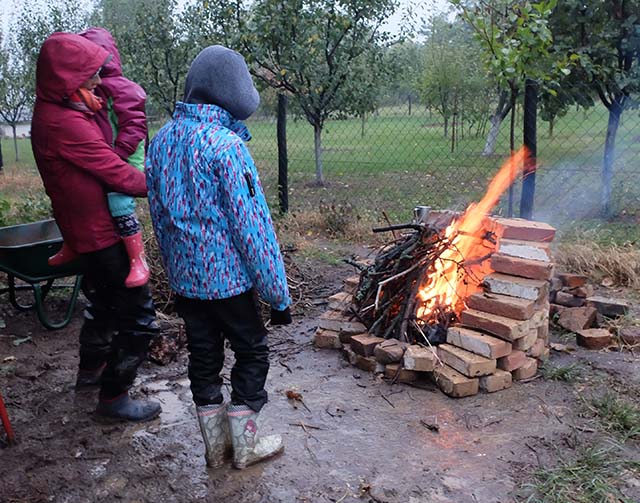
This is a lean-to fire lay. I used the back of my fire pit for propping up the sticks.
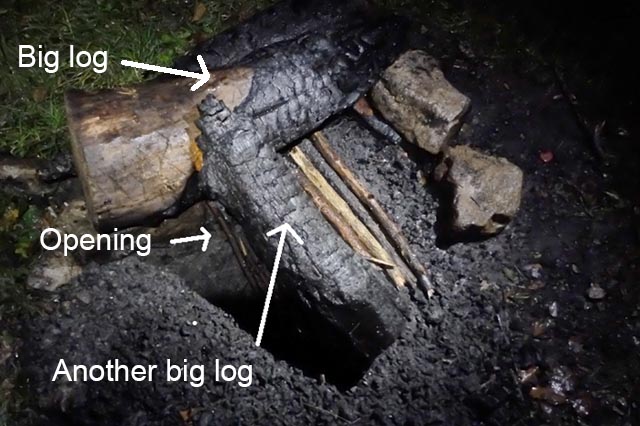
This is actually a combination of an A-frame and lean-to fire lay.
Step 4. Build Up Your Roof
Keep adding sticks to the frame. Add larger sticks as you build upwards. Soon you will have a “roof” for your fire. The thicker your roof, the better it will protect the fire below from the rain. Also, you won’t have to add any more wood to the fire — which is important if you are staying dry in a shelter near the fire.
Step 5. Light a Teepee Fire Under the Roof
Using dry tinder, light a fire under the roof you just build. Remember that you can shave a stick to make dry tinder. I also always bring Vaseline-lint firestarters with me.
Step 6. Keep Adding to the Roof
As the fire burns, the lower layers will dry out the upper layers of the “roof.” Just keep adding to the roof and your fire will stay dry.

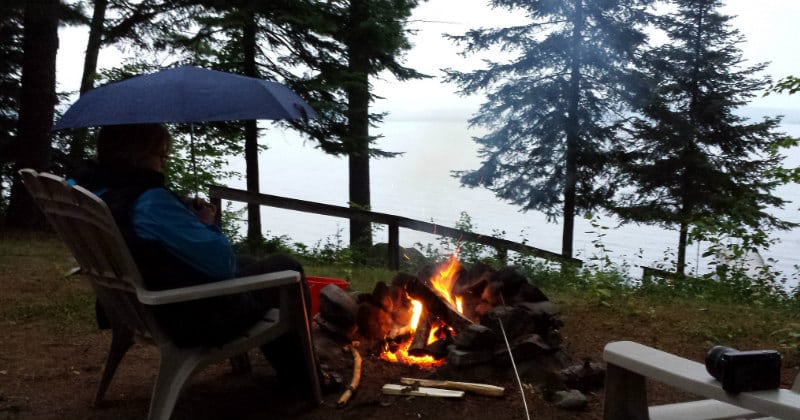
It’s pouring rain but the fire is going strong!
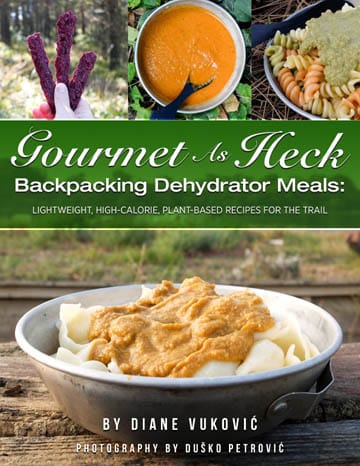
Guess what? I wrote a book!
The book has over 50 dehydrator recipes for backpacking — including ones with over 150 calories per ounce! Now that will shave weight from your pack!!! There’s also tons of info on nutrition and meal planning for backpacking.

Learn more here. Or buy the book instantly.
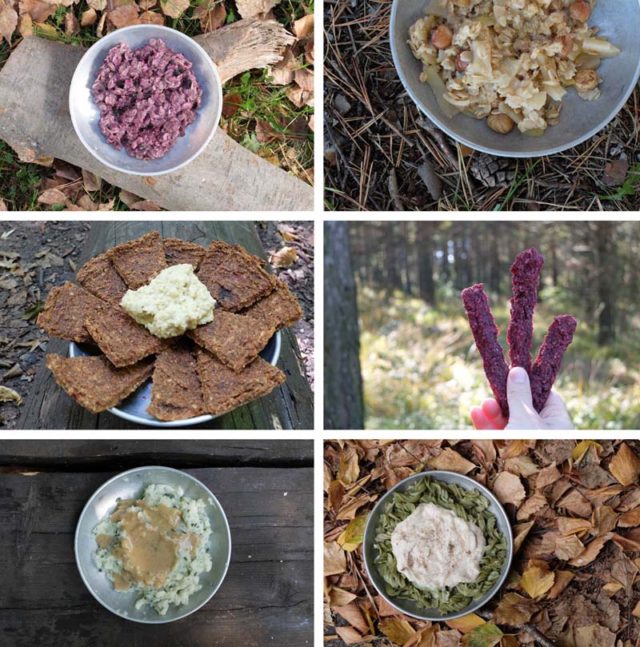
Some of the backpacking meals which are in my ebook. Get it here.
Image credits:
“0T8A5116” (CC BY 2.0) by Phototaking101
“Campfire in Rain” (CC BY 2.0) by RichardBH
Erected loue (CC BY-SA 3.0) by Creidiki
“10. Waxed tea bag alight” (CC BY-NC-ND 2.0) by coconinoco








3 Comments
Name *
February 24, 2019 at 4:45 amEmpty 12 shot gun shells with a piece of candle inside make great fire starters and hold up well in a back pack or bug out Bag,
Char cloth made from old t shirts (look it up on line) with frayed hemp rope and dryer lent make a great “birds nest” to hold a spark when using flint and steel to start a fire. Make sparks into the “birds nest” with the wind at your back and raise the nest to shoulder height and blow gently. when the nest bursts into flame shove it under your kindling. No you wont catch on fire if you pay attention.
Diane
February 26, 2019 at 12:58 pmThanks for the comment. These are great ideas! I should really start saving my dryer lint. It’s probably better coated in Vaseline than cotton balls (another great fire starter), and free. 😀
Elle
November 23, 2020 at 3:20 pmYou should be a “fire advisor” to “Naked and Afraid.”