
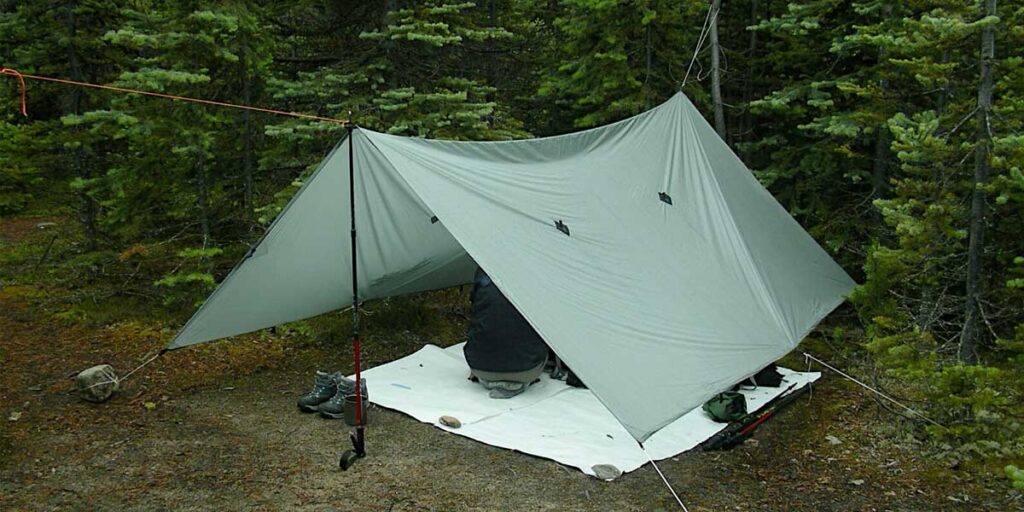
If you don’t know the right knots for tying out a tarp, your tarp walls and roof will end up sagging. Or the tarp might even collapse on you. Luckily, there aren’t too many tarp knots you need to know. With just these 7 knots, you will be able to pitch any tarp setup and in any conditions.
Want this information (and more!) in printable format?
Get my Camping Cheat Sheets!
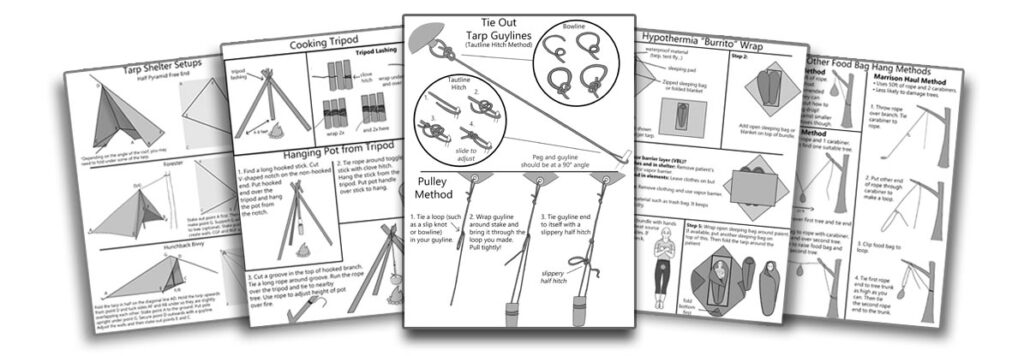
The 42-page guide covers everything you need to know to enjoy the outdoors with confidence.
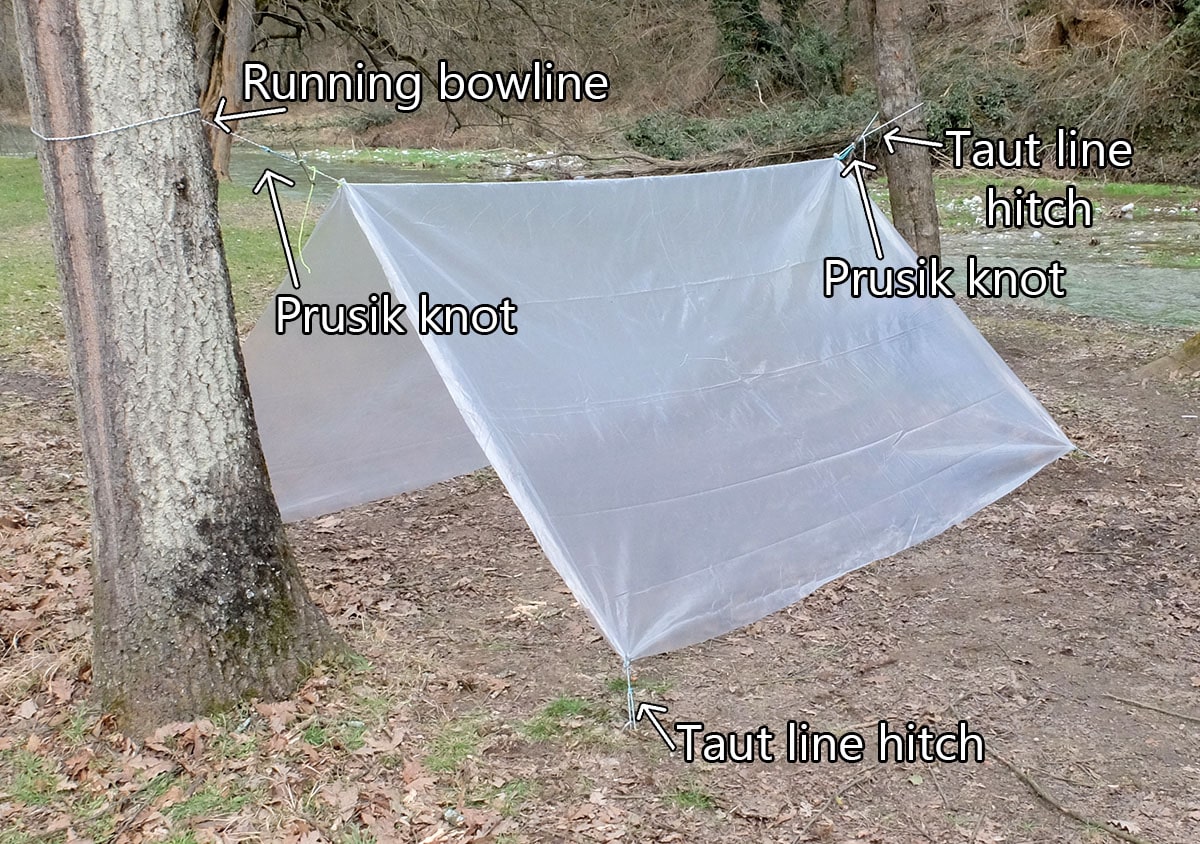
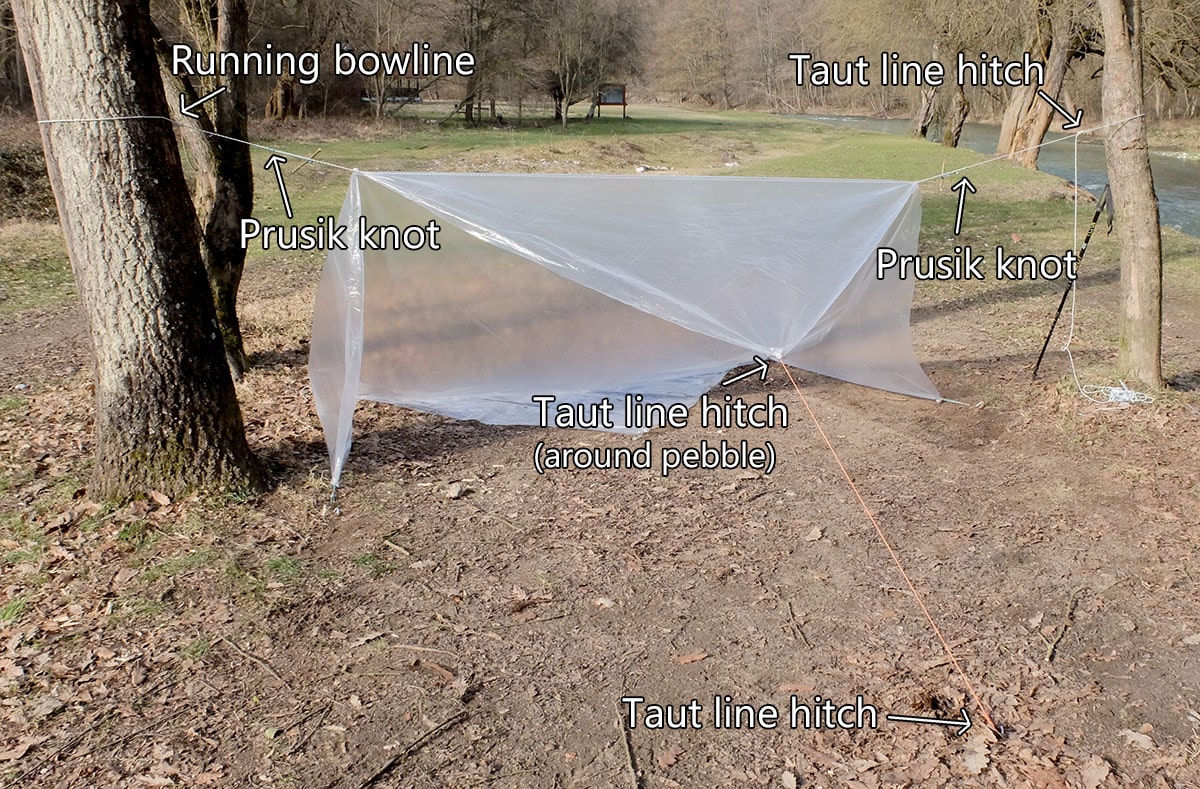
*In the images below, you can see the running bowline, taut line hitch and prusik knots. These are the three tarp knots that I use most often.
Also read:
How Much Rope Do You Need?
For a tarp ridgeline, you will probably need at least 30 feet (10m) for a 10×10 tarp or 40 feet (12m) for a 10×15 tarp. Depending on which setup you use, you may also need several shorter pieces of rope.
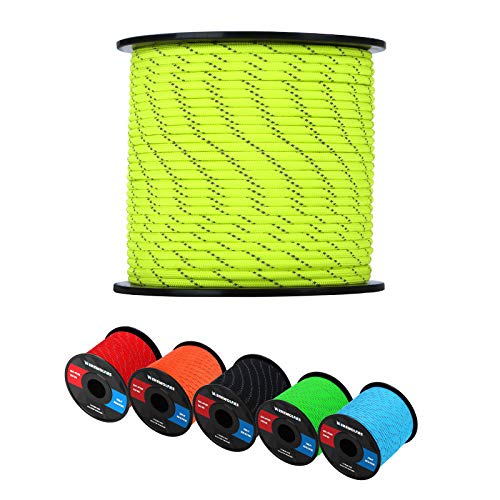
Important: I recommend getting REFLECTIVE paracord (like the one by Werewolf shown below) so you don’t walk into your ridgeline or tie-out points at night! Yes, I’m speaking from experience here 😀
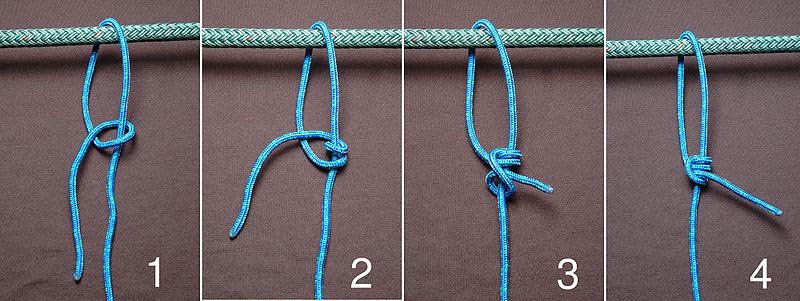
1. Tautline Hitch
Use for: Adjusting tension on guylines and ridgelines, making new tie-out points on a tarp (without grommets or with broken grommets)
The tautline hitch is arguably the most essential knot to know for tying a tarp. Once tied, you can slide it around. This allows you to adjust the tension of the rope – something important for getting ridgelines and guylines taut.
Alternatively, you can use other sliding tension knots such as the buntline hitch, truckers hitch, McCarthey hitch, or Magnus hitch.
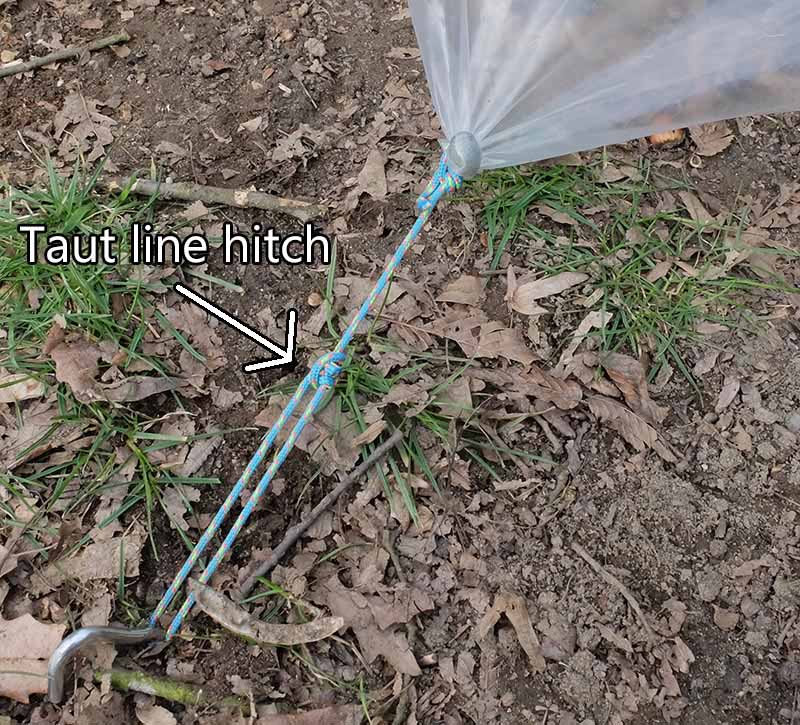
I also often use the tautline hitch to make tie-out points on tarps which don’t have grommets (or if the grommet broke or doesn’t have a grommet where I need it).
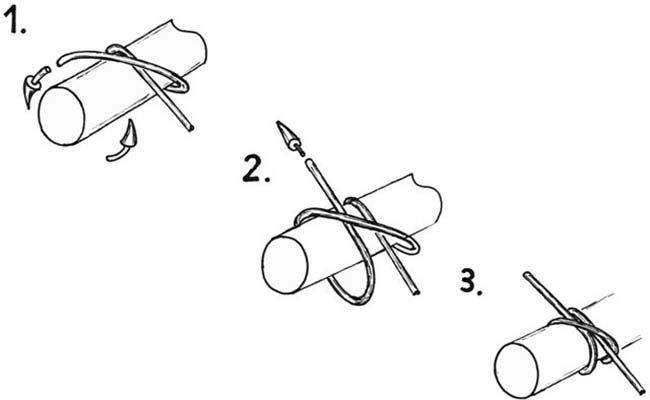
Taut Line Hitch Instructions:
2. Bowline
Use for: Tying guylines to tarp grommets
The bowline is called the “king of knots” because it creates such a secure knot. I admittedly don’t use it that much for hanging a tarp. However, you can use it to attach guylines to tarp grommets. Since the bowline isn’t adjustable, the other end of the guyline will need to be a tautline hitch.
Instructions:
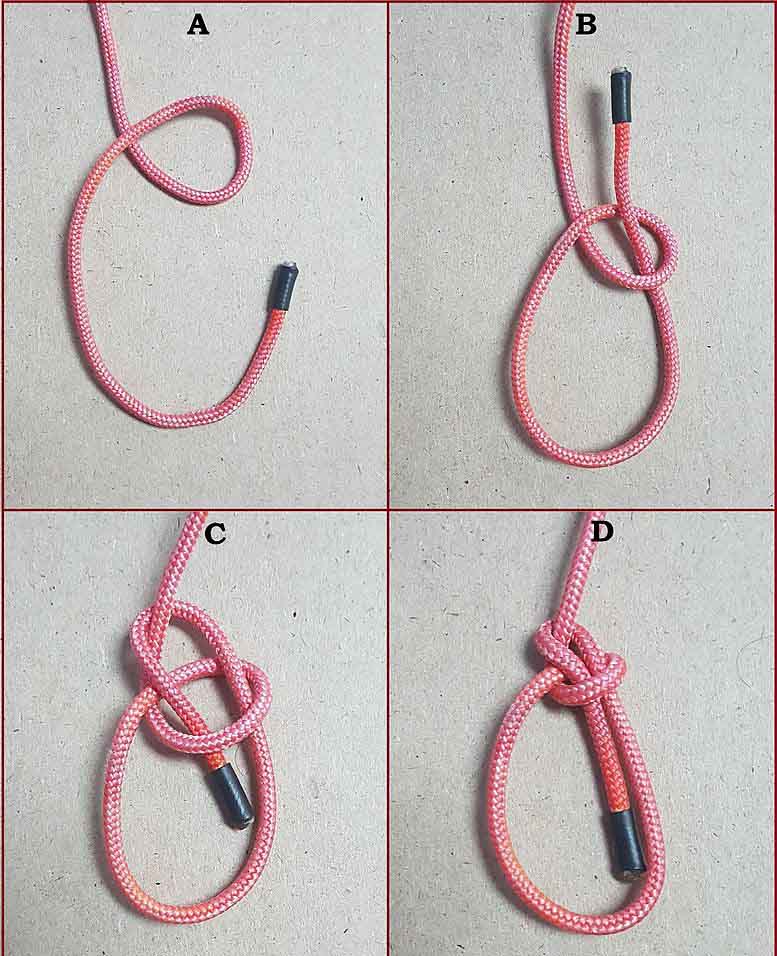
3. Running Bowline
Use for: Hanging ridgelines
You can use a “running bowline” to hang one side of a ridgeline. The knot gives you a very secure ridgeline. Because the tension is on the knot (as opposed to around the tree), it doesn’t cut into trees as much as with other knots (Leave No Trace!!!).
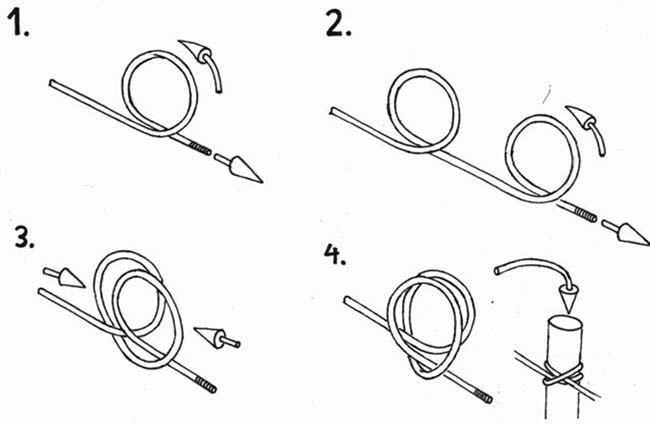
To making a running bowline, first put a bowline on end A of the rope. Rope end A goes around the tree. Then thread rope end B through the bowline. Alternatively, you can tie the bowline directly over rope end B, which saves you the annoyance of having to thread the tail end all the way through the loop you made.
Because the bowline isn’t adjustable, the other side of your ridgeline needs to have a tautline hitch or you won’t be able to adjust the tension.
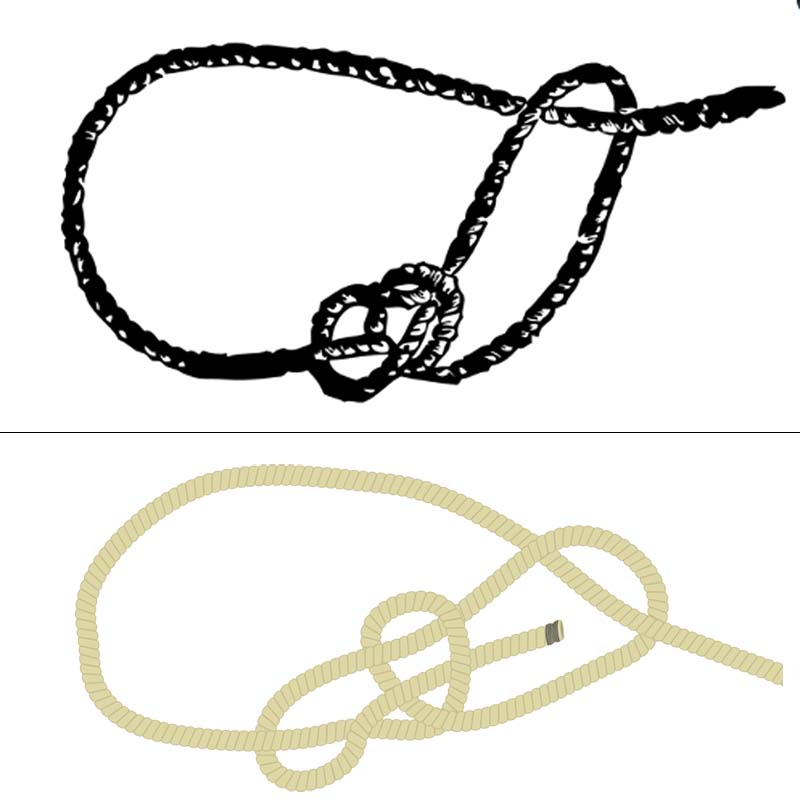
In the top image, the bowline knot was made first and then the tail end threaded through it. In the bottom image, the bowline is tied directly onto the rope. The tree trunk would be inside the big loop.
4. Prusik Knot
Use for: Tensioning tarp on ridgeline.
A common problem with tarp setups is that the tarp gets loose on the area where it hangs over the ridgeline. The prusik knot — also called the prussik knot — solves this problem.
Put two prusik knots on your ridgeline: one on each side of the tarp. Then you attach the tarp (where the edges fold over the ridgeline) to the prusik knots. Slide the prusik knots outwards to get your tarp taut.
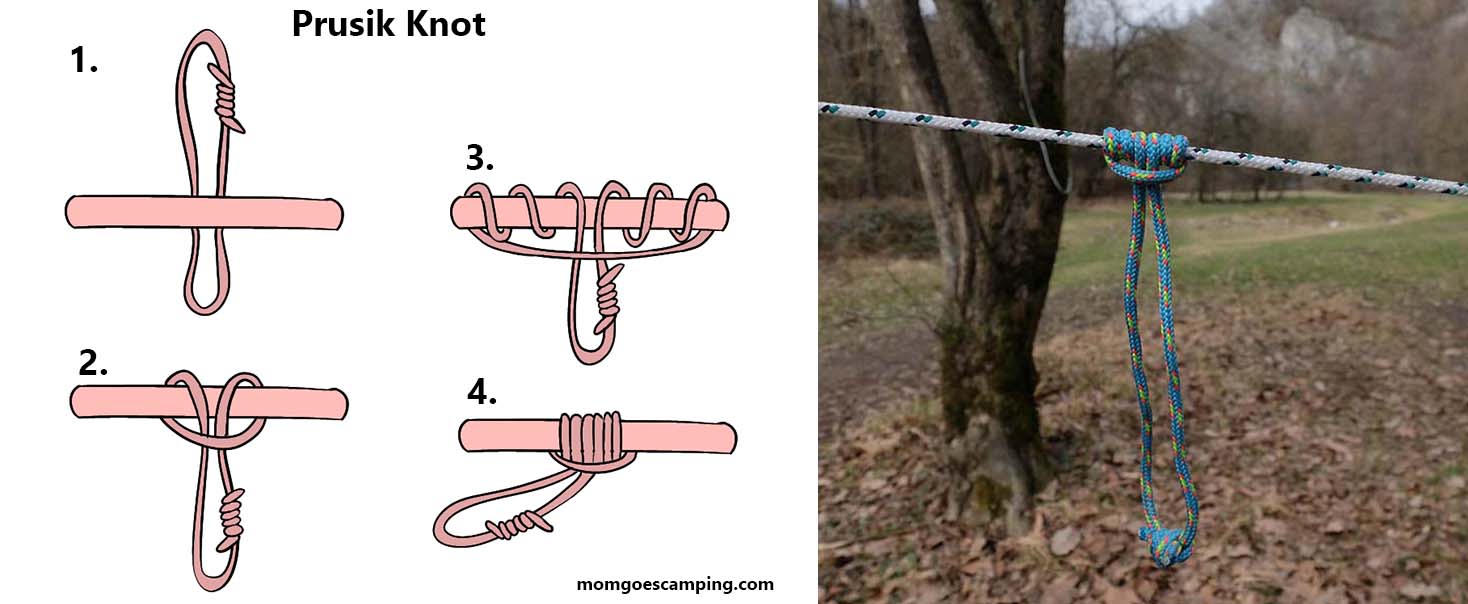
Instructions on the Left. How the prusik looks in real life on the right. The end was closed with a fisherman’s bend.
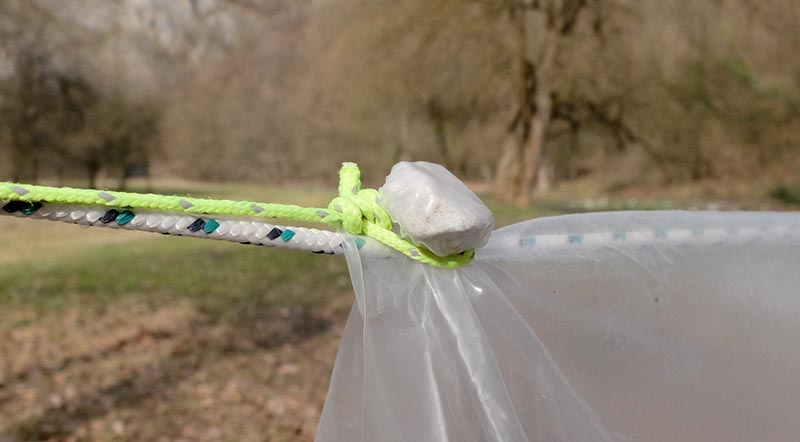
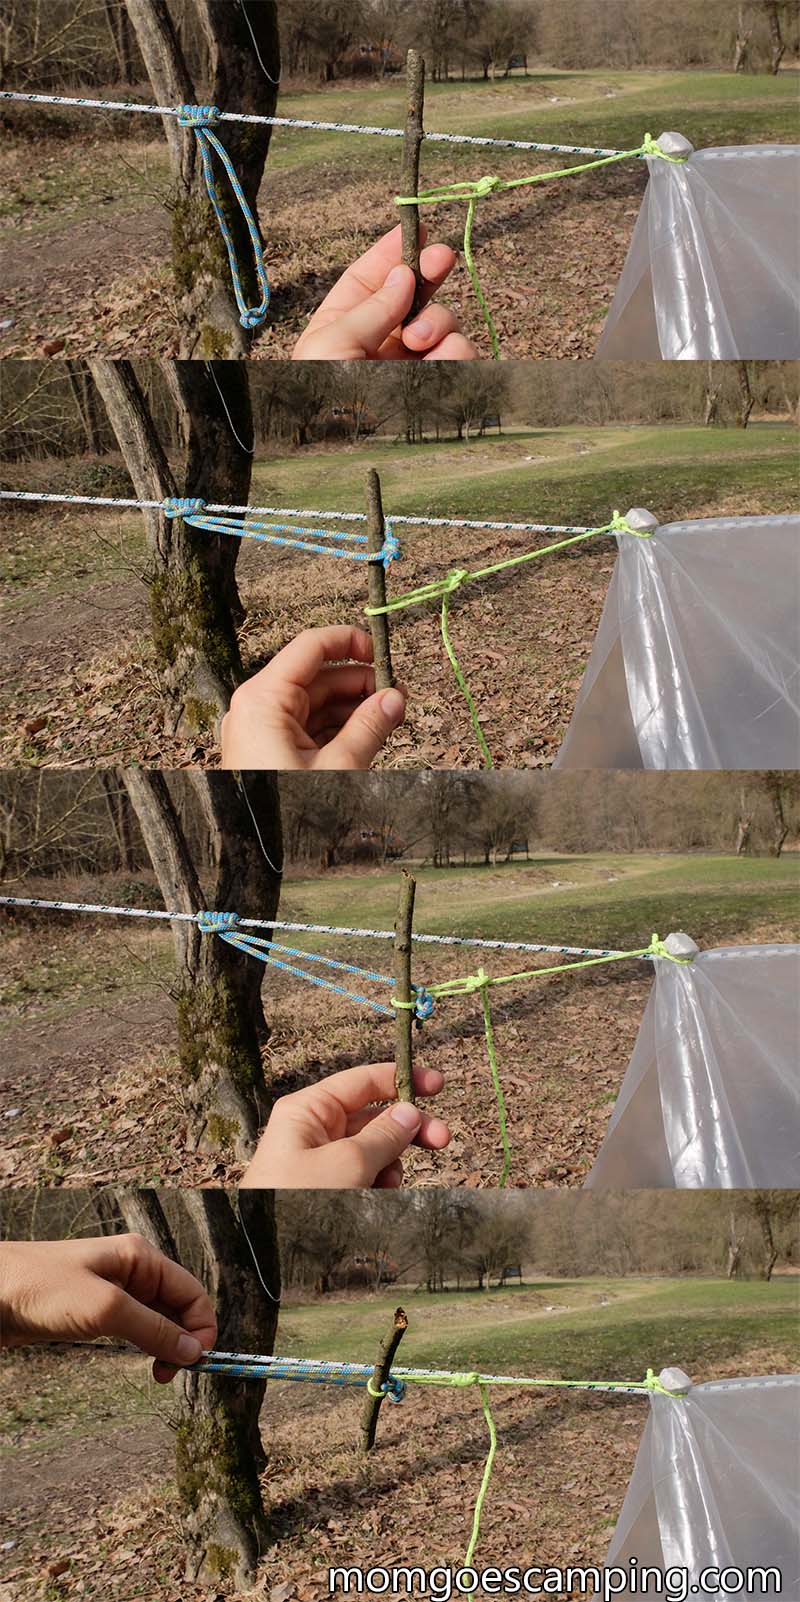
Don’t have a grommet or a loop?
First I make a tie-out point by wraping a rock in the tarp with a tautline hitch. Then tie a bowline in the hanging end.
Now you can use the toggle-stick method shown below.
5. Clove Hitch
Use for: Tying guylines to stakes, when using toggles to hang a hammock
The clove hitch is a very simple but surprisingly secure knot to make. When it is under tension, it won’t budge. But, once not under tension anymore, it can be easily removed. You can use it for quickly tying guylines to stakes (though they won’t be adjustable). It’s also often used for tying toggles when hammock camping. You also need to know the clove hitch for some bear bag hangs.
Instructions:
There are two ways to do the clove hitch. One (top image) involves tying the rope end around the stake. The other way (bottom image) involves making two loops and slipping them over the stake.
6. Fisherman’s Bend
Use for: Tying two ropes together to make one longer rope
A “bend” is a type of knot used to tie two rope ends together. You will often need to do this when hanging a tarp, such as if you need to tie two ropes together to make them longer. I personally like the fisherman’s bend best because it’s easy, even with gloves on. But there are plenty of other bend knots you could use.
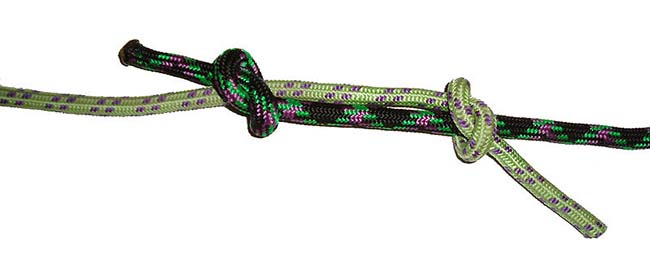
Above: The fisherman’s bend. Pull on both ropes ends. This will pull the knots together and create a secure connection point.
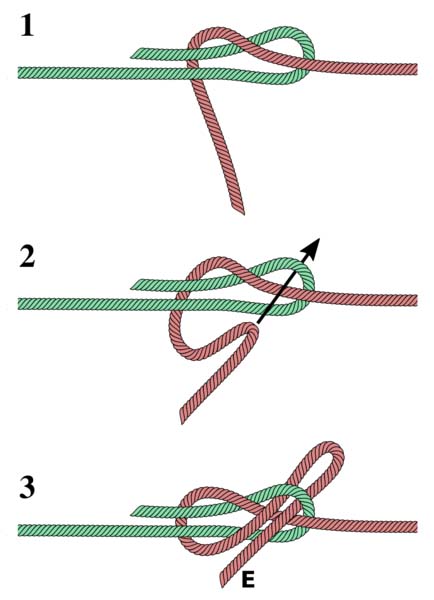
Above: The lap bend is good if you want to easily untie the ropes later on. Just pull on end E to release the knot.
7. Lashings
Use for: Lengthening poles, tying poles together
Lashings are used to tie poles together securely. I personally love playing with them to make camp furniture out of branches. There are three main lashings you’ll need to know for pitching tarps:
- Round lashing: Some tarp pitches (like the dining fly) require very long poles. If you can’t find poles or sticks long enough, you can use the round lashing to connect multiple poles into one longer one.
- Tripod lashing: This is used to connect three poles into a tripod, which can then be used to support a tarp.
- Square lashing and diagonal lashing: Use this lashing to tie poles together perpendicularly, such as if you want to tie a ridgepole between two trees.
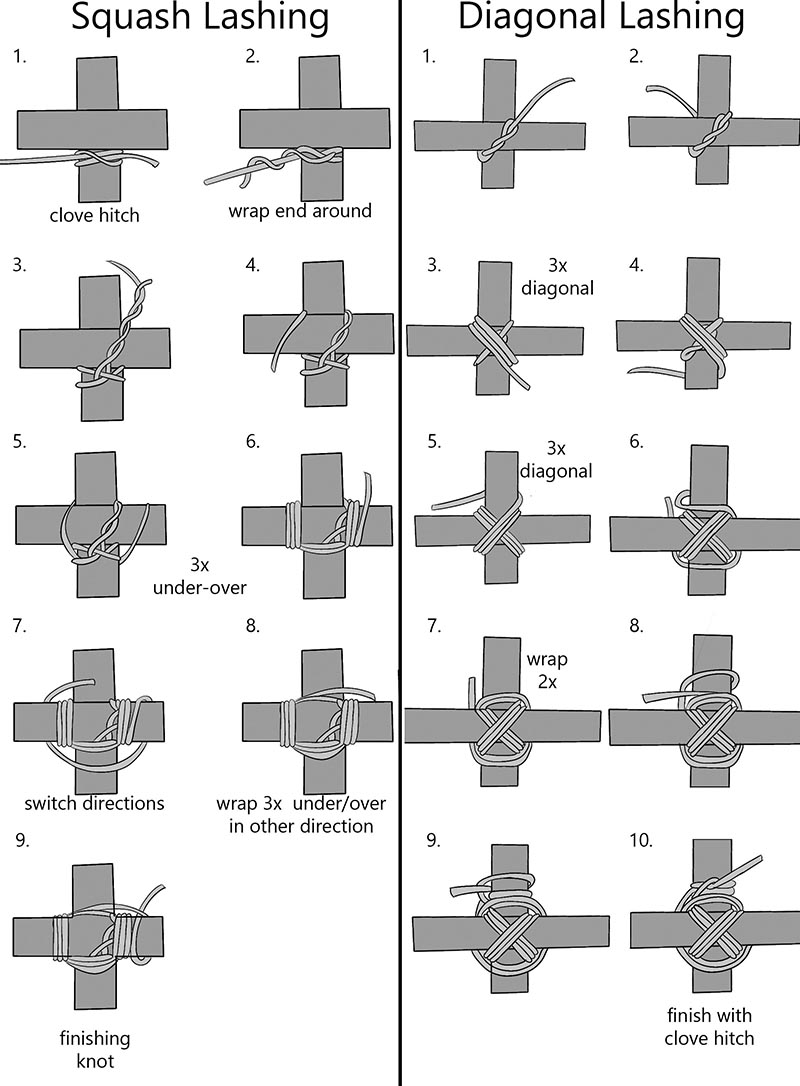
Image credits:
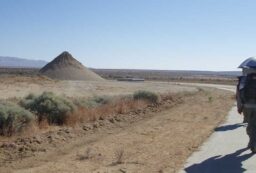
“Tarp Camp at Lindemann City, Chilkoot Tr” (CC BY-SA 2.0) by Umnak
TautlineHitch ABOK 1800, by David J. Fred, Creative Commons Attribution-Share Alike 2.5 Generic license.
Boeglynknoop by FFouche, Creative Commons Attribution-Share Alike 4.0 International license.
Running_bowline, by Whidou, Creative Commons Attribution-Share Alike 4.0 International license.
Mastwurf_Binden and Mastwurf_Legen by Michael Kantelberg, GNU Free Documentation License
Noeud de pécheur déserré by Malta,Creative Commons Attribution-Share Alike 2.5 Generic license.
Lapp_bend_steps by Buz11, Creative Commons Attribution-Share Alike 4.0 International license.
“Square Lashing at Colonial Williamsburg” (CC BY-NC 2.0) by bill barber


Post your comments