
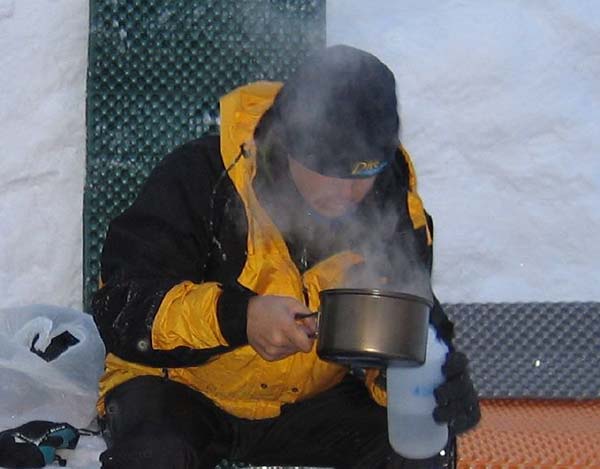
If you are going camping in winter or snowy conditions, you might need to rely on snow for your drinking water. Melting snow can be an arduous, annoying task though — especially if you bring the wrong pot or don’t know a few tricks to speed up the process. This guide will go over everything you need to know so you can melt snow like a pro.
Also read: Winter Camping Guide for Beginners
How to Melt Snow for Drinking Water
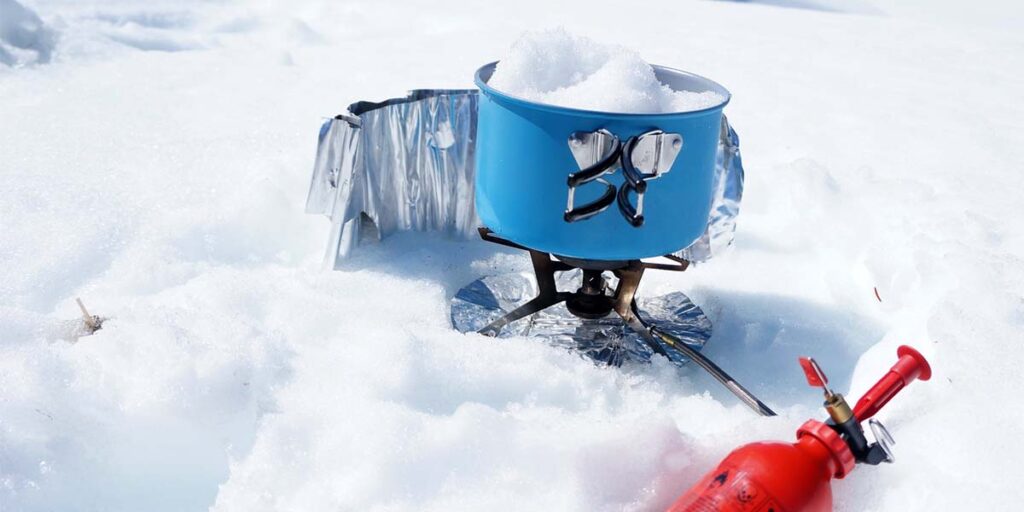
One Pot Method
1. Put a bit of starter water in the pot.
The “starter water” is an inch or so of water. It’s really important that remember to save some water for this! If you just put a pot full of snow directly over the flame, you’ll scorch your pot or possibly even burn a hole in it.
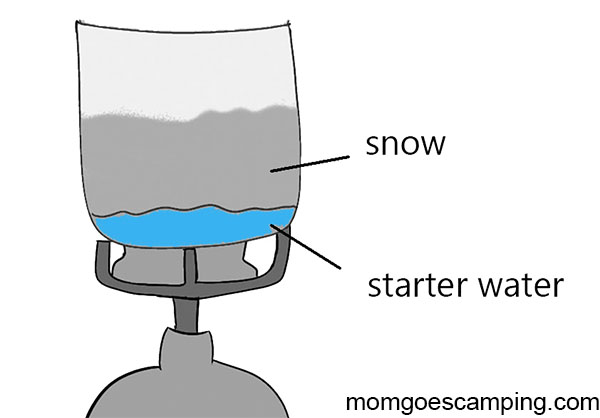
2. Put snow in the pot.
Ideally you have a shovel or a mug for scooping snow into the pot.
3. Cover pot and start melting snow.
Yes, you absolutely should use a lid when melting snow! Using a lid helps conserve energy so you use less fuel. The lid also means you won’t lose water as escaping steam. If you are melting snow over a fire, then you need the lid to stop ashes from getting in.
4. Continuously add more snow.
As the snow melts, you’ll need to add more snow. You’ll also want to stir or poke the snow in the pot a bit to push it into the water and closer to the flames.

The mug is useful for scooping more snow into the pot.
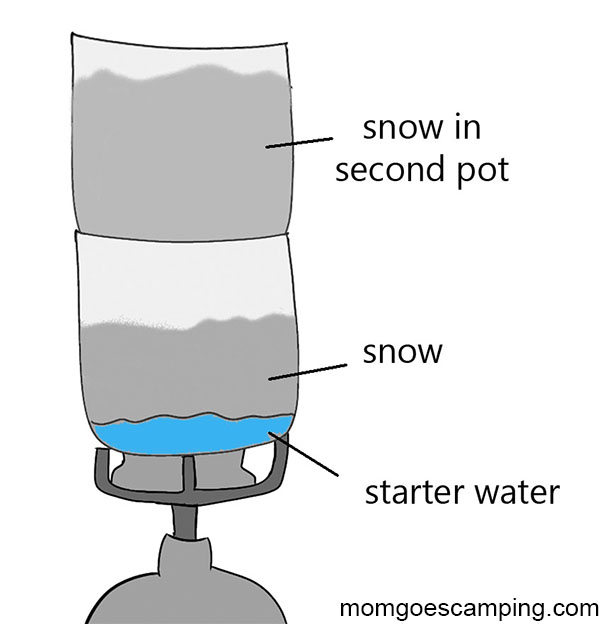
Two-Pot Method
If you really want to increase efficiency, then use the two-pot method. Instead of putting a lid on the first pot, you put a second pot filled with snow on it. The rising heat from the first pot starts melting the snow in the second pot. Because it’s not directly on the flame, you don’t have to use starter water in the second pot.
Pro Tip: Use a Bag for Gathering Snow
Bring a clean trash bag or waterproof sack. Fill it up with clean snow and keep it near your stove. When it’s time to add more snow to the pot, just scoop some from the bag.This method works especially well if you are melting snow from within your shelter. You sit in the shelter (protected from the wind and bad weather) and keep the stove in the vestibule. Then there is no need to get up and go outside to get more snow for your pot.
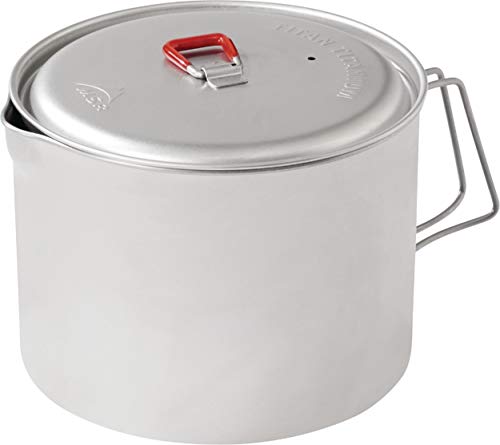
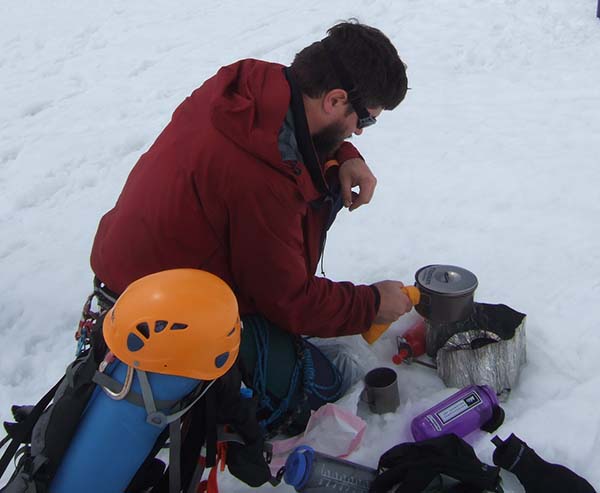
What Pot Is Best for Melting Snow?
Forget about trying to be ultralight and compact. When melting snow, you need a large pot.
Remember that melting snow can take a LONG time. The smaller your pot, the longer it will take. With a 1.3 liter pot, expect it to take 10 minutes to produce 1 liter of water. You’ll also have to mind the process more, such as by adding snow more frequently and stirring it around.
For this reason, it’s worth it to bring a larger pot. For one person, you’ll need at least a 1.5 liter pot but 2L is even better. For groups of two to four people, you’ll want a 4L pot.
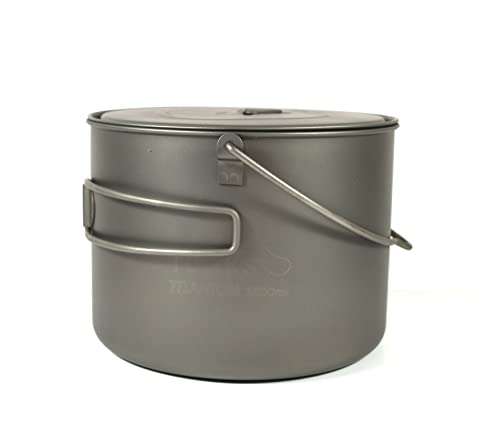
Other Useful Features:
- Wide: A wide pot makes it easier to scoop more snow into the pot. It’s also more efficient because you won’t lose heat over the sides of the pot. Just make sure the pot isn’t so wide that it becomes unstable on your stove.
- Pour Spout: This is really a game changer.
- Glove-friendly handle: The handle should be large so you don’t risk dropping a pot full of hot water.
- Bail handle: This is useful if you ever need to hang your pot over a fire to melt snow.
Recommended:
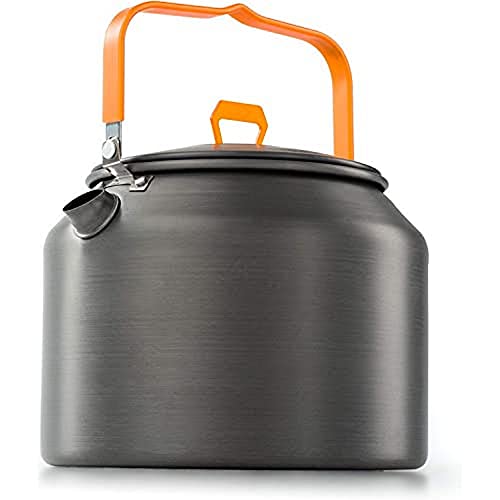
A spout makes it easier to pour the water without spilling water all over your gloves and gear.
How Much Snow Do You Need for 1 Liter of Water?
Fresh snow only contains ~10% water. If you fill 2 liter pot with snow, you are only going to get approximately 200ml of water. You’ll have to refill the pot with snow at least 5 times to get 1 liter of water.
Do You Need to Purify Snow Water before Drinking It?
No, you do not need to purify snow water. So long as the snow is clean (not scraped off the ground or found next to animal feces, for example), it won’t contain bacteria, parasites or viruses.
Pro Tip: Filter Water through Bandana
You are bound to end up with a lot of pine needles, pieces of dirt and other debris in your snow melt. To get this out:
- Put a bandana or piece of cheesecloth over your water bottle.
- Secure the bandana in place with some elastic cord.
- Pour the water through this to filter out debris.
Warning: Snow Can Have Algae or Cyanobacteria Blooms
These organisms can adapted to survive in cold temperatures. If present, the snow will appear pink, orange, bluish-green, brown or grey. The colors are from photosynthetic pigments which allow the microorganisms to collect energy from the sun.
Filtering or boiling can kill the organisms but won’t get rid of toxins they produce. In short, if the snow has strange colors, don’t use it for drinking water!
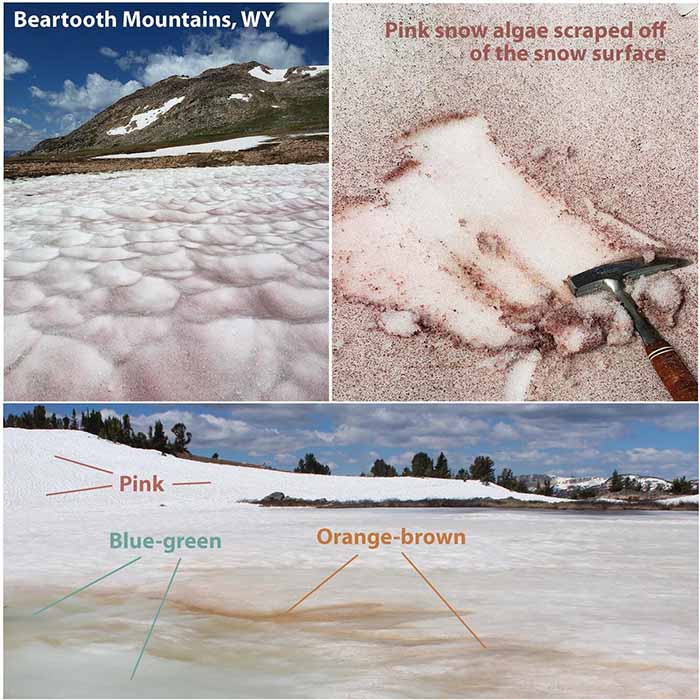
Algae and cyanobacteria blooms on snow in the Beartooth Mountains. The pink snow is from algae blooms. The orange and blue-gree snow is from cyanobacteria.
Other Tips
Use a Windscreen
Melting snow uses a lot of fuel. Having a windscreen will help conserve fuel and speeds up the process. It’s really worth it in this situation!
Consider a Pot Just for Melting Snow
Washing pots in cold weather is NOT fun. So, chances are you will be a bit lazy when cleaning dinner pots. There will be food and oil residue left in the pot. Then, when you go to melt snow in this same pot, you end up with funky water.
So, consider bringing one pot for dinner and another for snow. Alternatively, consider making hot soak meals in pouches so you don’t have to cook food in the pot at all.
Melt Enough Water for the Next Morning
It SUCKS waiting around in the morning for snow to melt. You will freeze your butt off and lose time. Instead, melt enough water the night before so you have water ready for breakfast and extra for hiking.
Then you can melt more at lunch time. This way you utilize your time well but don’t have to carry an entire day’s worth of water around.
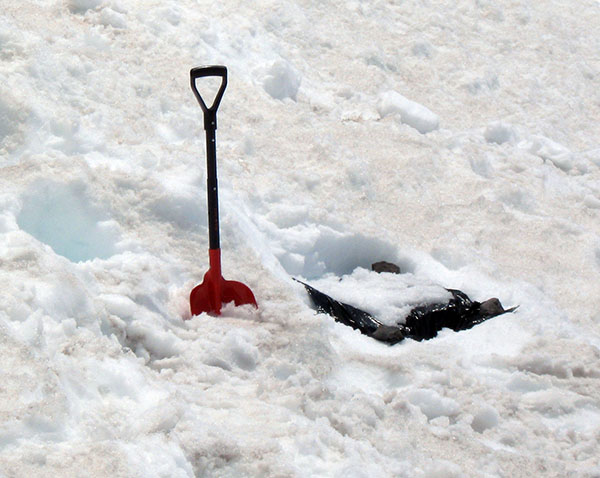
Make a Base for Your Stove
Bring a piece of pie pan or Masonite board to serve as a base for your stove. Otherwise your stove will start slowly sinking as the snow beneath it melts – possibly causing your pot of water to topple over in the process.
Emergency Methods of Melting Snow
You should never eat snow for water. Your body will have to use a huge amount of energy to turn the snow into a liquid. Not only does this make you dangerously cold, but burning energy uses up water. This is why eating snow actually dehydrates you!
But what if your stove fails to light because of the cold temperatures? Or you didn’t calculate fuel needs well and run out? In those situations, you can use one of these emergency methods of melting snow.
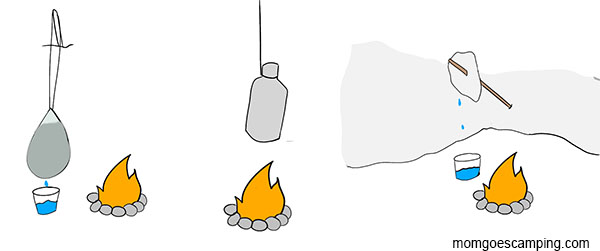
Melting Snow Over a Fire
Ideally, you know these campfire cooking methods. Then you can melt snow in your pot over a fire. If you don’t have a pot for some reason, you can still melt snow over a fire. There are three methods:
- Snow in a cloth bag: Put snow in a cloth bag or create a “bag” out of a shirt. Hang the bag near the fire. Put a bottle underneath to collect the water as it melts.
- Hang water bottle near fire: Fill your bottle with snow and hang it close to the fire so the radiant heat can melt the snow.
- Snow on a stick: This works if the snow is in clumps. Push a stick into a snow bank near your fire. Take a clump of snow and put it on the stick. Put a water bottle underneath the snow to catch drops as it melts.
Using the Sun
Put the snow on a black plastic bag and set it out in the sun. A small amount of it will melt. The trick is pouring the melted snow from the bag without getting yourself all wet.
You can also put the snow in a plastic baggie and set it out on a dark surface.
Want this information in PRINTABLE format?
Then you need my Camping Cheat Sheets.
The manual has 42 pages crammed with illustrated guides about everything from campfire cooking to wilderness first aid.
And because you made it to the end of this post, I’ll even give you 50% off 😀
Get Your Copy for 50% Off Here
Resources:
https://nsidc.org/learn/parts-cryosphere/snow/science-snow,
https://www.weather.gov/arx/why_snowratios,
https://www.usgs.gov/observatories/yvo/news/pink-snow-algae-blooms-high-mountains-yellowstone-and-around-world,
https://www.nature.com/articles/s41598-019-45146-7
Image credits:
“IMG_1312” (CC BY-SA 2.0) by Weembles,
“Melting snow” (CC BY-SA 2.0) by simonov,
“Camp life on the Ice Cap” (CC BY-NC-ND 2.0) by Destination Arctic Circle,
“DSCF1008” (CC BY-NC-SA 2.0) by Marcin Porwit,
“Melting snow like a pro” (CC BY 2.0) by Martin Bravenboer,
“Solar snow melting apparatus” (CC BY-SA 2.0) by simonov


Post your comments