The Pacific Crest Trail (abbreviated to PCT) is a near-legendary, 2,650 mile stretch of hiking challenges that extends from Mexico to Canada. Hard to imagine, isn’t it?
In its entirety, it’s a bucket list item for some: the entire route takes up to 6 months to complete, and will cover at least two seasons. It takes months to plan for it, and you’ll be spending months with your gear. You’ll also be covering terrain that will involve basically every weather condition, and the logistical challenges of supplies and overnight stays.
If you’re not ready to commit to the life-changing experience of traversing the entire length of the trail, there are plenty of opportunities to enjoy shorter sections. Even though the PCT covers 3 states and a lot of variability in the terrain, there are still similarities in the type of gear that you’ll use for any stretch, as well as some non-negotiable items for anyone planning an outing.
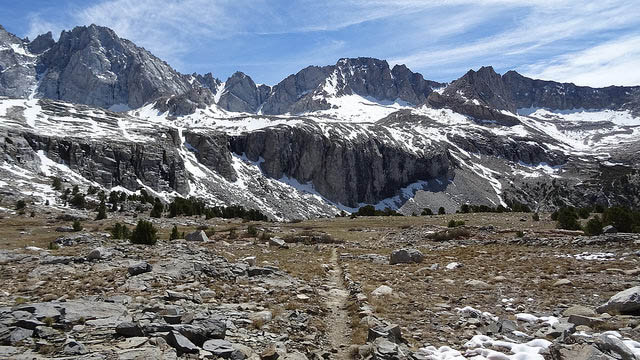
You’ll encounter both blistering heat and snow on the PCT.
Permits, please!
There are a variety of permits you’ll want to look into. Generally, the following overnight camping locations will require some sort of permit:
- California State Parks
- National Parks and Forest Wilderness Areas
If you’ll be entering Canada via the PCT, you will need a Canada PCT Entry Permit.
You’ll also need a California Fire Permit to use a stove or have a campfire on that state’s trail sections. Some permits are completed at self-serve kiosks – this is the norm on Washington and Oregon trails. Others can be pre-ordered online and picked up at ranger stations. You can find the permit here.
Bear in mind, some trails have quotas, and you’ll possibly need to reserve in advance. Check your maps and also the recreation.gov website to help determine the appropriate paperwork.
The Right Clothing Layers
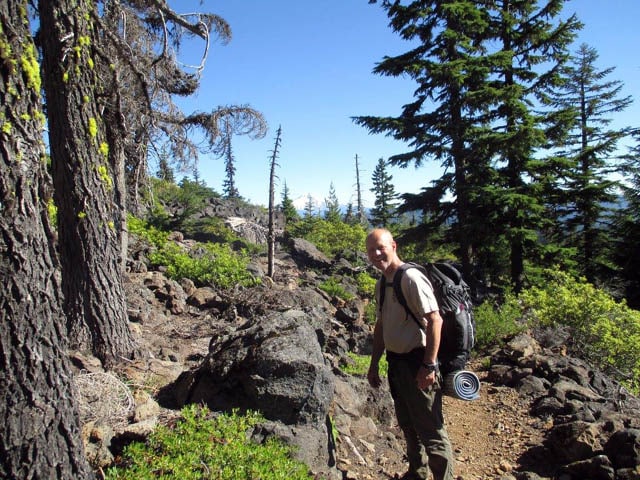
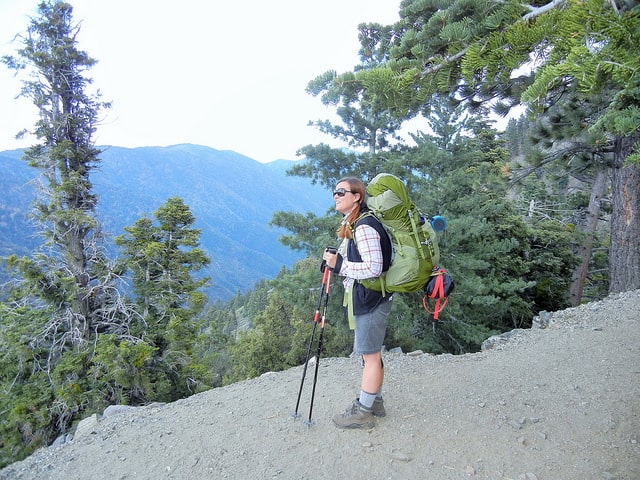
This is my dad on the PCT in July
No matter what the season or condition, the right base layers are essential. Read: The 3-Layer Clothing System Explained
Keep in mind, the best gear for a PCT hike should be prepared for anything. If you’re selecting clothing, think worst-case scenario: Can you take it off, wash it out, and dry it quickly? If you’re new to hiking, there are a lot of great resources out there to help you learn about the latest in outdoor gear.
Food & Water
Even on a short hike, carry enough food to get your group through an entire 24-hour day. Look for foods that don’t require any cooking, that pack a lot of protein for their size, and that are easy to digest.
For hydration needs, plan on 2 liters of water per person/per day, minimum. Don’t expect that there will be drinkable water available on any section of the trail. If you plan to use water found on the trail, you’ll need water purification filters or chemical treatment. The filters can be small stand-alone systems that work through gravity or by squeezing, or can be part of a bottle or straw.
The Sawyer Mini is a popular lightweight choice. It’s affordable, doesn’t require any replacement cartridges, and is lightweight. Read tips on how to the Sawyer Mini it here.
Also Read:

One backpacker’s resupply for the PCT
First Aid Kit
Before getting the first aid kit, it’s also advisable to take a wilderness safety course. Don’t just rely on the booklet that comes with the kit – get some hands-on training on how to deal with injuries like sprains and broken bones, recognize the signs of hypothermia and heat exhaustion, and perform CPR. Even short hikes can lead to medical emergencies.
Other than educating yourself, you must pack a good first aid kit. The best ones for hiking are lightweight, waterproof, and will prepare you for situations from blisters to allergic reactions. If you’re shopping pre-made kits, follow their recommendations on the group size it will serve. If you’re in charge of supplies for the whole family, you’ll need to err on the larger size of kit.
Don’t forget to add any specialty items, such as EpiPens and prescription medications. Think ahead, and allow for any delays in your return, in case you have scheduled meds for anyone in your group.
Also Read: Lightweight Backpacking First Aid Kit Checklist
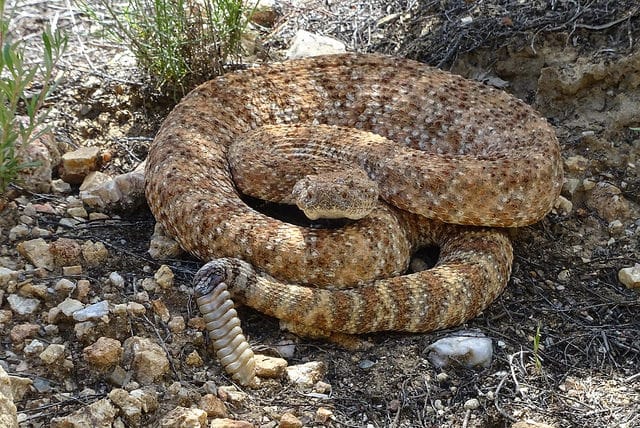
There are venomous snakes on the PCT, so make sure you know what to do if bit by a snake
Sun Protection
Don’t forget sun protection, even in winter. The amount of time you’ll be spending on the trail will mean that your exposure will be maximized. Pack sunscreen for everyone, apply it frequently, and don’t forget your sunglasses. Lip balm with a good SPF rating is also essential – it will prevent burning and chapping in dry weather.
Hygiene
For overnight trips, you’ll want to bring a toothbrush, towel (just like in your clothing, synthetic fibers win the day, again), biodegradable soap and toothpaste, toilet paper, and personal hygiene products. To keep the weight down, look for multi-use products like shampoo bar soaps. They’re long-lasting and compact.
Shorter trips? You can leave out the toothbrushing needs and the soap, if you’d like, but plan ahead for any pit stops and clean-ups. Handi-wipes can perform multiple tasks, but remember to pack them back out.
*Remember even toothpaste needs to go in a bear canister or be hung in a bear bag!
Communication & Navigation
Phones are a no-brainer, but don’t depend on good cellular service. If you’re going to be in particularly remote stretches of the PCT, you might want to invest in a satellite communicator/location beacon. While we’re on the subject, don’t forget to leave a copy of your itinerary with someone.
Never set out on the trail without a copy of the topographic trail map. Keep it in a plastic bag, with your compass. Phone service can fail you, and if you’re used to casually using your smartphone to navigate around town, you may be in for a shock.
Bonus – if your kids have never used a compass, they’ll be fascinated with how it works – it’s a great, teachable opportunity.
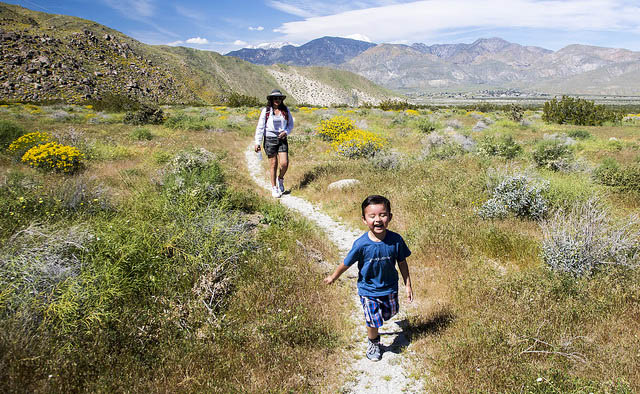
Shelter and Sleeping
When going the full length of the PCT, it pays to invest in a good lightweight tent. To really shave weight, consider using a trekking pole tent. It uses your trekking poles for pitching instead of poles, so there is no pole weight. See trekking pole tents here. Obviously, you are also going to need a sleep setup, like a flashlight and one of these affordable lightweight sleeping pads.
For shorter trips, you’ll need an emergency shelter. This doesn’t have to be fancy – you just need something that will protect you from a rainstorm. The simplest version could just be a jumbo trash bag or one of the mylar emergency blankets that often come in first aid kits. Either of these can also be used to waterproof items in a pinch. If you’ve developed a leak in a backpack or forgot a rainproof jacket, these can be adapted easily.
Trekking Poles
These will really save your knees on a long thru-hike. Read more about the pros/cons of trekking poles here.
Bear Canister
Even when you aren’t in bear territory, it is still smart to hang a bear bag (there are plenty of other animals which can get into your food supply besides bears!). The bear population in certain parts of the PCT has grown vastly over the years. Thus, you may be required to use a bear canister and not just a bear bag.
As PCTA says, expect to carry a canister between Kennedy Meadows (mile 702) in the south and Sonora Pass (mile 1017) in the north and then again in Lassen Volcanic National Park (mile 1343-1363).
See how to hang a bear bag with the PCT method here.
Other essentials
- A small flashlight, in case your day goes longer than expected,
- Lighter or waterproof matches for an emergency fire
- Repair tools – Duct tape is always great. You may need to do a quick fix on everything from hiking boots to torn backpack straps.
- Multi-function knife – Screwdriver, can opener – you need one! Keep it clean and sharp.
- Trowel for digging a cathole (don’t expect to find lots of latrines on the PCT)
Heading out on any stretch of the Pacific Coast Trail requires some degree of planning. It’s an amazing experience, no matter what trail you’re on. Start with our tips, consult resources like the Pacific Crest Trail Association for more detailed information on the entire route, and enjoy yourself!
Image credits:
“Pacific Crest National Scenic Trail, Cal” (CC BY 2.0) by mypubliclands
“PCT” (CC BY 2.0) by frankdouwes
“PCT resupply” (CC BY 2.0) by frankdouwes
“Pacific Crest Trail” (CC BY-NC-ND 2.0) by Ghost Particle
“Snake” (CC BY 2.0) by frankdouwes
“lovz2hike.com Mt Baden Powel 2016” (CC BY-SA 2.0) by lovz2hike





Post your comments